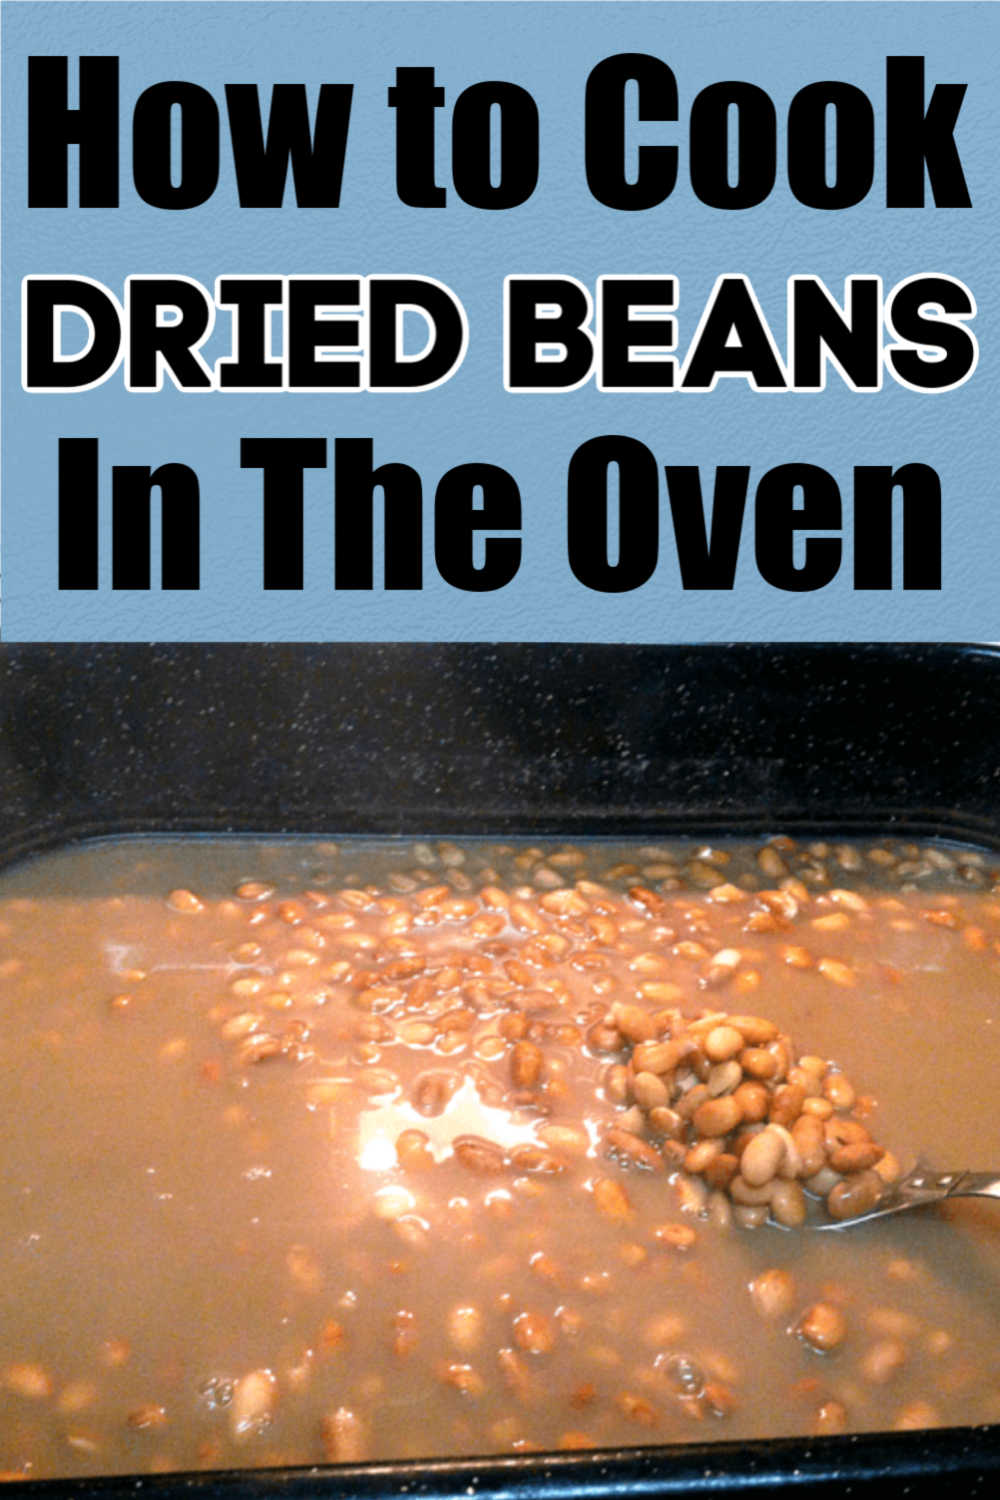
It doesn’t take a lot of effort to rehydrate and cook dried beans in the oven. It is easy, great for meal prepping, and best of all, it saves a lot of money!

There are tons of tutorials out there about how to these. Sure, the traditional way works just fine and produces tasty beans. But, I recently tried out this method of cooking and love it because it is truly effortless.
Best of all, they taste better than canned varieties and they save lots of money. Hey, the money-saving factor is always what I’m after.

🍽️ Why This Recipe Works
Frugal | This inexpensive recipe will make you delicious beans and you don’t have to spend much money!
Easy | There are a few steps, but all of them are super easy. You don’t have to do a whole lot to cook them and when they are done, they are worth every second.
Versatile | Add the beans to soups, tacos, burritos, wraps, salads, or all sorts of other foods.
🥣 Ingredients
I don’t think you will ever find a more simple recipe for homemade beans Let’s take a look at what you’ll need.
Beans | Obviously, they are the key ingredient. You will need dried beans and can use any variety that you like. We used pinto beans for this recipe, but others will work too.
Water | Water is needed so the beans can puff back up, rehydrate and cook.
Salt & Pepper | You can leave out salt and pepper or add a little bit to enhance the flavors.
🍽️ Instructions
I was just experimenting when I decided to make the beans in the oven. Sure you could call them baked beans because they’re made in the oven. But I really don’t think they resemble baked beans much at all.
My biggest issue with cooking beans in a big pot is the fear that it’ll boil over. By making it in the oven, there’s nothing to worry about as long as you use a big enough pan. 😀 Please let me know if you’ve heard of easier ways of how to cook these.

Step One: Soak the beans in water for about eight hours. Since they will absorb the water, make sure they are covered by an extra inch or two. Drain them after the time has elapsed. I usually put them in water in the evening and then drain them when I get up in the morning.
Step Two: After draining, add them to a large casserole dish and add fresh water. You want the beans to be covered with an extra half inch of water on top.
Step Three: Add the casserole dish with the beans and water to an oven, preheated to 350 degrees. Cook it for about 90 minutes. Before taking them out, test it to see if they need a few extra minutes to soften.
Step Four: Drain the beans and season.
Step Five: Let the beans cool and then place them in large Ziploc bags to freeze.
💡 Expert Tips
Hard Beans: If you have some hard beans after cooking, odds are that they just didn’t soak in the water long enough. When soaking them, make sure to add water as needed to keep them adequately covered. When beans age, they don’t absorb the water as well either. So it could be that you got a batch of dried beans that have been sitting around way too long. Don’t give up and try again because odds are next time they will be perfect.
Cost: In the busy world we live in; it makes sense that we all grab what is easy and convenient. But, rehydrating these at home is a wonderful idea because it’s SO much cheaper than buying canned beans. Next time you head to the store, look at the price of canned beans versus a bag of dry beans. You will be shocked!
Make Ahead: Another reason is that you can make a TON of them, freeze and save them for when you need them. They are just as easy to grab and use as a can of beans.
Healthy: Lastly, you don’t have to worry about preservatives or other unwanted ingredients. Homemade beans have exactly what you put in them, and that’s it. There are no sugars, preservatives or other items that you don’t necessarily want to eat.

👩🍳 Recipe FAQs
Yes, once you package the beans and freeze them, they will last up to nine months in the freezer! How amazing is that? Make sure to remove the air from the freezer bag and leave a little bit of room at the top. Then label them, and you are all set.
To thaw the beans, place the bag in the fridge overnight or run the bag under some cool running water.
Don’t submerge the bag into the water in case there is a small hole; it’s better just to run it under the faucet. They don’t take very long to defrost; then, you can cook with them or add them to your favorite recipes.
Beans are great for you! They have lots of potassium, iron, zinc, folate, and magnesium. They are also great for adding extra fiber and protein to your diet. They will keep you full longer and taste good too. It’s a win all around!
Yep! You can use any kind of seasoning you like; just make sure you don’t add it until step five. Adding seasonings too early will mess with the process of cooking the beans.
Related Recipes


Tried this recipe? Please leave a star ⭐️⭐️⭐️⭐️⭐️ rating in the recipe card below and/or a review in the comments section further down the page. You can also stay in touch with me through social media by following me on Instagram, Pinterest, and Facebook!

How to Cook Dried Beans in the Oven
Ingredients
- 1 bag Dried Beans any variety will work. I used Pinto
- Water
Instructions
Prepare and Cook Dried Beans
- Soak dried beans for the amount of time recommended on the package. I do it for about 8 hours.
- Drain the beans. Add them to a large casserole dish/roasting pan. Cover completely in water – there should be about a 1/2 inch of water above the beans. Do not add salt or any seasonings at this point because it will interfere with the cooking process.
- Bake at 350 for 90 minutes. You may find that yours will need a little more or a little less time. Taste test a bean or two to see whether you need to let it bake a bit longer.
- Remove from oven and drain. There will still be a fair amount of water left in the pan. This is completely normal – just drain it off.
- Add seasonings to taste. You can also go ahead and add your salt now as well. You can skip the seasoning process altogether if you’d like.
- Let cool and package up into freezer bags or containers I was able to get about 10 cups out of the one package of dried pinto beans.
Notes
Nutrition
Hi!
Ginny Collins is a passionate foodie and recipe creator of Savor and Savvy and Kitchenlaughter. Indoors she focuses on easy, quick recipes for busy families and kitchen basics. Outdoors, she focuses on backyard grilling and smoking to bring family and friends together. She is a lifelong learner who is always taking cooking classes on her travels overseas and stateside. Her work has been featured on MSN, Parade, Fox News, Yahoo, Cosmopolitan, Elle, and many local news outlets. She lives in Florida where you will find her outside on the water in her kayak, riding her bike on trails, and planning her next overseas adventure.
Perfect instructions. Thank you for this recipe!
So much beans is that? And what about the ham that gets cooked with them? I do ham.
To get the app Brawl Stars get iTunes.
ive never cooked beans in the oven – definitely gonna try that one