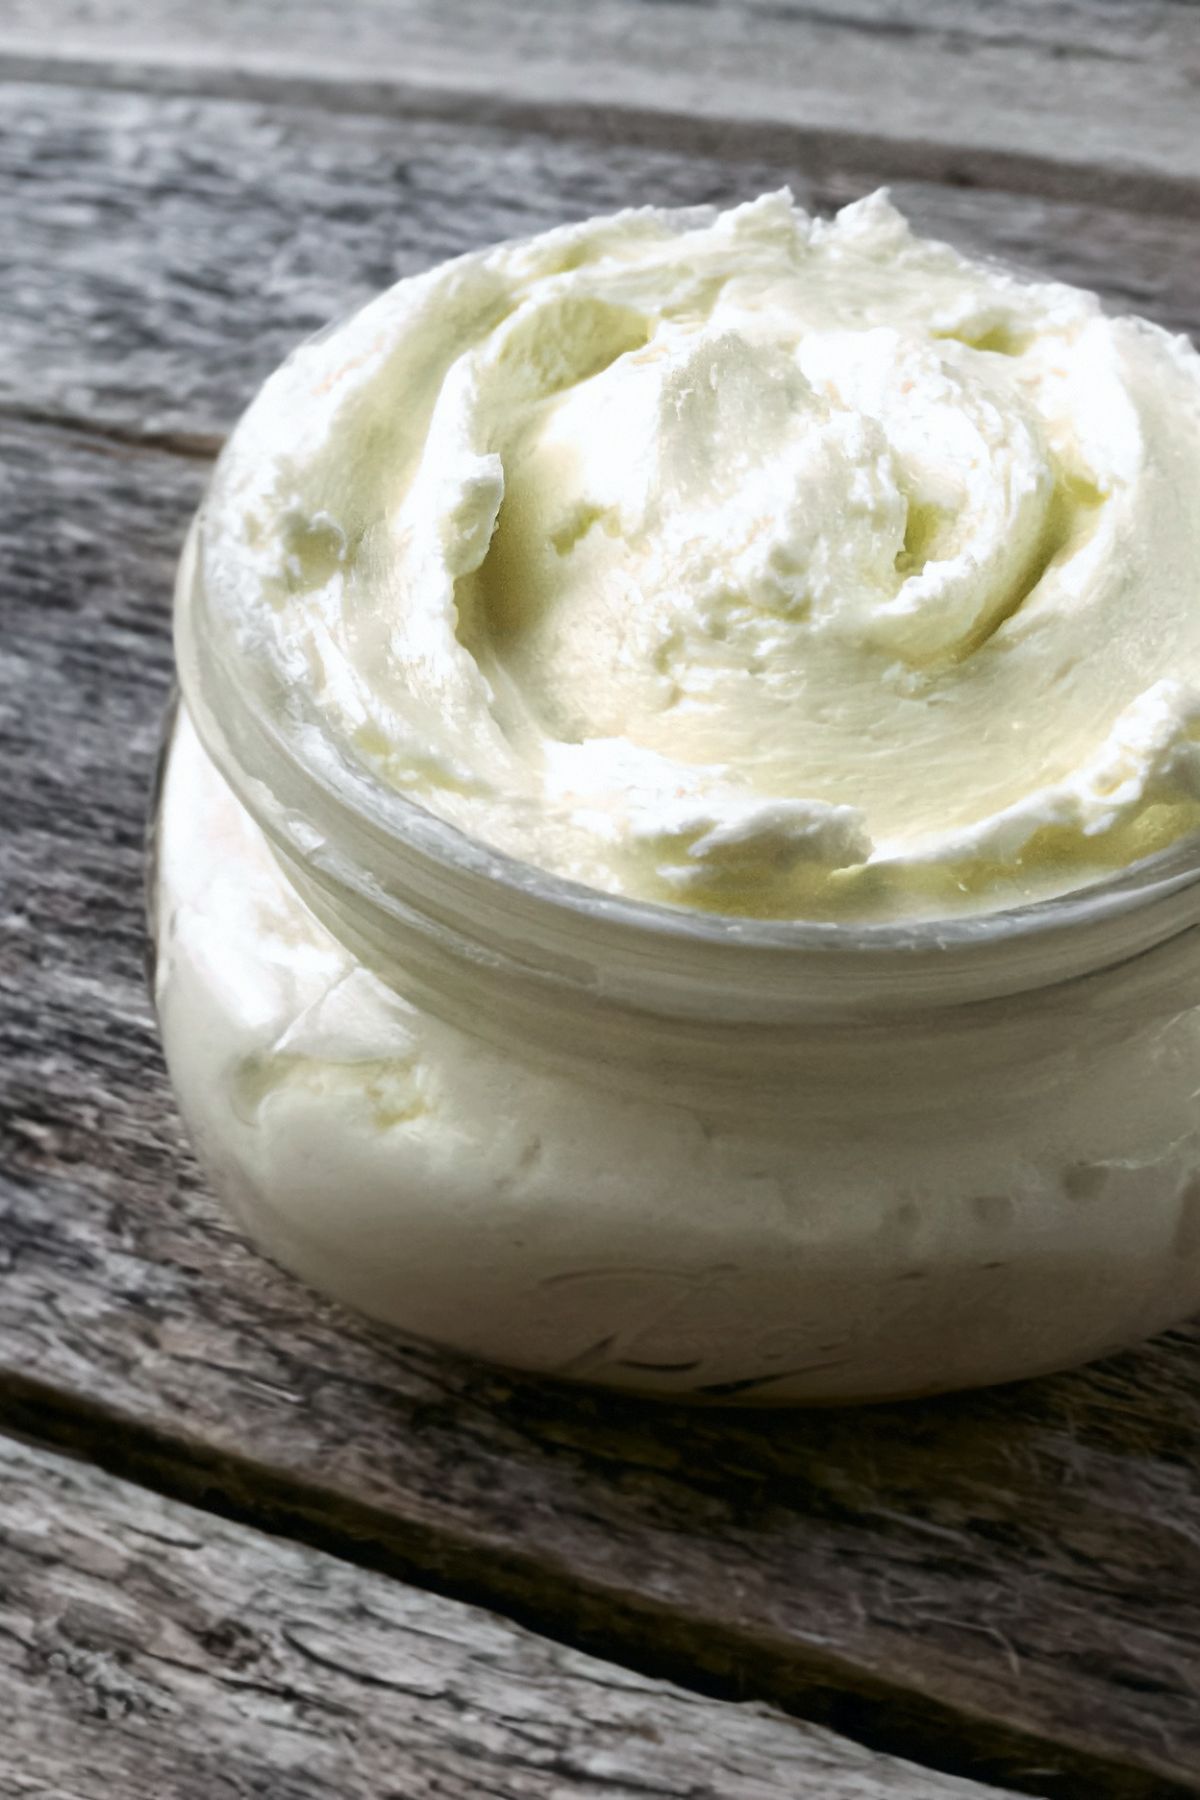
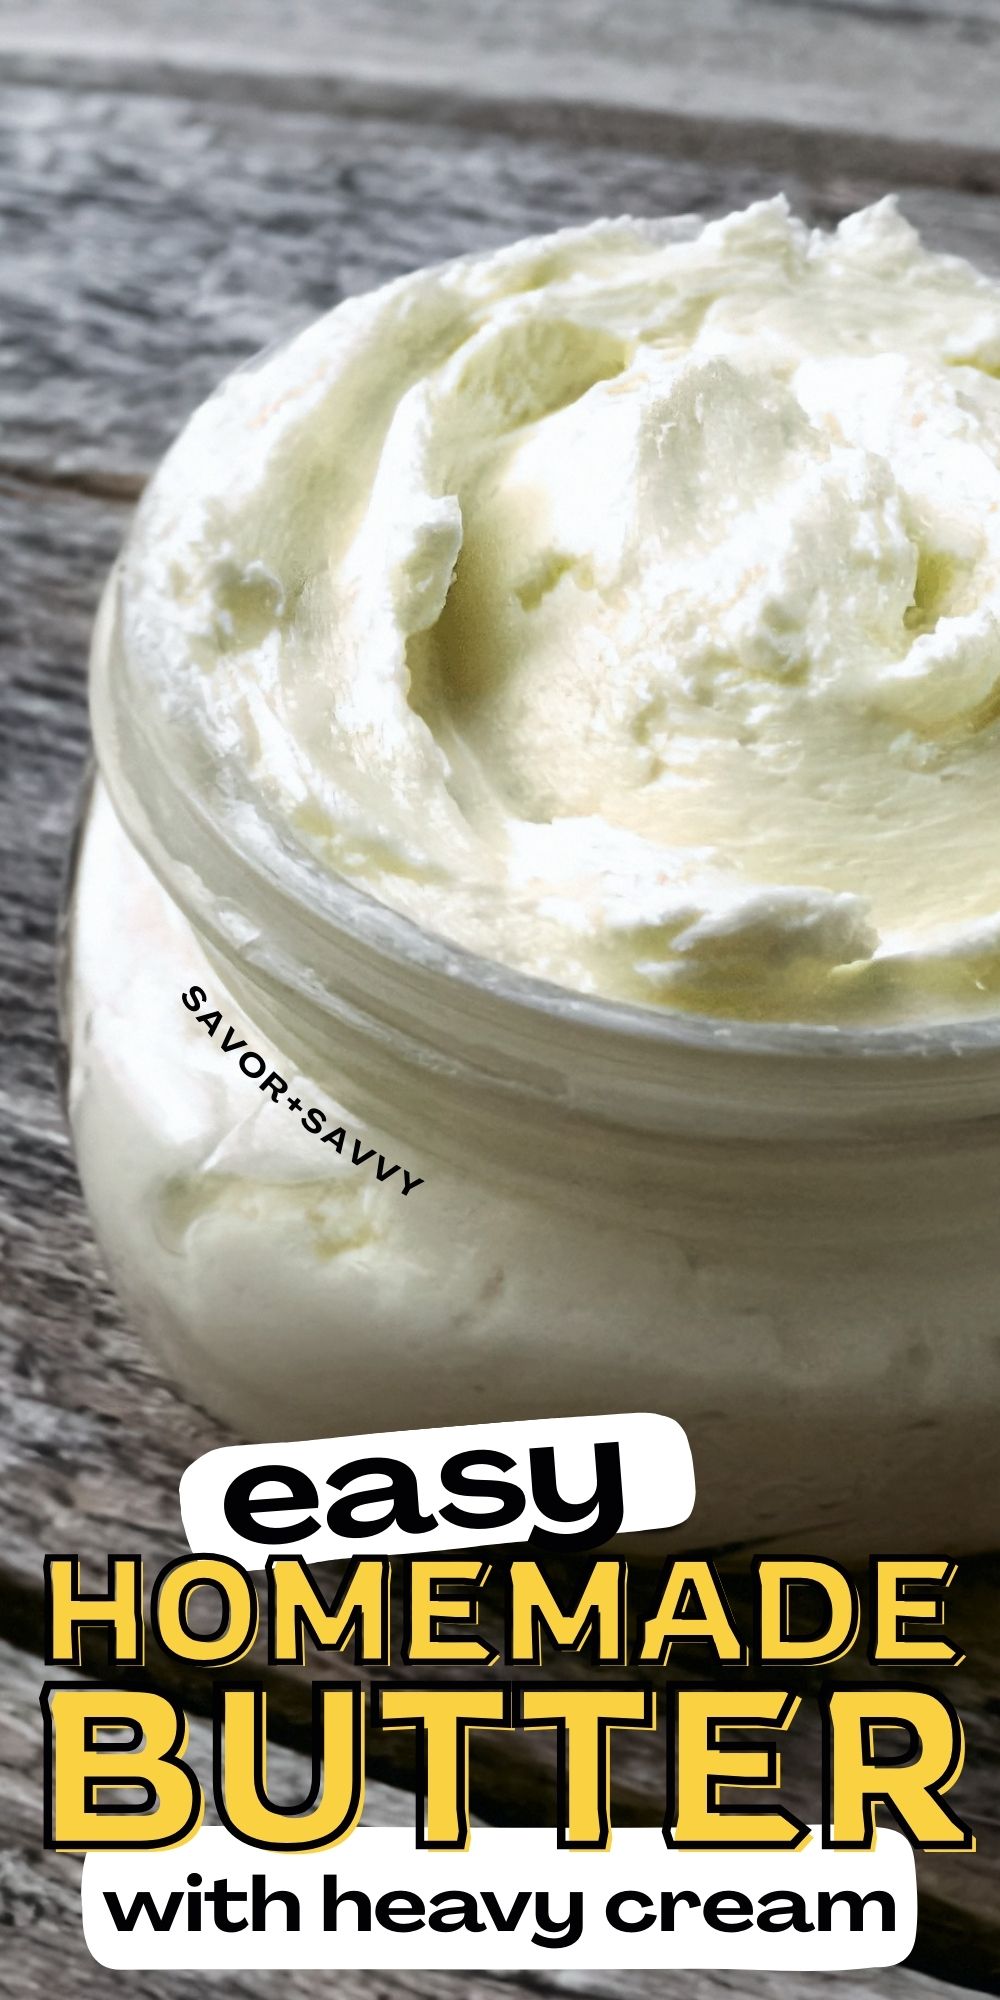
Can butter get better? Only if you make it yourself. There’s nothing like the taste of fresh butter. Making butter in the food processor is ridiculously easy and one of my favorite frugal experiments yet!
I’ve been putting this off for ages because making something as basic as butter is oddly intimidating. But it’s actually quite simple. It’ll be even easier for you after you read about my mistakes and how to avoid them.
🥛 Ingredients
✅Heavy Cream – This is the major ingredient. The agitation process outlined below will separate the fats in the cream from the milk. It is those fats that will form the wonderful butter. Keep the leftover buttermilk for any number of recipes.
✅Salt – You only need a pinch. It does make a difference, but you really don’t need more than a tiny pinch. This is one of those times when less is more!
🧈 Instructions

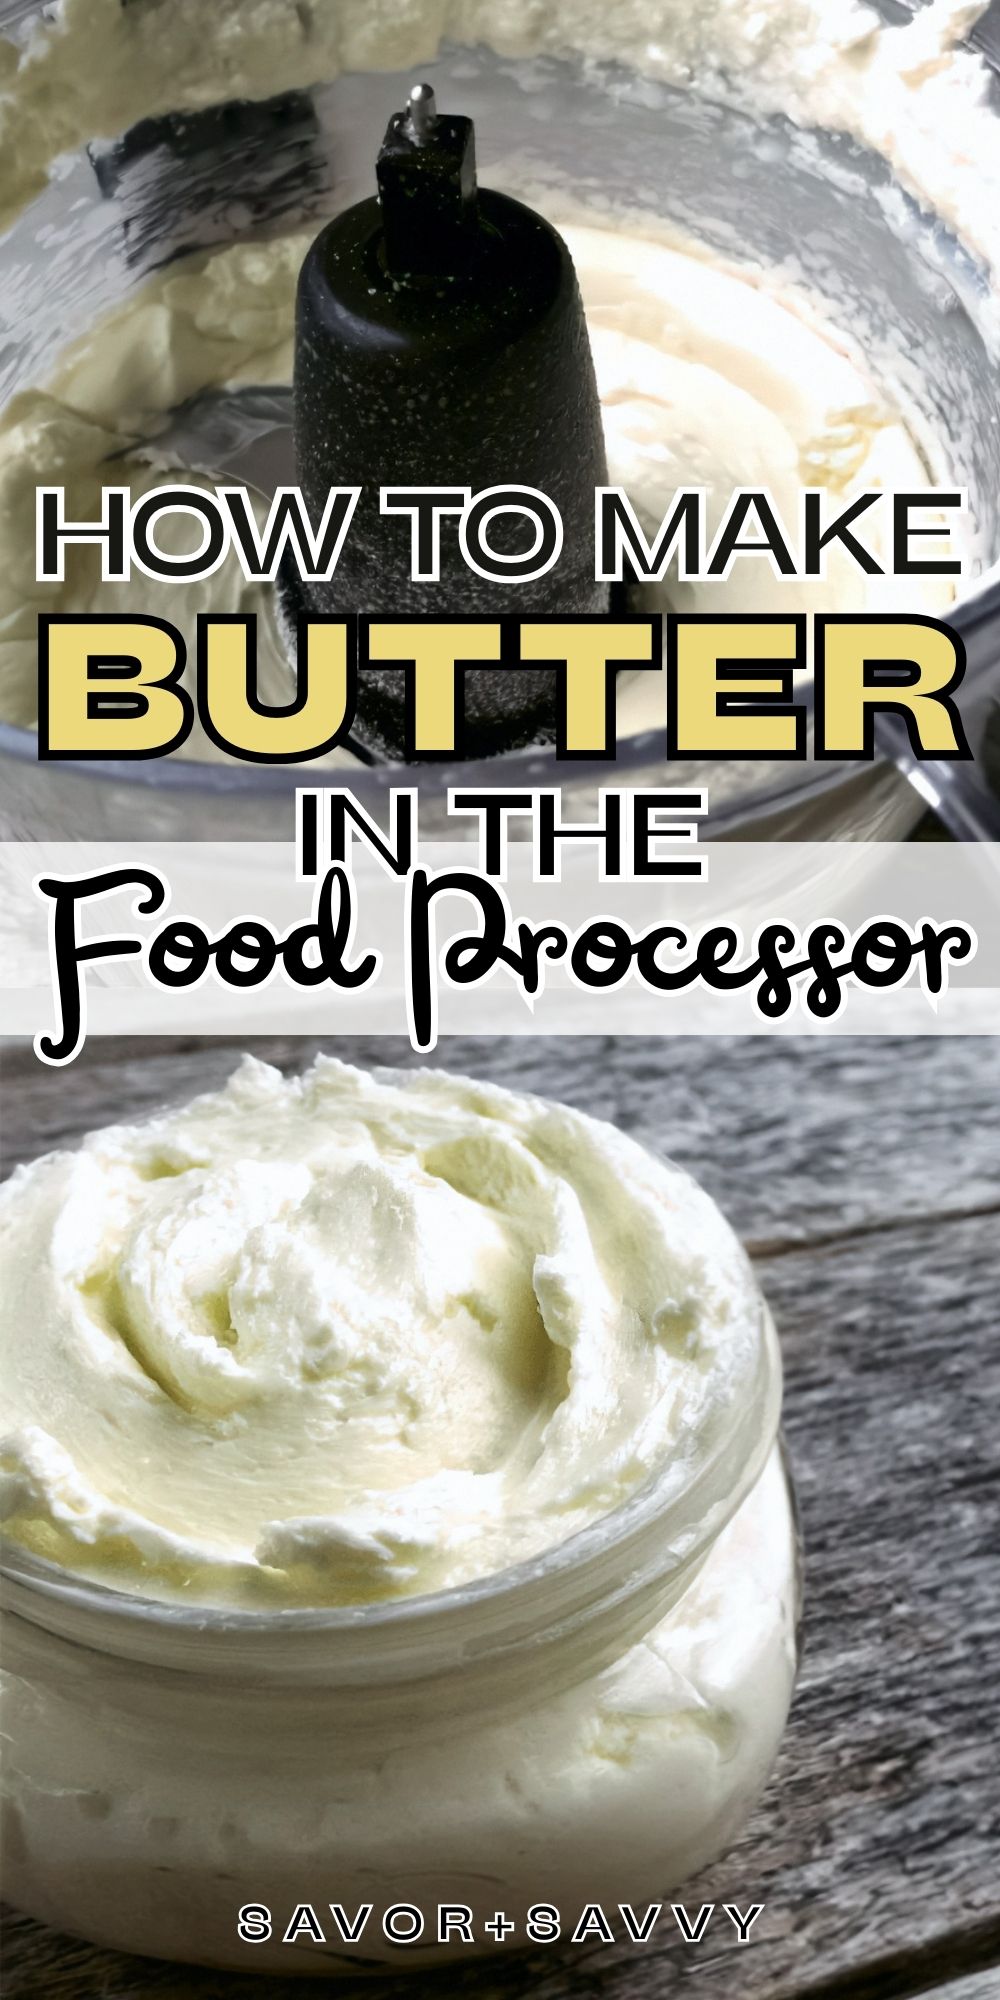
👉Step 1: Pour one pint of heavy cream and salt (to taste – I recommend using a light hand) into the food processor and start it up. I learned the hard way to cover the top of the food processor with a tea towel because the cream went flying everywhere!

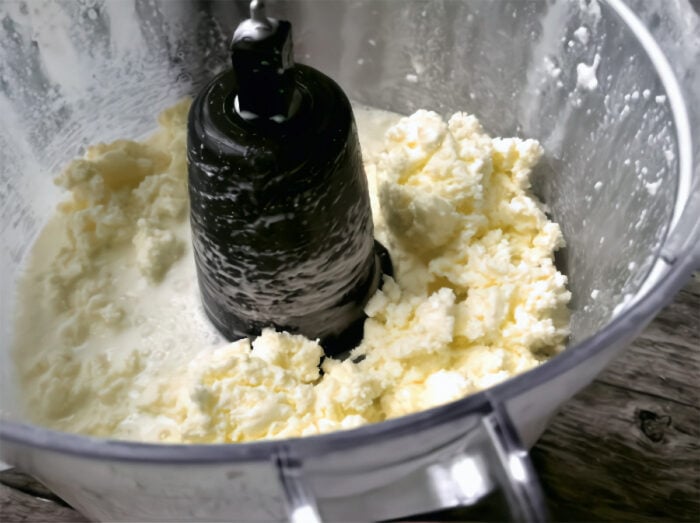
👉Step 2: Continue running the food processor. Five minutes in, the butter will start to form. In the photo above, you’ll see the clumps of butter and buttermilk.
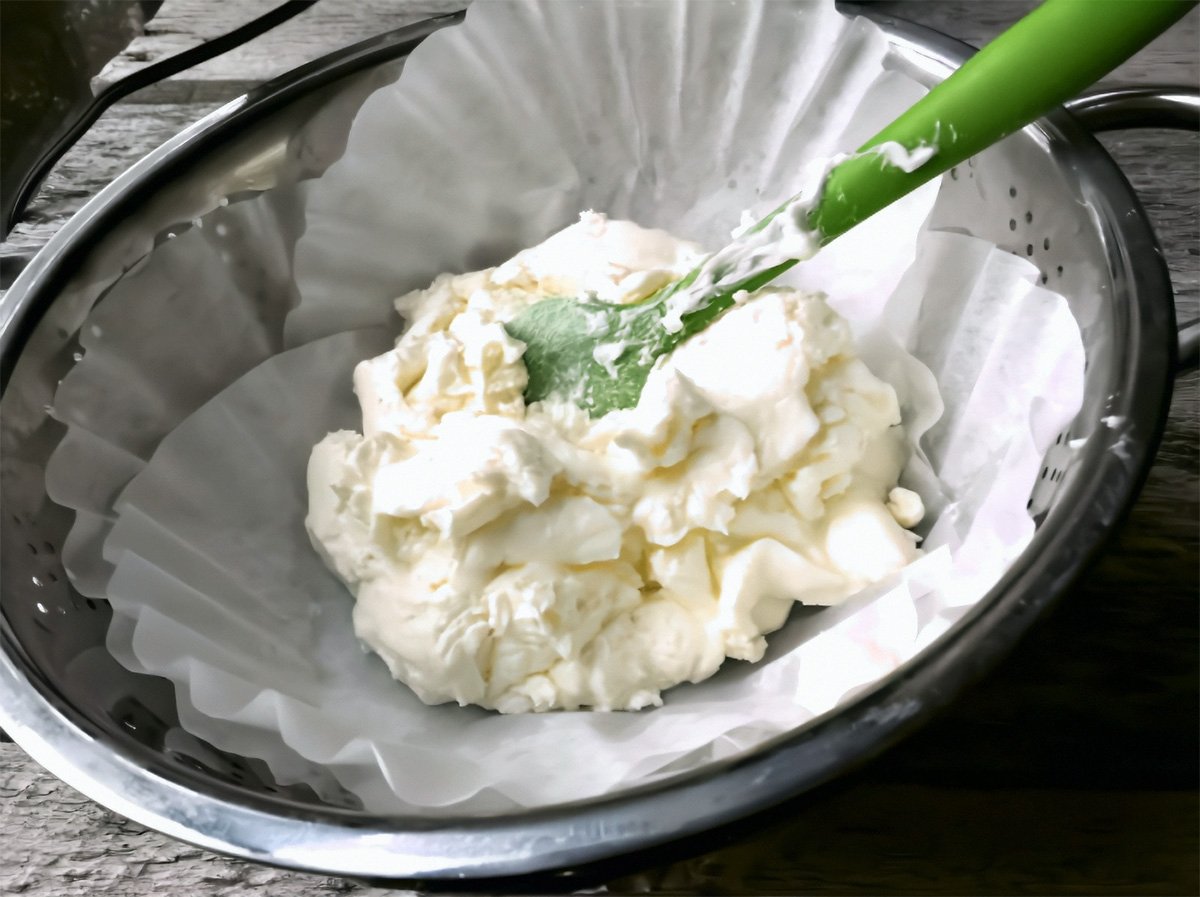
👉Step 3: Strain the buttermilk using a cheesecloth or a coffee filter. Keep the buttermilk for other uses!
Note: This is where I made a mistake. I neglected to separate the butter from the buttermilk the first time I tried this and just kept the food processor going for a solid ten minutes. It made it much harder to strain the buttermilk as it had reincorporated back into the butter.

👉Step 4: Pour off any excess liquid and move the butter around the food processor by pressing the spatula into it for about a minute. And, there was my homemade butter!
👉Step 5: You’re almost done, but don’t skip this final step – rinsing the butter is crucial for making it last longer.
Place your butter solids in a bowl of ice-cold water (you can even add ice cubes). Use a spatula (or your clean hands!) to press and knead the butter against the side of the bowl. You’ll see the water turn cloudy. Dump that water, add fresh cold water, and repeat until the water stays perfectly clear. This gets every drop of buttermilk out, so your butter stays fresh for weeks!
💡 Recipe Tips
As I noted above, the first time I made this didn’t separate the butter from the buttermilk. As a result, it mixed back together. I was able to fix it using these steps.
🔸Add ice water to the combined butter and buttermilk mixture and pulse the food processor several times. The cold water helped to separate the ingredients and I was able to then strain it.
I was surprised how well this worked, and how forgiving the butter was. Of course, it would have been easier to strain it earlier in the process, but this is a great tip if you make a mistake.
We slathered the butter on fresh-baked muffins. Try it.
🍴 Variations
There are plenty of aromatics you can add to your homemade butter, and you might already know this as compound butter. I tried many, and I have to say I loved them all – butter really goes well with anything.
You’ll need to add the herbs and spices to the butter when it’s softened. The best way to soften the butter is to set it on the counter for a little bit and let it warm to room temperature. Use an electric mixer and add the extra ingredients. Here are some ideas:
- Garlic – Use garlic butter on steak, eggs, or even a slice of toast. It’s heavenly!
- Chives – Chop up some chives and add them to the butter. This is wonderful with veggies or a baked potato.
- Sage – I like to add sage and use with seafood. It’s beyond incredible! Plus, it tastes good on a freshly baked biscuit too.
- Basil – This is a favorite to add to chicken or eggs! I love the flavor it gives my food, and it goes so well with the creamy butter.
There are many other flavors you can add to the butter. It’s important to note that you need to let the butter absorb these flavors for a while before using it. I like to let mine sit for 3-4 hours whenever possible, but it’s your call.
❓ FAQ
As long as you properly prepared the butter, you should have no problem with it lasting around two or three weeks. This is wonderful because it takes so little time to make and lasts a long time. You always have it handy when you need it.
Yes! If you’re like me and hate wasting anything, then you will love this idea.
Use it to make fried chicken, pancakes, waffles, salad dressings, and baked goods. Think outside the box. You can also freeze it for later. Pour it into an ice cube tray so it’s in convenient sizes whenever a recipe requires some. Just thaw it in the fridge the night before, and then add it to all your favorite recipes.
If the buttermilk goes bad, you’ll notice that it smells terrible and has a more chunky texture to it. The color of the homemade buttermilk will also change too. If you ever notice anything odd, it’s best to pour it out.
Yes, while it seems like something you could skip, rinsing the homemade butter is vital to making it last. When you rinse the butter, you are removing any extra buttermilk, so it doesn’t become rancid quickly.
Store the butter in a plastic or glass container with a lid. Keeping it airtight will help it last longer. It can sit on your counter for a few days. If you don’t use it all by then, place it in the fridge.
I learned that it’s vital to get all of the buttermilk removed from the butter before storing it. If not, the butter will only last around one week before it goes bad.
I know it seems like it wouldn’t hurt to leave this step out, but if you want the best quality butter that lasts, this is the only way.
Yes! Now that I’ve practiced making it many times, I will make much larger batches so I can freeze some for later. Freezing the butter makes it last so much longer, and you can just grab out what you need.
On average, most homemade butter recipes will last around one year in the freezer. This is especially useful if you have access to a good sale and want to stock up! Then you can make as many batches as you want and have fresh butter on hand anytime the need arises.
Generally, 1 pint (2 cups) of heavy cream will yield about 1 cup (2 sticks) of butter and 1 cup of buttermilk. It’s a great return!
Related Recipes


Tried this recipe? Please leave a star ⭐️⭐️⭐️⭐️⭐️ rating in the recipe card below and/or a review in the comments section further down the page. You can also stay in touch with me through social media by following me on Instagram, Pinterest, and Facebook!
How to Make Butter in Food Processor
Equipment
Ingredients
- 1 pint Heavy Cream
- Salt pinch
Instructions
- Pour one pint of heavy cream and salt into the food processor and start it up. Pro Tip: I learned the hard way to cover the top of the food processor with a tea towel because the cream went flying everywhere!
- Continue running the food processor. At around the five minute mark, the butter will start to form.
- Strain the buttermilk using a cheesecloth or a coffee filter. Keep the buttermilk for other uses!
- Pour off any excess liquid and move the butter around the food processor by pressing the spatula into it for about a minute. And, there was my homemade butter!
- Rinse off the butter with very cold water before storing. Place it in a bowl with ice-cold water and knead it using clean hands or press it onto the sides of the bowl with a spatula. Buttermilk will be released, and the water will turn cloudy. Throw away that water, replace it with fresh, cold water, and repeat the process until the water remains clear. This will remove all excess buttermilk and make the butter last longer.
Notes
Nutrition
Hi!
Ginny Collins is a passionate foodie and recipe creator of Savor and Savvy and Kitchenlaughter. Indoors she focuses on easy, quick recipes for busy families and kitchen basics. Outdoors, she focuses on backyard grilling and smoking to bring family and friends together. She is a lifelong learner who is always taking cooking classes on her travels overseas and stateside. Her work has been featured on MSN, Parade, Fox News, Yahoo, Cosmopolitan, Elle, and many local news outlets. She lives in Florida where you will find her outside on the water in her kayak, riding her bike on trails, and planning her next overseas adventure.
This homemade butter recipe is a game-changer! It’s so simple to make, and the flavor is amazing. I love how easy it is with just a few ingredients. Definitely going to try this out!
That’s awesome!!
I feel like I invented how to make butter
Made this both in Cuisinart and kitchen aid. Both made great butter. But Cuisinart faster!!
That is awesome! Love my Cuisinart too! Cheers! Ginny
Decided to try butter in the food processor. I have made butter years ago in a hand cranked churn, that was my Saturday morning chore. I think I have whipped cream! There was never a separation! Now I put it in the processor for 3 minutes and then another and another for a total of 12 minutes and it never separated. Where did I go wrong?
Thank you! I am so excited to try this! I love getting heavy cream for my coffee, but it starts to sour before I can use it all, now I will start getting the big containers from our thrift food store in town and use the remainder for butter.
I loved reading through all the comments as well, some great tips mixed in. I am going to try this and take some of it to make garlic bread with. Instead of salting it at the beginning, I am going to try mixing some garlic salt in towards the end so I can just spread it on my homemade bread and throw in the over for buttery garlic bread.
Thank you for sharing, and for being honest about the slip-ups too!
I have made butter a long time ago, back in elementary school. There were about 12 of us on a field trip, we used a jam / jelly jar and shook the heck out of it. Then had it on fresh buns.
Thanks for the reminder of those days, I’m going to try it today.
Why doesn’t it keep out of the fridge like store bought butter. If we keep in the fridge it is too hard to spread. Also the buttermilk does not keep well. I went to make scones 4 days after making the butter, and even kept in the fridge, the buttermilk smelled off..
Since it’s fresh butter and this was an experiment, I thought it was best to keep it in the fridge just in case it were to go off if we were to keep it out.
I’m so excited to have made this this morning! I saw this on Pinterest, came to your site. Got up early this morning to get my cream. My husband came in when I was getting the food processor out and was like “what are you doing?”. “I’m making butter!!!”. He shook his head and walked away like right…. I followed your directions and I MADE BUTTER!! I like salt in my butter so added a little. It was so easy and I may never buy butter again! Thank you so much. It’s like when I finally learned how to make homemade mayo. Just another thing I can make, I know what is in it and it is delicious! Oh and Hubby was very impressed! Thank you. Love your blog.
That is such a great story, Katie! 🙂 I’m so glad you enjoyed it! Making our own butter is awesome! <3
I use my Kitchen Aid Stand Mixer and the whisk attachment. I get 2 gallons of fresh milk every week so I make butter every week. This week I got 5 1/2 gallons to make butter and mozzarella cheese.
If you have kids (or are a kid at heart)…press your butter into plastic or silicone molds & refrigerate. Then pop them out & have fun shapes. This is cute for holidays or special occasions. You can even have a bit more fun by adding some food coloring!
If you wanted to make a sweet honey butter like some of the country restaurants at what step would you do it?
Hey Stacy, I think it’d be best to do it in the final stage… after the butter is made, but not yet shaped for storage. This is just my best guess, though, since I haven’t tried it myself.
I found this site only today and I’m glad I did! I really want to make my own butter, but have a few questions first.
1. How do you strain the butter?
2. How do you rinse the butter?
3. Is Heavy cream the same as Heavy Whipping Cream?
Also, I would like to know if there is a way that is simple and easy like this one to make Coconut butter?
I also have these same three questions. Someone PLEASE come to our rescue and tell us how.
Thanks Bunches!!!
Hey ladies!
Here’s how I rinse and strain the butter:
I add ice cold water to the food processor, pulse it along with the butter a few times. Then I drain off the water, and “push” the excess water/liquid out of the butter using a spatula.
And in my experience heavy cream and heavy whipping cream seem to work the same. Though they are slightly different (one contains more milk fat) here is a better, more detailed answer on this 🙂 .
http://www.popsugar.com/food/Difference-Between-Heavy-Cream-Whipping-Cream-13491580
I’ve achieved the same result with a fruit jar for those without a food processor
I’m very interested in this. I can get organic butter from Costco for a good price, but I spend a lot of money buying small tubs of organic or Kerrygold soft butter. Does the homemade butter stay soft in the refrigerator? I also like being able to make buttermilk, and not having to buy a quart of buttermilk just to use 1 cup for a recipe.