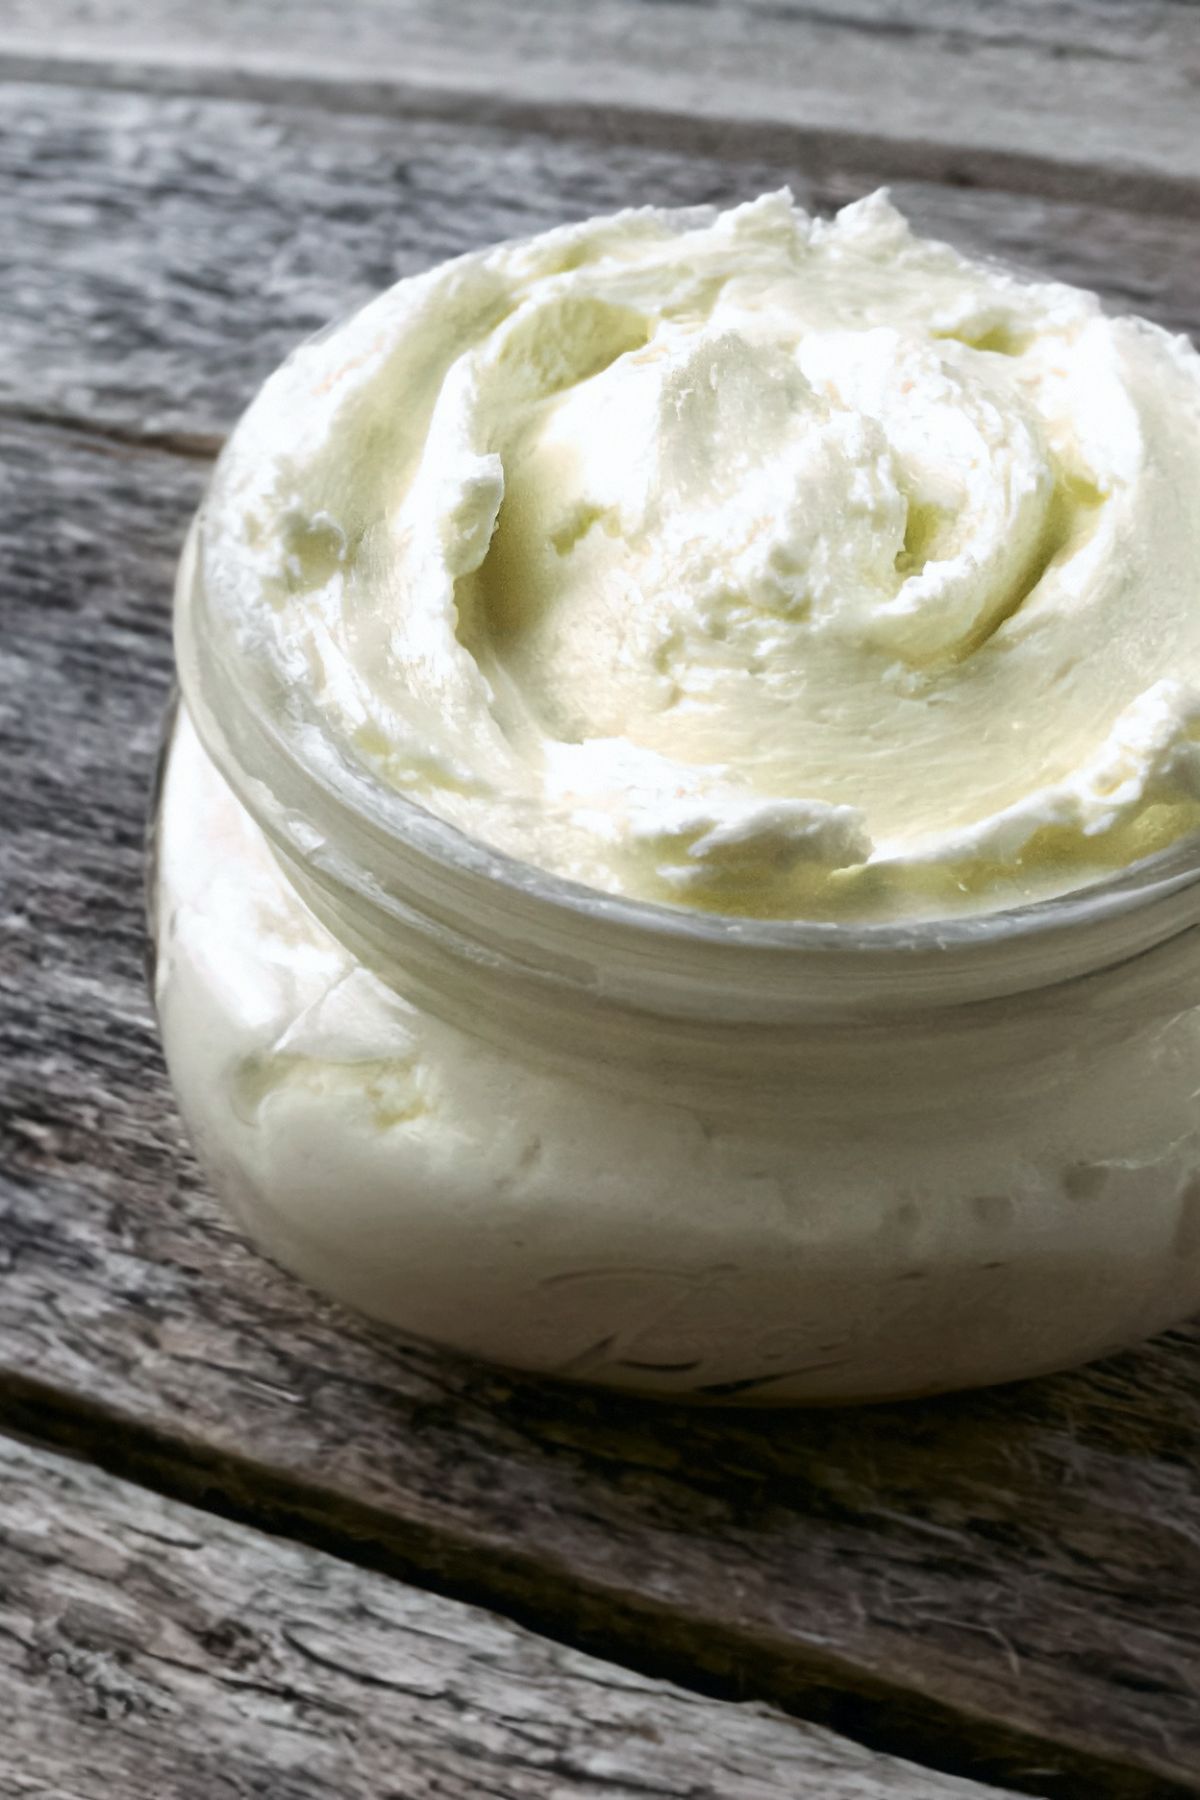
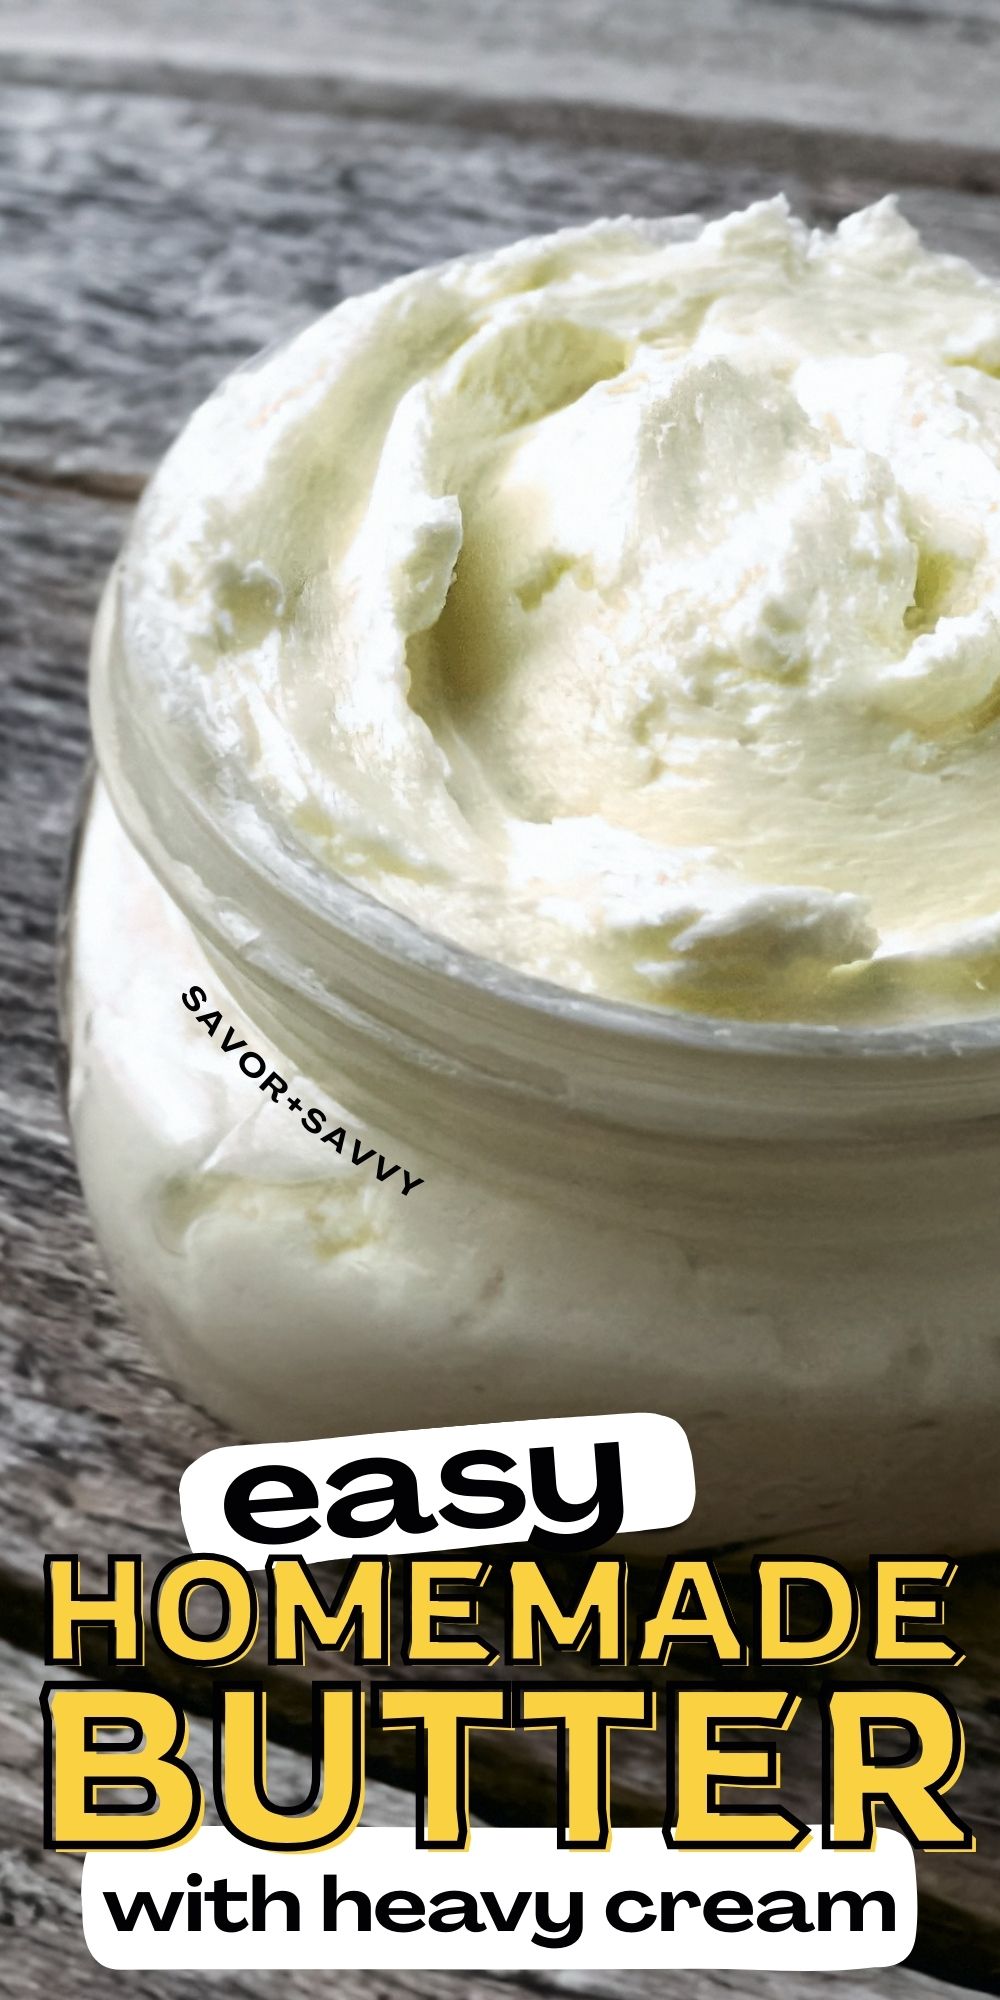
Can butter get better? Only if you make it yourself. There’s nothing like the taste of fresh butter. Making butter in the food processor is ridiculously easy and one of my favorite frugal experiments yet!
I’ve been putting this off for ages because making something as basic as butter is oddly intimidating. But it’s actually quite simple. It’ll be even easier for you after you read about my mistakes and how to avoid them.
🥛 Ingredients
✅Heavy Cream – This is the major ingredient. The agitation process outlined below will separate the fats in the cream from the milk. It is those fats that will form the wonderful butter. Keep the leftover buttermilk for any number of recipes.
✅Salt – You only need a pinch. It does make a difference, but you really don’t need more than a tiny pinch. This is one of those times when less is more!
🧈 Instructions

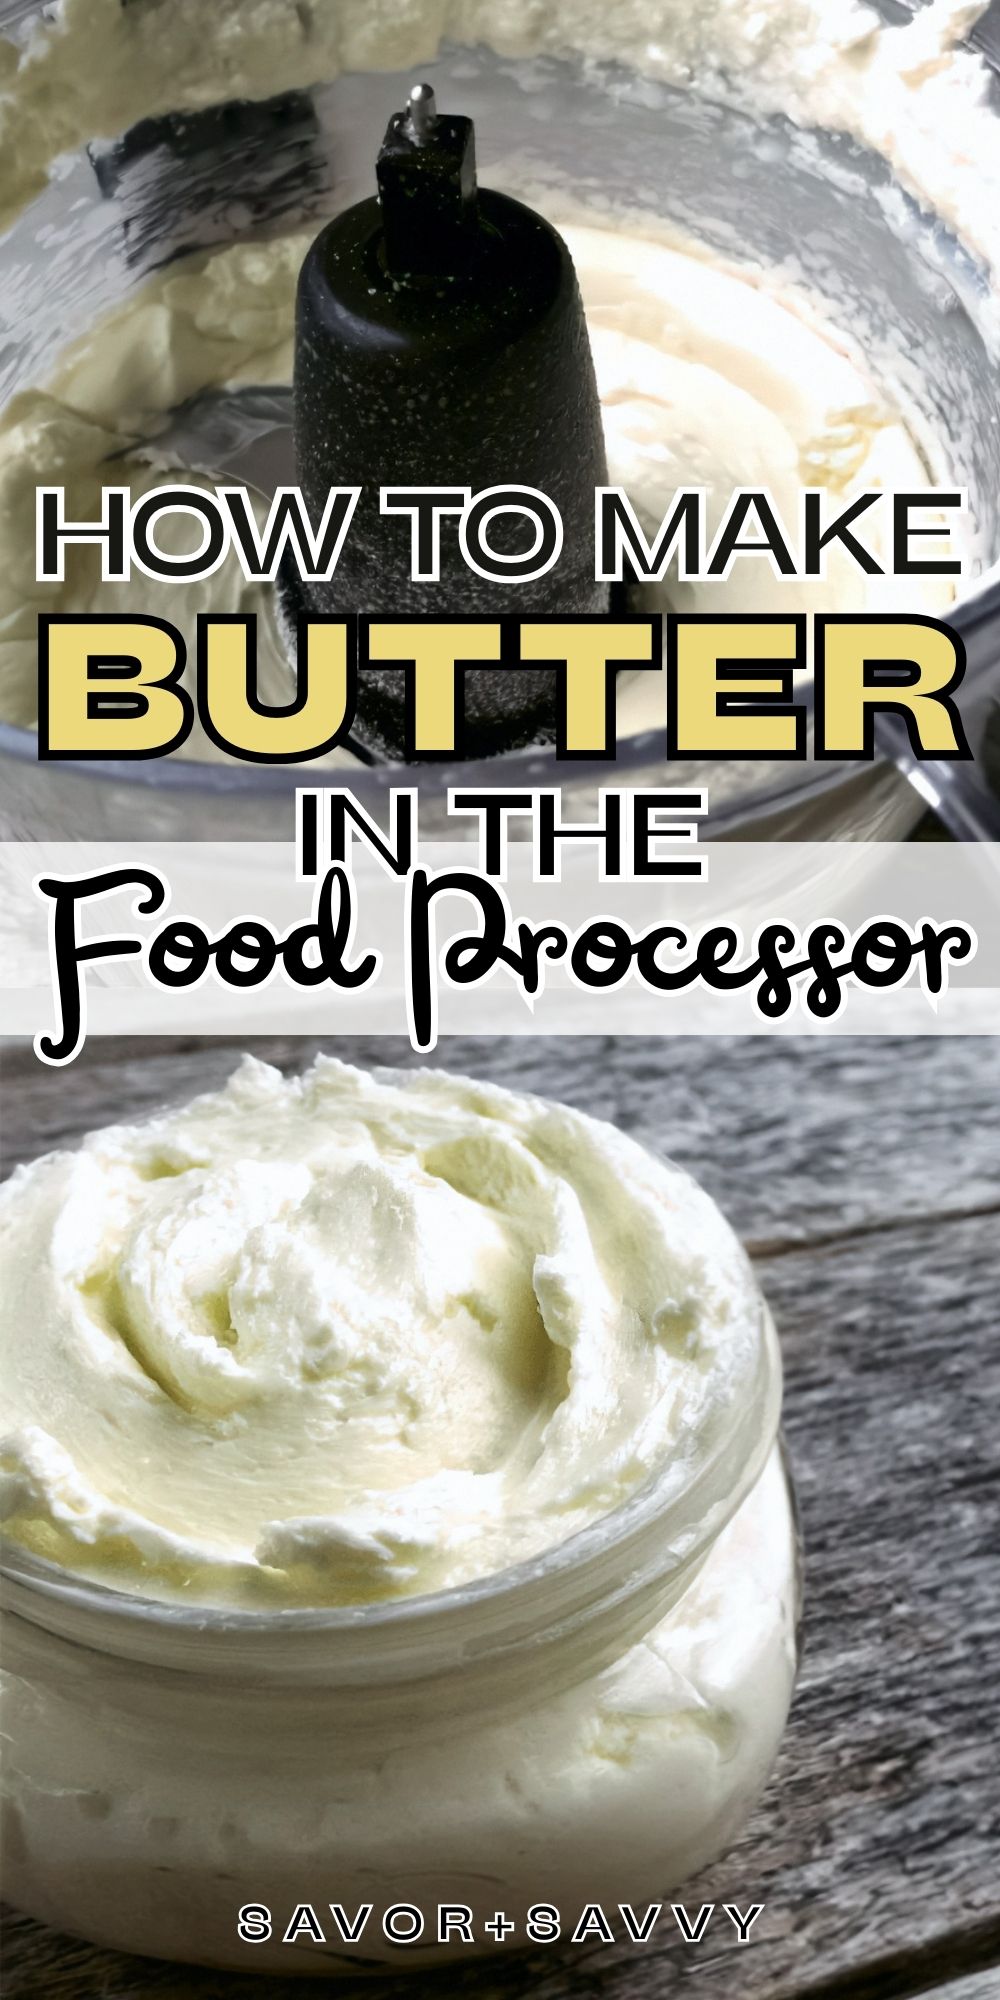
👉Step 1: Pour one pint of heavy cream and salt (to taste – I recommend using a light hand) into the food processor and start it up. I learned the hard way to cover the top of the food processor with a tea towel because the cream went flying everywhere!

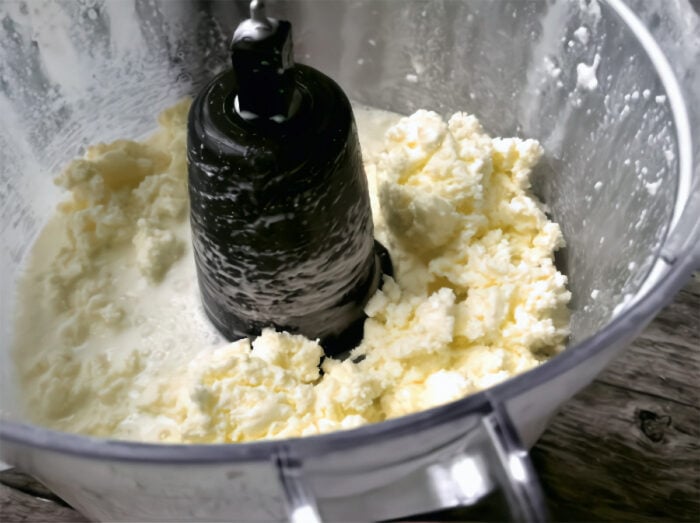
👉Step 2: Continue running the food processor. Five minutes in, the butter will start to form. In the photo above, you’ll see the clumps of butter and buttermilk.
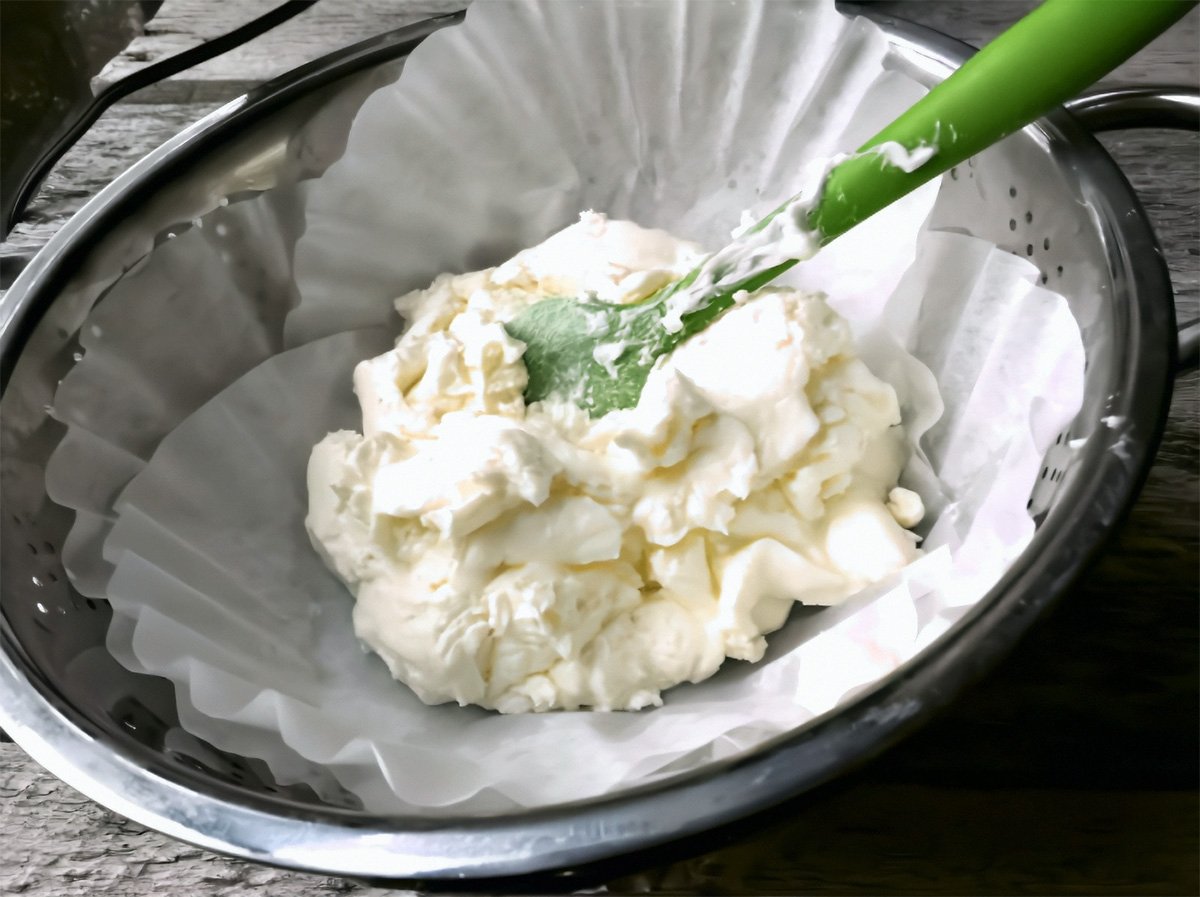
👉Step 3: Strain the buttermilk using a cheesecloth or a coffee filter. Keep the buttermilk for other uses!
Note: This is where I made a mistake. I neglected to separate the butter from the buttermilk the first time I tried this and just kept the food processor going for a solid ten minutes. It made it much harder to strain the buttermilk as it had reincorporated back into the butter.

👉Step 4: Pour off any excess liquid and move the butter around the food processor by pressing the spatula into it for about a minute. And, there was my homemade butter!
👉Step 5: You’re almost done, but don’t skip this final step – rinsing the butter is crucial for making it last longer.
Place your butter solids in a bowl of ice-cold water (you can even add ice cubes). Use a spatula (or your clean hands!) to press and knead the butter against the side of the bowl. You’ll see the water turn cloudy. Dump that water, add fresh cold water, and repeat until the water stays perfectly clear. This gets every drop of buttermilk out, so your butter stays fresh for weeks!
💡 Recipe Tips
As I noted above, the first time I made this didn’t separate the butter from the buttermilk. As a result, it mixed back together. I was able to fix it using these steps.
🔸Add ice water to the combined butter and buttermilk mixture and pulse the food processor several times. The cold water helped to separate the ingredients and I was able to then strain it.
I was surprised how well this worked, and how forgiving the butter was. Of course, it would have been easier to strain it earlier in the process, but this is a great tip if you make a mistake.
We slathered the butter on fresh-baked muffins. Try it.
🍴 Variations
There are plenty of aromatics you can add to your homemade butter, and you might already know this as compound butter. I tried many, and I have to say I loved them all – butter really goes well with anything.
You’ll need to add the herbs and spices to the butter when it’s softened. The best way to soften the butter is to set it on the counter for a little bit and let it warm to room temperature. Use an electric mixer and add the extra ingredients. Here are some ideas:
- Garlic – Use garlic butter on steak, eggs, or even a slice of toast. It’s heavenly!
- Chives – Chop up some chives and add them to the butter. This is wonderful with veggies or a baked potato.
- Sage – I like to add sage and use with seafood. It’s beyond incredible! Plus, it tastes good on a freshly baked biscuit too.
- Basil – This is a favorite to add to chicken or eggs! I love the flavor it gives my food, and it goes so well with the creamy butter.
There are many other flavors you can add to the butter. It’s important to note that you need to let the butter absorb these flavors for a while before using it. I like to let mine sit for 3-4 hours whenever possible, but it’s your call.
❓ FAQ
As long as you properly prepared the butter, you should have no problem with it lasting around two or three weeks. This is wonderful because it takes so little time to make and lasts a long time. You always have it handy when you need it.
Yes! If you’re like me and hate wasting anything, then you will love this idea.
Use it to make fried chicken, pancakes, waffles, salad dressings, and baked goods. Think outside the box. You can also freeze it for later. Pour it into an ice cube tray so it’s in convenient sizes whenever a recipe requires some. Just thaw it in the fridge the night before, and then add it to all your favorite recipes.
If the buttermilk goes bad, you’ll notice that it smells terrible and has a more chunky texture to it. The color of the homemade buttermilk will also change too. If you ever notice anything odd, it’s best to pour it out.
Yes, while it seems like something you could skip, rinsing the homemade butter is vital to making it last. When you rinse the butter, you are removing any extra buttermilk, so it doesn’t become rancid quickly.
Store the butter in a plastic or glass container with a lid. Keeping it airtight will help it last longer. It can sit on your counter for a few days. If you don’t use it all by then, place it in the fridge.
I learned that it’s vital to get all of the buttermilk removed from the butter before storing it. If not, the butter will only last around one week before it goes bad.
I know it seems like it wouldn’t hurt to leave this step out, but if you want the best quality butter that lasts, this is the only way.
Yes! Now that I’ve practiced making it many times, I will make much larger batches so I can freeze some for later. Freezing the butter makes it last so much longer, and you can just grab out what you need.
On average, most homemade butter recipes will last around one year in the freezer. This is especially useful if you have access to a good sale and want to stock up! Then you can make as many batches as you want and have fresh butter on hand anytime the need arises.
Generally, 1 pint (2 cups) of heavy cream will yield about 1 cup (2 sticks) of butter and 1 cup of buttermilk. It’s a great return!
Related Recipes


Tried this recipe? Please leave a star ⭐️⭐️⭐️⭐️⭐️ rating in the recipe card below and/or a review in the comments section further down the page. You can also stay in touch with me through social media by following me on Instagram, Pinterest, and Facebook!
How to Make Butter in Food Processor
Equipment
Ingredients
- 1 pint Heavy Cream
- Salt pinch
Instructions
- Pour one pint of heavy cream and salt into the food processor and start it up. Pro Tip: I learned the hard way to cover the top of the food processor with a tea towel because the cream went flying everywhere!
- Continue running the food processor. At around the five minute mark, the butter will start to form.
- Strain the buttermilk using a cheesecloth or a coffee filter. Keep the buttermilk for other uses!
- Pour off any excess liquid and move the butter around the food processor by pressing the spatula into it for about a minute. And, there was my homemade butter!
- Rinse off the butter with very cold water before storing. Place it in a bowl with ice-cold water and knead it using clean hands or press it onto the sides of the bowl with a spatula. Buttermilk will be released, and the water will turn cloudy. Throw away that water, replace it with fresh, cold water, and repeat the process until the water remains clear. This will remove all excess buttermilk and make the butter last longer.
Notes
Nutrition
Hi!
Ginny Collins is a passionate foodie and recipe creator of Savor and Savvy and Kitchenlaughter. Indoors she focuses on easy, quick recipes for busy families and kitchen basics. Outdoors, she focuses on backyard grilling and smoking to bring family and friends together. She is a lifelong learner who is always taking cooking classes on her travels overseas and stateside. Her work has been featured on MSN, Parade, Fox News, Yahoo, Cosmopolitan, Elle, and many local news outlets. She lives in Florida where you will find her outside on the water in her kayak, riding her bike on trails, and planning her next overseas adventure.
If you have a cow it’s free. I use goats cream takes a while to get enough to make. I your boarded at night watching tv. Put the cream in a gallon glass jug with lid on it. Sit in your chair and roll it back forth until done, rinse in cool water until clear.
I made mine using fresh cream in my great grandma’s glass churn. (tho it is now illegal to use fresh milk.) To give the butter a prettier golden color, I would put a couple of grated carrots in piece of cheese cloth & tie it off with a natural twine, and toss it in the churn. (I read the carrot trick in Laura Ingalls Wilder’s Little House on the Prairie book series.)
When I was a kids, my mother would put a liter of fresh from the cow milk into a 2 liter soda bottle. She would then send my sister and I outside to play catch with the bottle for an hour. The end result would be fresh butter in the top of the bottle.. To get it out she would just cut the top off the bottle. We would do this at least every other day. I am looking forward to having my own milk cow again to start making my own butter. I am also glad there is an easier way than just shaking a bottle for an hour!
My mom showed me how to do this many years ago.We used kitchen Aid.Works very well.And it was delicious.Love your web sight!
Usually here in Mid Missouri a quart of Heavy Whipping Cream runs $7.99…..extreme I know. So for me it is not cost effective to make my own butter. However with that being said I really like the idea of being able to make my own anyhow. So when I saw that they had a managers special going on after the holidays for a pint @ $2.70 I bought a few. Now yes still going to be more expensive than if I just went and bought a pound of butter but this way I know what is in it and I see it getting made. Havent done it yet as the cream is getting to room temperature which I read is the best way to do it. So fingers crossed!!
Thought I’d share a Pinterest hack with you,… Do you have mason jars and a blender? The blender end fits on a mason jar, which I use regularly for individual shakes. I imagine it would would quite nicely for butter to avoid making a mess or losing buttermilk in the tea towel,…
You could probably use a coffee filter and the metal screw cap to drain the butter as well.
Butter is expensive by you! I wonder why. I just bought butter and heavy cream at Costco yesterday. For me, a pound of butter was $2.25 while a quart of heavy cream was $4.19. So I’d be spending nearly twice as much to make my own! Strange how that works in different parts of the country (I’m in N. NJ)
Prices are such a regional thing! 🙂
I like the idea of making things myself to control what goes into them. But you seem to be doing this for the cost savings. If so then you calculation is leaving out one component, the cost of the electricity to run your food processor. Surely it would cost more than 56 cents to run your food processor for 10-15 minutes.
Thank you for posting about making your own butter. I didn’t even think of it, but am going to try. I don’t have a food processor but I do have a large mixer w a bowl & different attachments & I saw one post a person used her whip attach. To make her butter w. So I will try the same. Butter around here at this time is over $4.00-$5.50. South central MN. We never use the other stuff
Thank you for sharing this. I was just thinking of trying my hand at making butter. The grocery store has gotten so darn expensive. I will try this.
Jackie, I just did it for my first time today and I’m a giddy little schoolgirl!!! I made fresh homemade butter in my food processor for less than the cost of a pound of butter at the store! I am thrilled, and you will be, too! Just make sure to drain the buttermilk – save it for your baking! – and rinse the butter like she says. You’ll be so happy! Butter here, for 1lb (4 sticks), jumped from $3.68 to $4.28 recently. Now I can make the same amount of butter – plus a pint of buttermilk! – for $3.78!! Yep, I’m a happy girl and I hope you will be, too!
If I only have a blender, can I make butter too?
I have never tried it myself but I think you can!
Yes you can. I used to make all of our butter, all I hand was a small hand held mixer. Worked great. Also on the rinsing: With the butter and buttermilk in the bowl, pour off the buttermilk, add very cold water and just squish it through the butter with your hand. We were never “high tech” with food processors and such.
Being a farm girl, I can tell you this is an excellent, cost saving way to provide more for your family. My only suggestion is this. Don’t add salt till after your butter is drained of buttermilk and rinsed. I squeeze out the buttermilk in a regular bowl, with a spoon, then rinse. Great article, thank for sharing. ♥♥♥
Thank you so much for posting this, sharing your experiences in making it, and helping those of us out there that would love to do this!! I was raised to be a city girl, but my Native roots have come through and thankfully brought me back to the country and the ways of my ancestors and doing things the old fashioned, traditional ways by doing it yourself and not contributing to the consumerism and corporate problem in this country.
In addition to that, I was raised on margarine and vegetable oil, so it’s only been a few years now that I’ve been using – and loving! – real butter and lard. Now that you’ve shared this, I am going to try it for myself as the cost of butter for me here in Mississippi just jumped from $3.68/lb to $4.28/lb and I go through quite a bit as a I make everything I possibly can from scratch to avoid additives, preservatives, GMOs, and all the other unhealthy muck the corporations put in our food.
I am soooooo excited to make my own butter! But I do have one question…is the heavy cream you use the same as “heavy whipping cream”? I ask because that is the only cream I can find in the stores near me (I’ve scoured the milk and cream section for “cream” and just “heavy cream”, but can only find “heavy whipping cream”, which is what I use to make my homemade vanilla whipped cream.
Thank you again so much and I am overjoyed at the possibility of being able to make my own butter and all the other possibilities this opportunity presents!
Truly Yours,
Wesa
Heavy cream and whipping cream have about the same fat content, one is a little more, can’t remember offhand which one. I’ve made butter with whatever fat content cream I had around. including light. The less fat content, the more buttermilk you get and less butter. The butter is just as good, though.
In the cost calculation don’t forget buttermilk has it’s own uses. Don’t throw it away, use it in baking, other cooking or drink it.
I used to make butter every week when I was young, we lived on a farm. We had guernseys and they produce a lot of cream. We used to make anywhere
from 30 to 50 pounds of butter a week. It will freeze very nicely. We used raw cream, unpasturized. Those were the days.