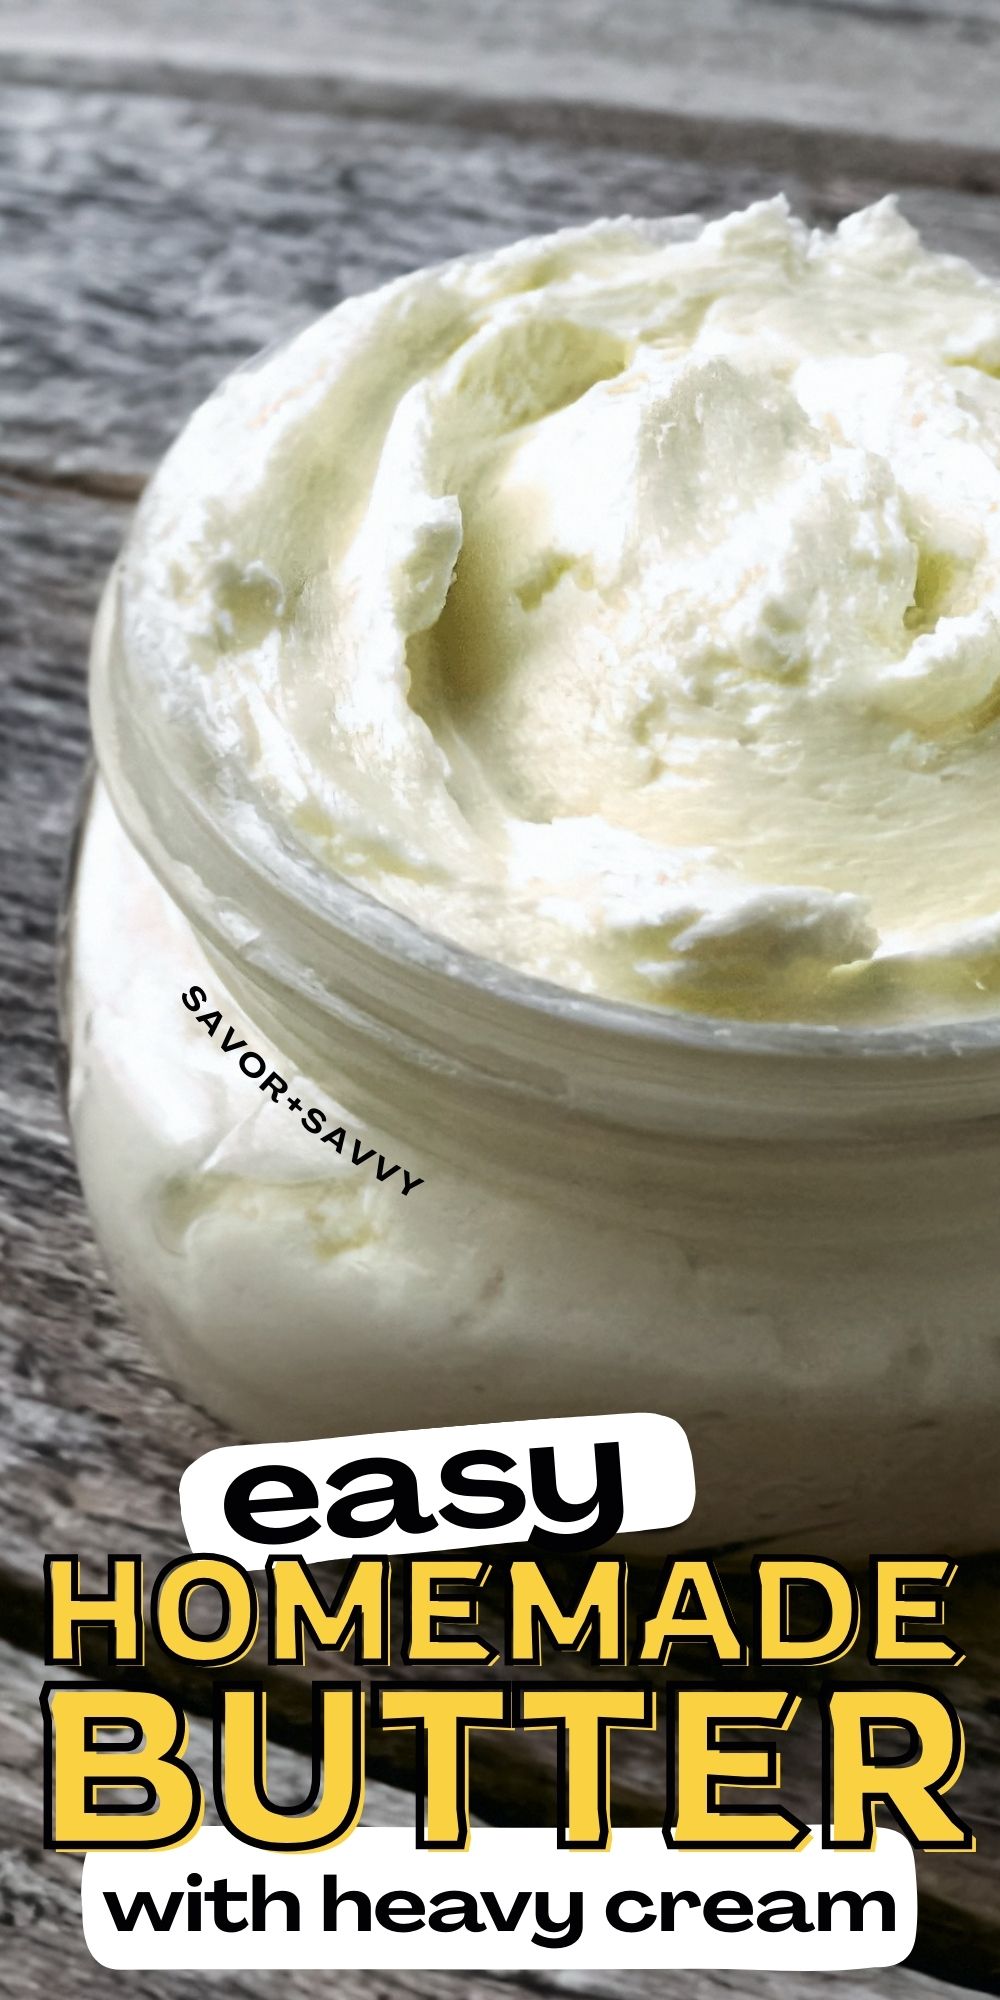
Can butter get better? Only if you make it yourself. There’s nothing like the taste of fresh butter. Making butter in the food processor is ridiculously easy and one of my favorite frugal experiments yet!
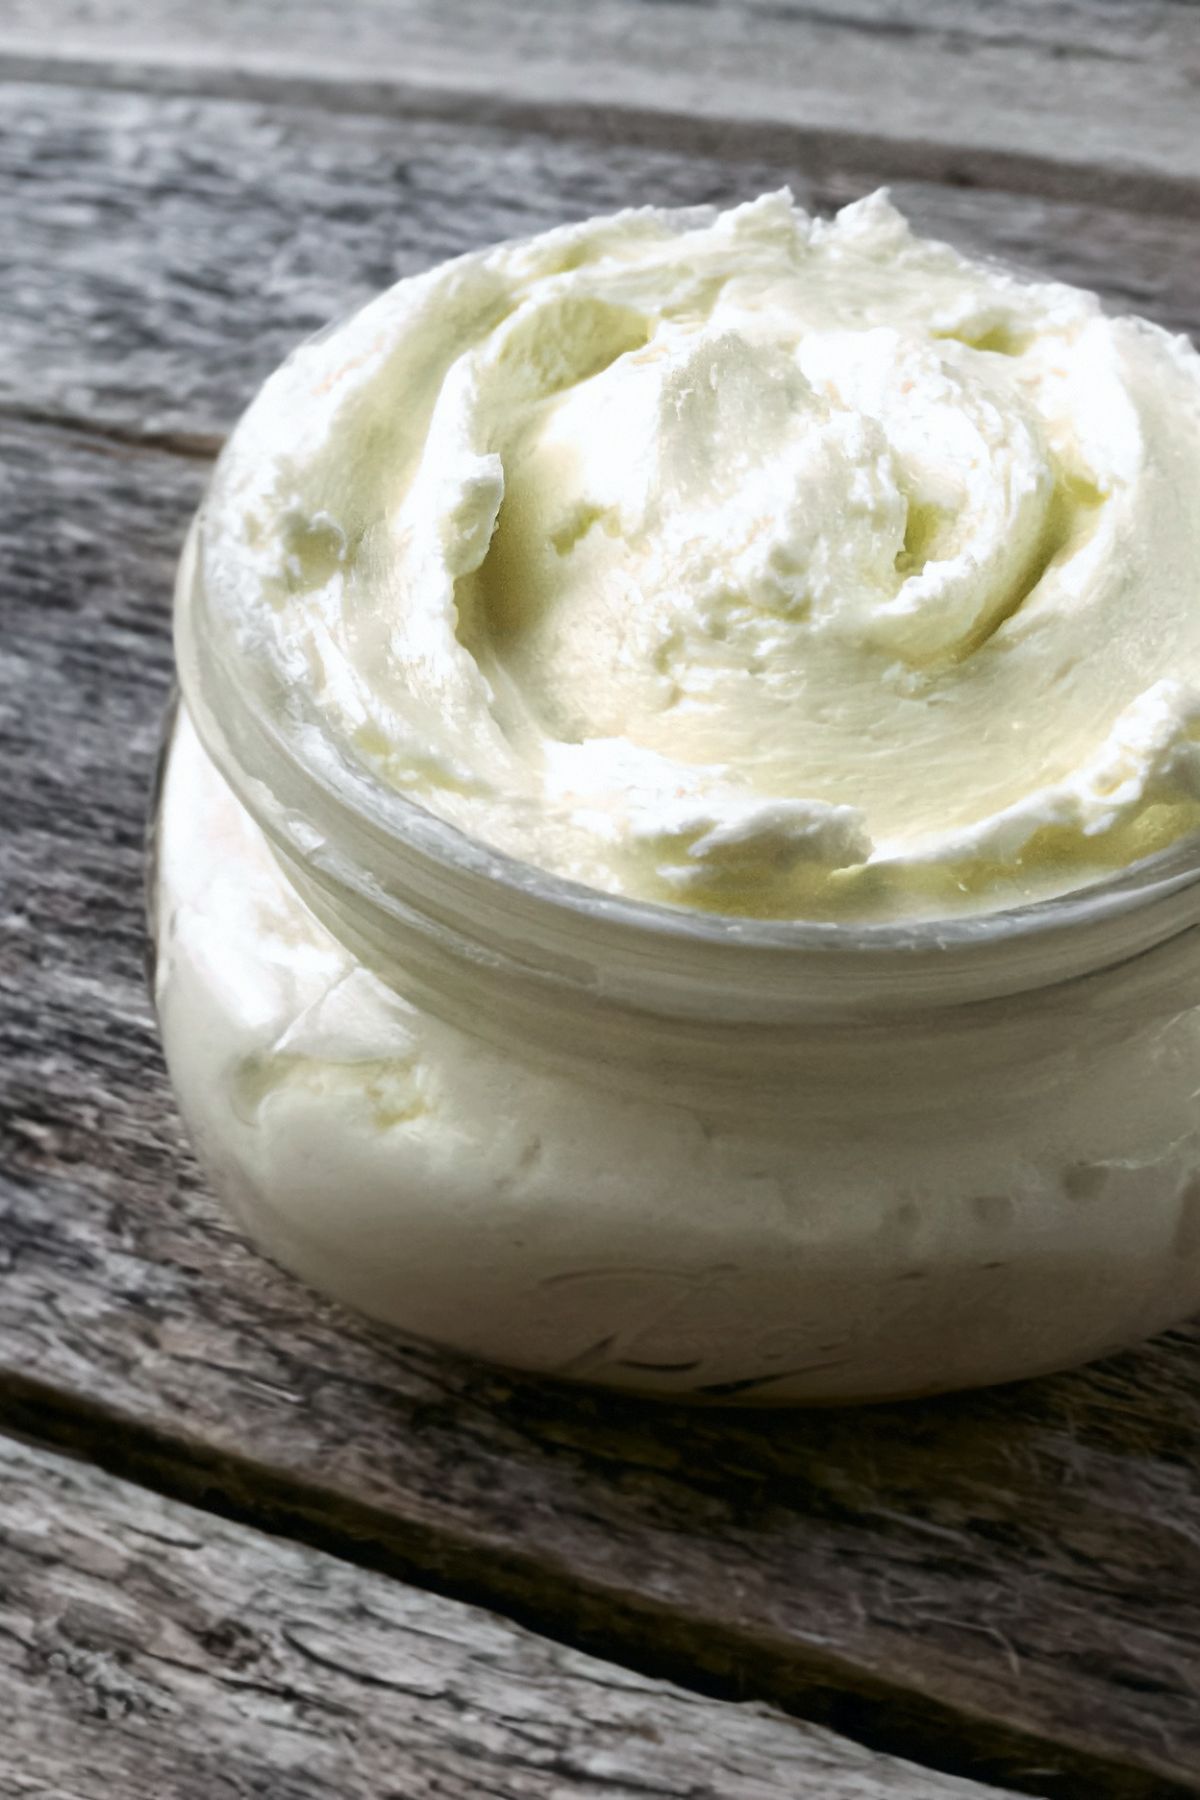
I’ve been putting this off for ages because making something as basic as butter is oddly intimidating. But it’s actually quite simple. It’ll be even easier for you after you read about my mistakes and how to avoid them.
🥛 Ingredients
✅Heavy Cream – This is the major ingredient. The agitation process outlined below will separate the fats in the cream from the milk. It is those fats that will form the wonderful butter. Keep the leftover buttermilk for any number of recipes.
✅Salt – You only need a pinch. It does make a difference, but you really don’t need more than a tiny pinch. This is one of those times when less is more!
🧈 Instructions

👉Step 1: Pour one pint of heavy cream and salt (to taste – I recommend using a light hand) into the food processor and start it up. I learned the hard way to cover the top of the food processor with a tea towel because the cream went flying everywhere!

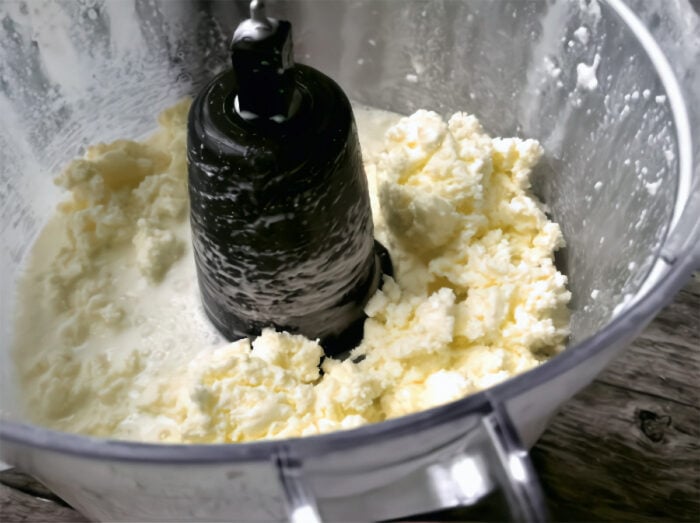
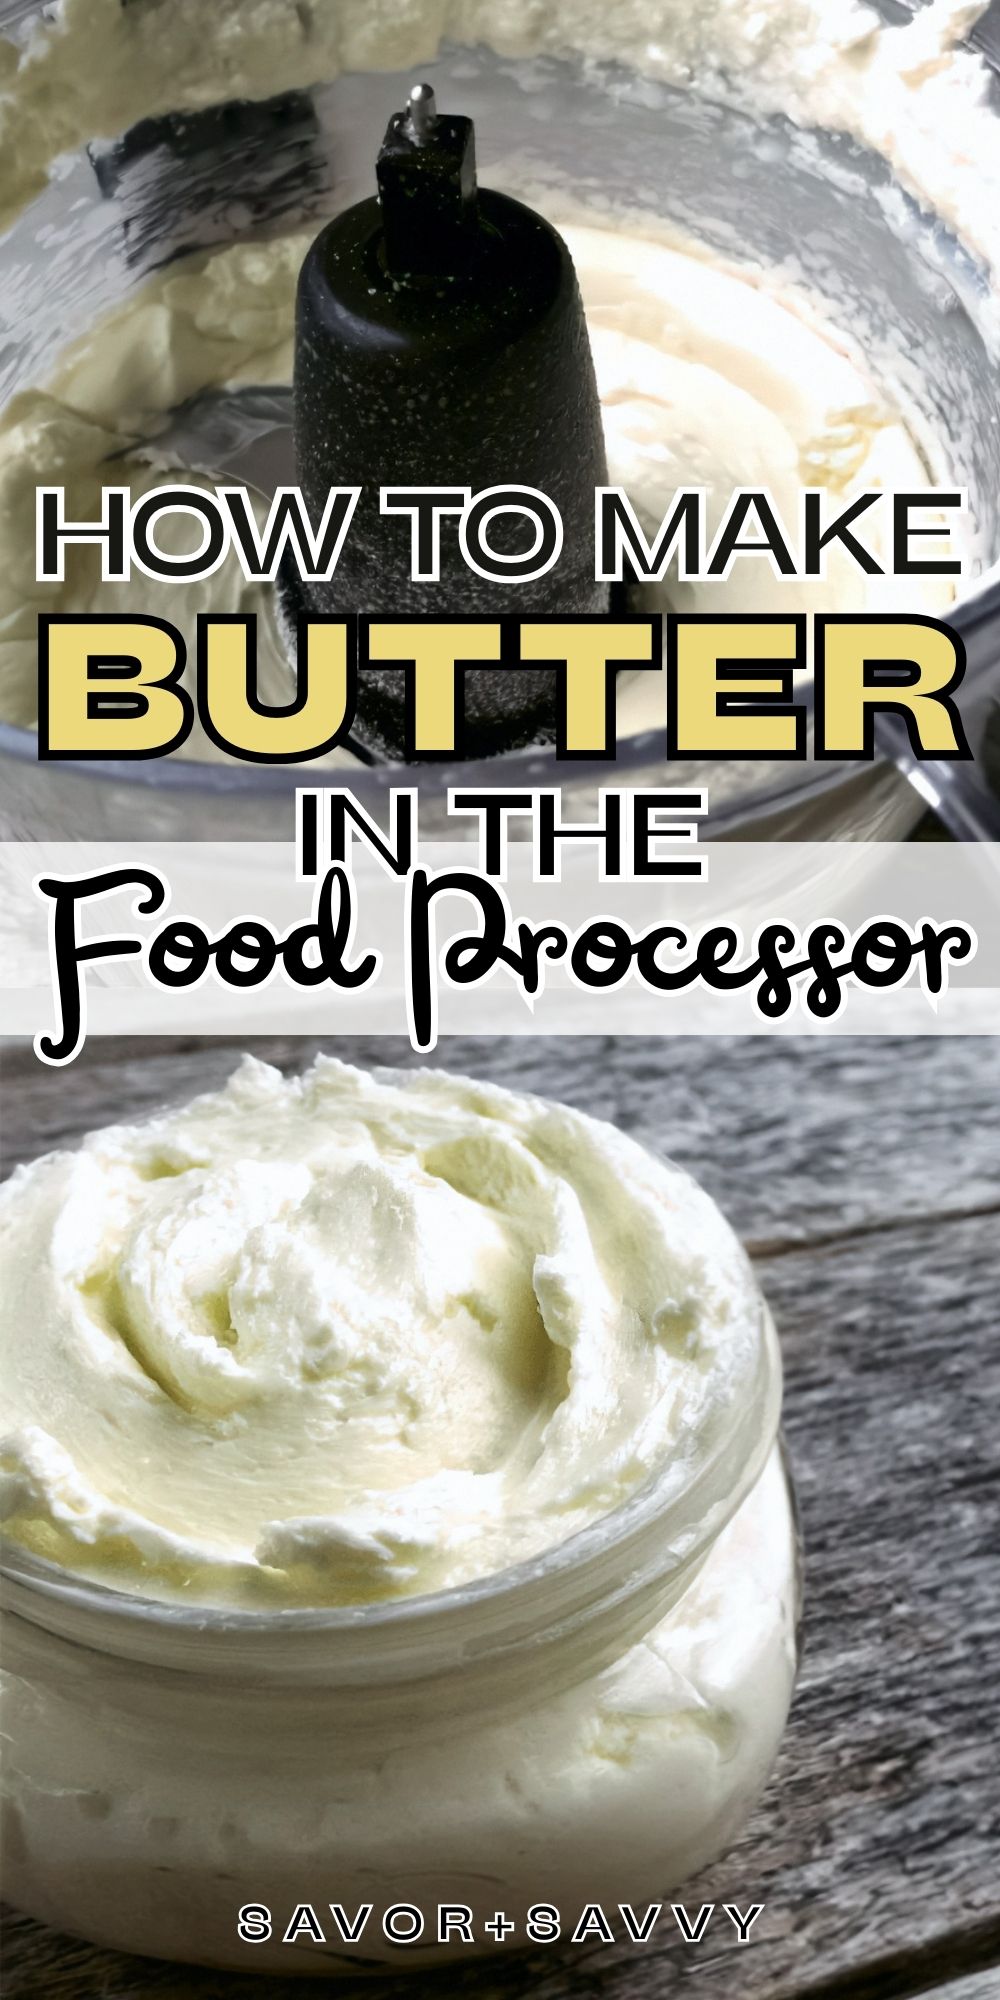
👉Step 2: Continue running the food processor. Five minutes in, the butter will start to form. In the photo above, you’ll see the clumps of butter and buttermilk.
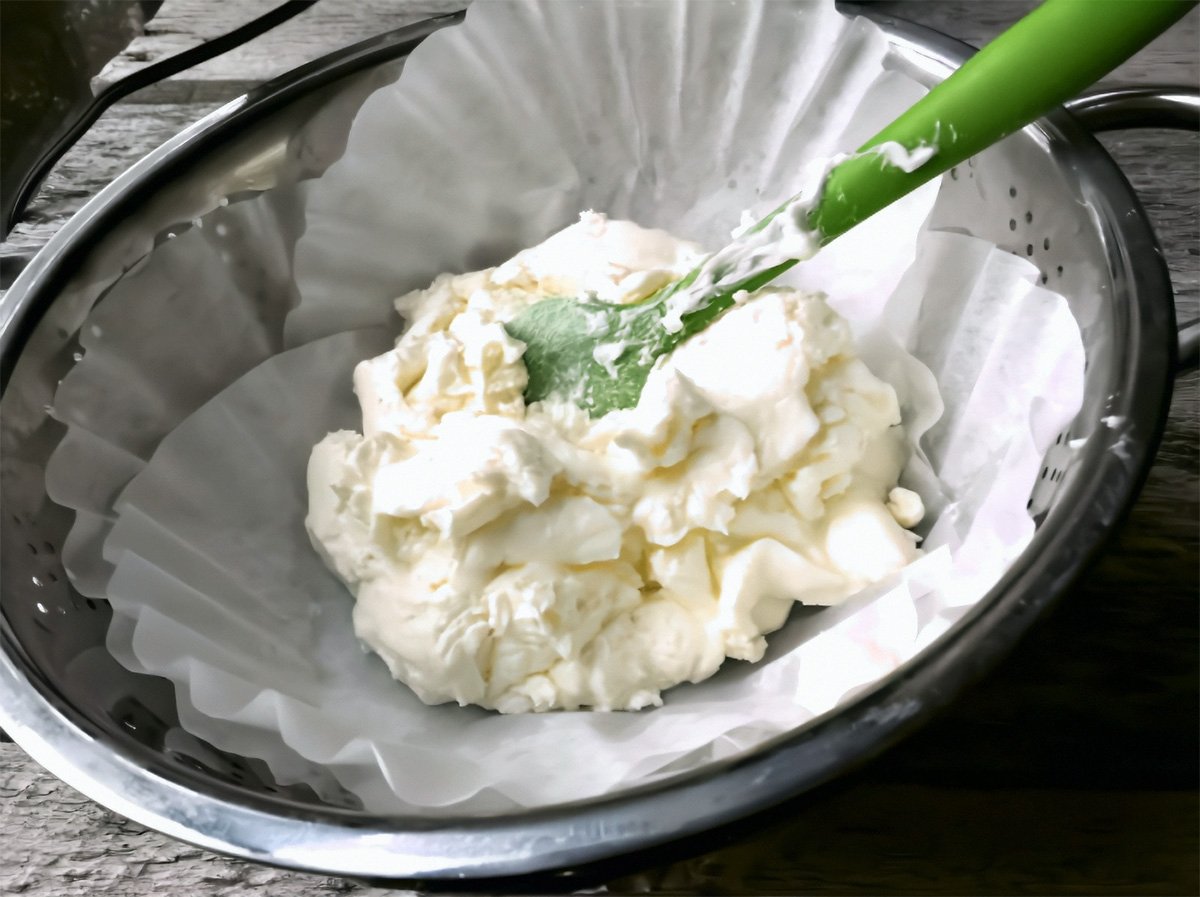
👉Step 3: Strain the buttermilk using a cheesecloth or a coffee filter. Keep the buttermilk for other uses!
Note: This is where I made a mistake. I neglected to separate the butter from the buttermilk the first time I tried this and just kept the food processor going for a solid ten minutes. It made it much harder to strain the buttermilk as it had reincorporated back into the butter.

👉Step 4: Pour off any excess liquid and move the butter around the food processor by pressing the spatula into it for about a minute. And, there was my homemade butter!
👉Step 5: You’re almost done, but don’t skip this final step – rinsing the butter is crucial for making it last longer.
Place your butter solids in a bowl of ice-cold water (you can even add ice cubes). Use a spatula (or your clean hands!) to press and knead the butter against the side of the bowl. You’ll see the water turn cloudy. Dump that water, add fresh cold water, and repeat until the water stays perfectly clear. This gets every drop of buttermilk out, so your butter stays fresh for weeks!
💡 Recipe Tips
As I noted above, the first time I made this didn’t separate the butter from the buttermilk. As a result, it mixed back together. I was able to fix it using these steps.
🔸Add ice water to the combined butter and buttermilk mixture and pulse the food processor several times. The cold water helped to separate the ingredients and I was able to then strain it.
I was surprised how well this worked, and how forgiving the butter was. Of course, it would have been easier to strain it earlier in the process, but this is a great tip if you make a mistake.
We slathered the butter on fresh-baked muffins. Try it.
🍴 Variations
There are plenty of aromatics you can add to your homemade butter, and you might already know this as compound butter. I tried many, and I have to say I loved them all – butter really goes well with anything.
You’ll need to add the herbs and spices to the butter when it’s softened. The best way to soften the butter is to set it on the counter for a little bit and let it warm to room temperature. Use an electric mixer and add the extra ingredients. Here are some ideas:
- Garlic – Use garlic butter on steak, eggs, or even a slice of toast. It’s heavenly!
- Chives – Chop up some chives and add them to the butter. This is wonderful with veggies or a baked potato.
- Sage – I like to add sage and use with seafood. It’s beyond incredible! Plus, it tastes good on a freshly baked biscuit too.
- Basil – This is a favorite to add to chicken or eggs! I love the flavor it gives my food, and it goes so well with the creamy butter.
There are many other flavors you can add to the butter. It’s important to note that you need to let the butter absorb these flavors for a while before using it. I like to let mine sit for 3-4 hours whenever possible, but it’s your call.
❓ FAQ
As long as you properly prepared the butter, you should have no problem with it lasting around two or three weeks. This is wonderful because it takes so little time to make and lasts a long time. You always have it handy when you need it.
Yes! If you’re like me and hate wasting anything, then you will love this idea.
Use it to make fried chicken, pancakes, waffles, salad dressings, and baked goods. Think outside the box. You can also freeze it for later. Pour it into an ice cube tray so it’s in convenient sizes whenever a recipe requires some. Just thaw it in the fridge the night before, and then add it to all your favorite recipes.
If the buttermilk goes bad, you’ll notice that it smells terrible and has a more chunky texture to it. The color of the homemade buttermilk will also change too. If you ever notice anything odd, it’s best to pour it out.
Yes, while it seems like something you could skip, rinsing the homemade butter is vital to making it last. When you rinse the butter, you are removing any extra buttermilk, so it doesn’t become rancid quickly.
Store the butter in a plastic or glass container with a lid. Keeping it airtight will help it last longer. It can sit on your counter for a few days. If you don’t use it all by then, place it in the fridge.
I learned that it’s vital to get all of the buttermilk removed from the butter before storing it. If not, the butter will only last around one week before it goes bad.
I know it seems like it wouldn’t hurt to leave this step out, but if you want the best quality butter that lasts, this is the only way.
Yes! Now that I’ve practiced making it many times, I will make much larger batches so I can freeze some for later. Freezing the butter makes it last so much longer, and you can just grab out what you need.
On average, most homemade butter recipes will last around one year in the freezer. This is especially useful if you have access to a good sale and want to stock up! Then you can make as many batches as you want and have fresh butter on hand anytime the need arises.
Generally, 1 pint (2 cups) of heavy cream will yield about 1 cup (2 sticks) of butter and 1 cup of buttermilk. It’s a great return!
Related Recipes
Tried this recipe? Please leave a star ⭐️⭐️⭐️⭐️⭐️ rating in the recipe card below and/or a review in the comments section further down the page. You can also stay in touch with me through social media by following me on Instagram, Pinterest, and Facebook!
How to Make Butter in Food Processor
Equipment
Ingredients
- 1 pint Heavy Cream
- Salt pinch
Instructions
- Pour one pint of heavy cream and salt into the food processor and start it up. Pro Tip: I learned the hard way to cover the top of the food processor with a tea towel because the cream went flying everywhere!
- Continue running the food processor. At around the five minute mark, the butter will start to form.
- Strain the buttermilk using a cheesecloth or a coffee filter. Keep the buttermilk for other uses!
- Pour off any excess liquid and move the butter around the food processor by pressing the spatula into it for about a minute. And, there was my homemade butter!
- Rinse off the butter with very cold water before storing. Place it in a bowl with ice-cold water and knead it using clean hands or press it onto the sides of the bowl with a spatula. Buttermilk will be released, and the water will turn cloudy. Throw away that water, replace it with fresh, cold water, and repeat the process until the water remains clear. This will remove all excess buttermilk and make the butter last longer.
Notes
Nutrition
Hi!
Ginny Collins is a passionate foodie and recipe creator of Savor and Savvy and Kitchenlaughter. Indoors she focuses on easy, quick recipes for busy families and kitchen basics. Outdoors, she focuses on backyard grilling and smoking to bring family and friends together. She is a lifelong learner who is always taking cooking classes on her travels overseas and stateside. Her work has been featured on MSN, Parade, Fox News, Yahoo, Cosmopolitan, Elle, and many local news outlets. She lives in Florida where you will find her outside on the water in her kayak, riding her bike on trails, and planning her next overseas adventure.


I realize this was. experiment and you used only a pint of heavy cream that costs.$1.99 for 16 oz. So to make a pound of butter equal to 4 sticks of butter sold at the store for $4.00 a pojund.
You would need 2 pints or 1 quart of heavy cream which sells for $3.00 or 3 something if I can remember right, you’re still saving maki.g your own.
Now about the rinsing part after you remove the buttermilk, do you just add ice or ice cold water and then press the wayer out? I definitely am going to try this w my grandson he loved butter vs fake butter thanks for shari.g
My husband taught me years ago to make butter from heavy cream that had gone a little sour rather than pour it out. The sourness comes out in the buttermilk. You can’t save it, but you can salvage the butter. I have done this several times. A word to the wise though, it doesn’t work on *really* sour cream, just slightly sour lol. BTW, I used my stand mixer and just let it whip until the butter and buttermilk were separated.
I learned from a elderly lady that lived on a farm and made the best homemade butter weekly. I have never tasted any store bought butter that would even come close to hers. She also taught me to let my cream sit and “cure” for a few days before making my butter. You don’t let it sour but you let it come to almost that stage. It enhances the flavor. She used to use an old fashion butter churn to make hers but she told me that using a jar or mixer shouldn’t make any difference. Now I am anxious to make some since I went from making my own to buying store bought.
I make it regularly but I just throw mine in my mixer bowl and turn in my uptight mixer. Dump it out on my wooden tray, run water over it and press the water out with a wooden spoon. I’ve never added salt though.
When you want to do something “fun” with the kids, use those old pickle jars you save to make it in.. Pour your cream in the jar, tighten the lid, and let them roll it around on the carpet and shake it up for a while. Let them switch turns when their arms get tired. Then when they are done, let them eat it on some muffins or sweet cornbread. When my kids were younger thats how we would do it. They actually loved it!
This is really aweseome and def will be trying this. But at the moment I can find butter $2.75 # and heavy cream is $2.25 per 1 pint.
I freeze my store-bought butter all the time. So, I assume if you wrap it well (to eliminate off-smells and taste), it will be wonderful! Can’t wait to try this-thanks for the good tips/tricks!
two question? (from a newbie to DIY projects)
1.) how to strain the buttermilk?
2.) how to rinse the butter?
1. I love your stubborn attitude. That is totally me in the Kitchen and now that I think of it, life in general. My tombstone should read “I did it my way!” (just in case you are too young, that is a Frank Sinatra song. I am too young too, but had grandparents)
2. The generic brand butter, meaning the lowest price, at our store is either $3.99 or $4.99, can’t remember. This would be a huge savings for us. Or at least me since my roommate is always using my butter!
3. I have no idea how I ended up at your blog, perhaps Pinterest, but you now have a new subscriber.
Questions-
1.I have a smallish processor, let me go see how big…crap, another problem is that my roommate is always moving and reorganizing our small kitchen and I have no idea where it is now. Anywho, I was going to compare our processor sizes to see if I would have to do it in two batches, but can’t now.
2. Have your tried freezing it? When regular butter is on sale, I buy mass amounts and freeze it without issue. I don’t think that I would keep up with having to make either 8 or 16 oz. every week if I can’t get away with freezing it for a week or two off.
Now, I am excited to try it and will be the guinea pig for organic. Sorry for the blabbering, but with the local prices so high, I am stoked and love to DIY stuff.
Stubborn ladies unite! 😉 The butter in your area is RIDICULOUSLY expensive, so depending on the cost of cream, this could be a huge savings! I just checked my food processor and it’s a 2.5 quart so it’s on the small side. Even if yours is smaller it should still work without too much splashing so long as you don’t double the batch (my food processor likes to bleed liquid from the sides if it gets too high).
I haven’t tried freezing it yet but you just gave me an idea! I’d imagine that it would work similarly to freezing store-bought butter since they’re both made up of the same ingredients. I’ve made the butter again since writing this post and you *can* form it into a stick, it’s just not as hard as store-bought butter. Please do let me know if you try the organic version and freeze it! I’d love to know your results.
And your “blabbering” made my day so please don’t apologize! <3
First Results- Once I found the processor in the shed. (who puts a vital Kitchen utensil in the shed?) I tried with just 8 oz of organic that I bought from the foo-foo health/natural store for $1.99. It would probably be cheaper at a regular store, but I was walking and lazy, not to mention that the prices are so high at this little store that I don’t over-buy ever.
I ended up running the processor for about 10 minutes and it never produced buttermilk. The noise was driving me nuts, so I had to stop. However, we ended up with about a pint of the best soft whipped butter that you have ever tasted. So I call it a success. We had to be careful because it was so good that we ha a tendency to smear on more than we would have with regular. I just need to remind everyone that they can’t leave it out like they do the regular butter.
Larger quantities and freezer trials come next. The trick will be coming up with the right container in the right shape. I went to the same expensive store again, but a full pint was $2.99, still cheaper than butter. Once I get off of my lazy but and go to the real store, I will break it down cost-wise.
THANK YOU!
We have Buttermilk Huston! It must just have been the low quantity, but I tell ya, that whipped butter is good.
I put some in a air-tight plastic labeled container in the freezer, will keep you posted:)
Hi,
this looks very interesting and i will try it but i like making cream into ice cream lol I do however buy shop butter especially on offer and mix some virgin oil with it and it makes a very tasty spreadable with no hidden extras. I tried it with olive oil but the taste was strong so i use extra virgin rapeseed (think it is canola in usa) and it is lovely. you have to add more than you would think so it actually makes it more. I dont add enough for it to be spreadable from the fridge, but we eat a lot so it goes fast. I would just add more oil if it was to last in the fridge 🙂
I believe that is for a one pound /4 sticks of butter package. The site is comparing 8 ounces of butter that results from 16 ounces of heavy cream.
How long will the butter last? When I’m baking a lot it would be used up really quickly but I’m a college student and get really busy sometimes so it might end up sitting in my fridge quite a while.
I can tell you from my personal experience that it lasted about a week in the fridge. It could last longer, but I really can’t guarantee that it will since that is the longest I’ve kept it myself.
You can freeze it
This is AWESOME!!! I’ve sort of made butter when I was a kid . . . mostly it was my dad . . . he would put it in a jar & sit & shake it!! LOL Yeah, he was very very old school & we got the cream from his brother’s cow . . . .that said, as a kid I hated it . . . now I wish he was around. . . OYE!! We make a “healthy, spreadable butter” now we’ll have to try making our own butter to use in it first!! Thanks for sharing!!
I’m such a proud Wisconsinite, I’d have to have my food processor churning non-stop with all the butter I eat. Ha ha! Good to know that the cost justification is there, though. I think this would be a great way to make some herbal butters or other flavored butters – just throw the flavorings in with the cream and let it all infuse.
One tip, for people who can’t make their own, butter can be frozen. I stock up when there’s a deal – half my freezer door is butter. I’m not kidding about being a proud Wisconsinite.
This was a welcome post on the butter making. I appreciate it very much. I feed my family the same way you do and it was wonderful being able to know how to do this homemade.
Thank you very much for the article and instructions for us all.
Jenn in Oregon
I have made butter before with cream and a baby food jar at camp. Ecellent way for your kiddos to get involved. Just pour the cream in put on the lid and shake. It does the same thing as the food processor just in smaller portions.
I have never made butter but this method seems easy and I do like to make scones with shop bought Buttermilk.
Will have to try this. Thank you for recipie.
I’ve made butter in my stand mixer with the whipping attachment. It came out well. I never did a cost analysis, though. I haven’t done it in a long time but I’ll start now!