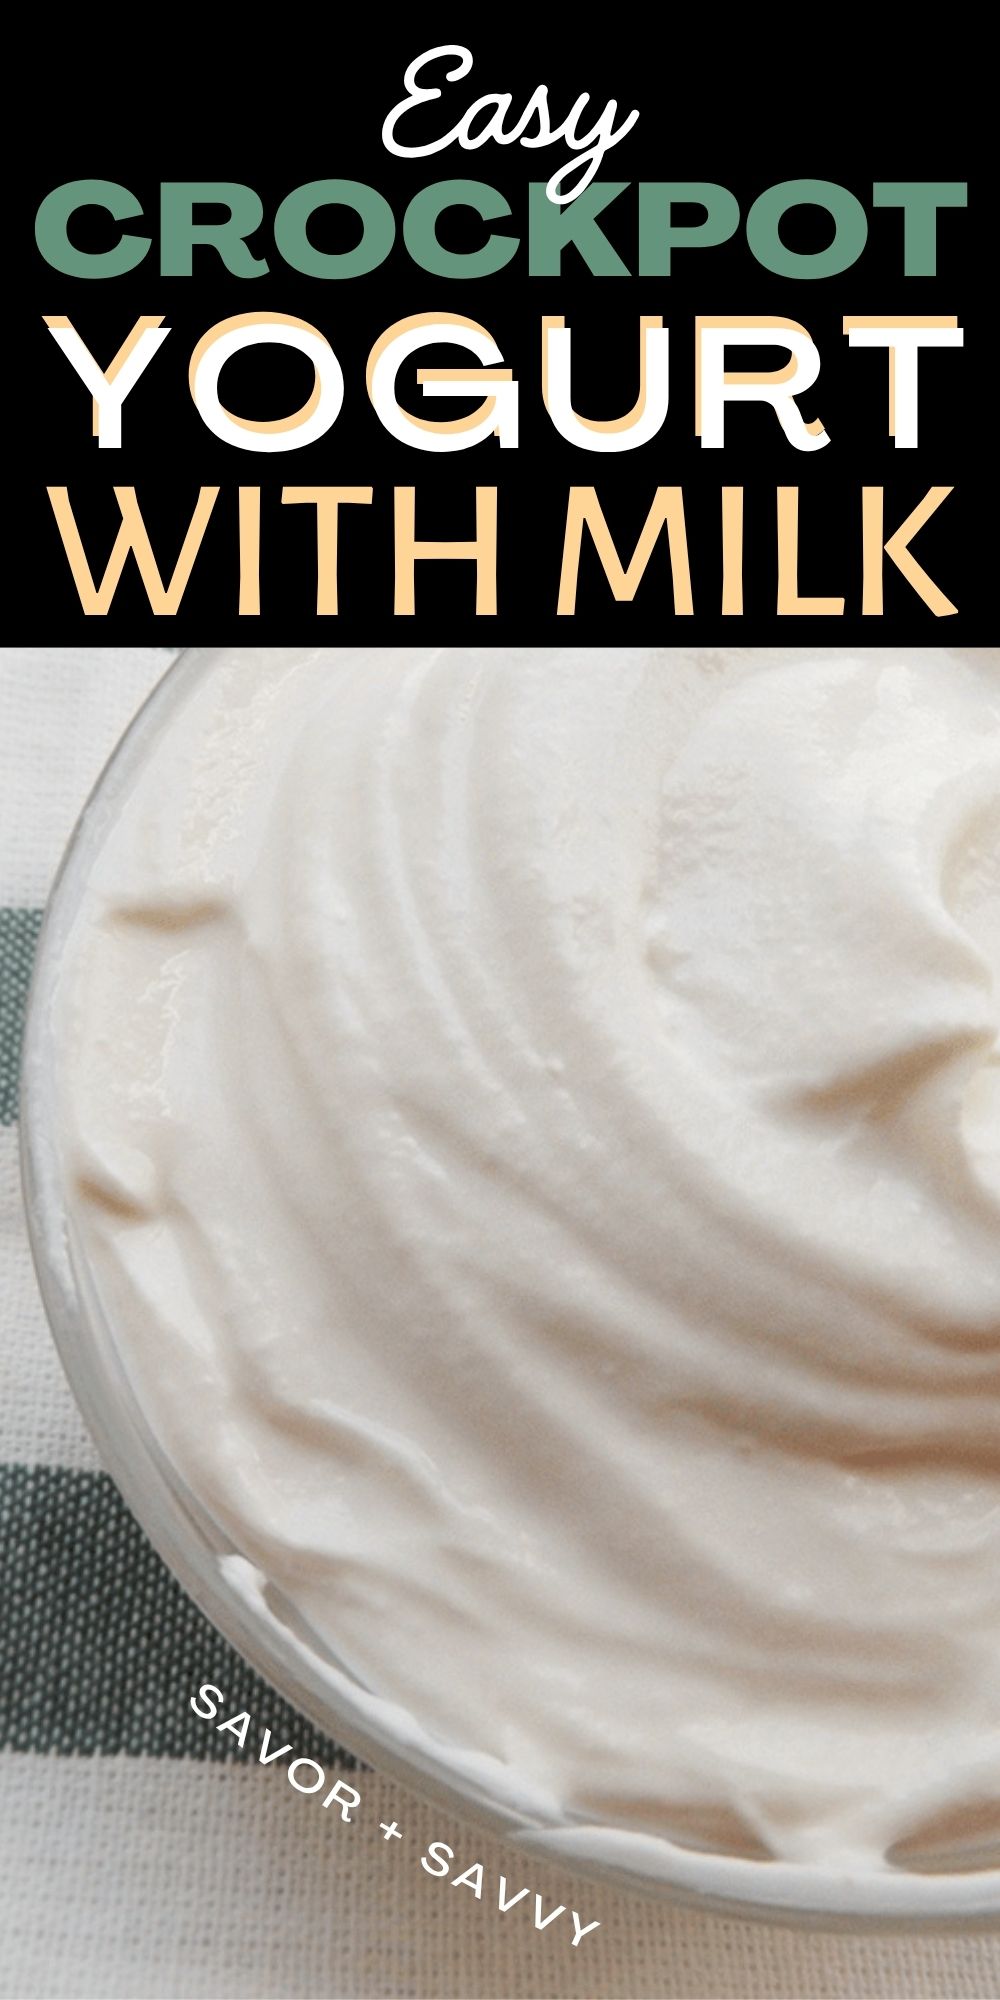
I used to be a “buy-it-at-the-store” yogurt person, but this recipe completely changed my mind. This homemade crockpot yogurt is so incredibly creamy and fresh-tasting, it’s a world apart from the store-bought tubs. Plus, I love that I know exactly what’s in it!

I realize you can run to your local grocery store and pick up yogurt, BUT making your own tastes even better and richer. And it’s cheaper too!
I’m super excited to share my version of homemade yogurt with you.

🥛 Ingredients
If you’ve never made this at home before, you’re in for a real treat. We’ve already talked about the fact that it saves you money, but it also tastes fantastic. Let’s talk about the main ingredients you’re going to need to make your own.
✅Milk: Your choice of milk determines how silky smooth the end product tastes. It will turn out extra creamy if you use full-fat milk.
✅Yogurt: To properly make yogurt, you do need to have at least an 8-oz yogurt starter. Any brand or variety of yogurt that you like will work perfectly for this.
✅Sugar: You don’t need a ton of sugar, just a little bit to sweeten it up. Use your favorite sugar substitute or even honey.
✅Vanilla: A teaspoon of vanilla extract will make this yogurt extra yummy!
💰 Is It Cheaper to Make Your Own Yogurt?
Oh, yes! While we all know prices for milk and groceries change constantly and are different everywhere, the basic math is always a winner!
A half-gallon of milk will always cost you significantly less than buying the same 64 ounces of pre-made yogurt cups.
The real savings kick in after your first batch: you no longer need to buy a store-bought yogurt starter – you can just use a few spoonfuls of your own delicious homemade yogurt to start the next batch for free!
🥛 Instructions
👉Step 1: Pour the milk into the slow cooker, turn it on low, add the lid, and let it heat for two hours.
👉Step 2: After the two hours is over, turn turn the crock pot off and unplug it. Leave the lid on and it let cool for two hours.
👉Step 3: Pour the yogurt starter in small bowl. Stir in vanilla extract and sweetener of choice. Ladle 1/2 cup of warm milk into the bowl. Stir gently until combined.
👉Step 4: Pour this mixture into the crockpot and combine using a gentle back and forth motion with the spoon or spatula to incorporate it into the milk. Replace the lid. Leave the crockpot turned off and wrap it with a towel to insulate it more. Let it sit for 12 to 18 hours. This will give the bacteria in the starter a chance to work.
👉Step 5: Line a colander with coffee filters and place it over large bowl to catch the whey that will drain from the yogurt. Pour yogurt from the slow cooker into the colander, and transfer the colander and bowl to the fridge for at least 6 hours. The yogurt will thicken as the whey drains.
👉Step 6: Remove this from the refrigerator and scoop into small sealable containers and serve!

📌 Expert Tips
🔸Using whole milk gives the yogurt a creamier texture. Plus, it will be thicker and have a higher fat content.
🔸Reader tip: Add a pack of unflavored gelatin for a much thicker consistency.
🔸Reader tip: Add ½ cup of dried milk to the starter mix for a thicker yogurt.
If you’d like to, save the whey for other purposes, like adding into homemade smoothie packs!
🔸Save 1/2 cup of prepared yogurt to use as the starter in your next batch.
🔸If you plan to use the yogurt to serve as a base for a dressing, dip, or a marinade, leave out the sweeteners and vanilla. This allows you to get double the use out of your batch! However, you will have to sweeten to taste when serving.
🔸If the yogurt doesn’t thicken enough, allow it to drain longer. The more whey that is removed, the thicker the consistency will be.
❓ FAQ
Yep! It’s a must if you want the yogurt to turn out. You can buy a store-bought container of yogurt or save some back from a batch you recently made. Either way, it’s important to use a starter.
Most of the time, homemade yogurt is going to last around two weeks in the fridge. Keep it airtight in plastic or glass containers with a tight-fitting lid.
You can use milk with a lower fat content, however, your yogurt may not be as thick.
You can use this recipe to make Greek style. You’ll need to use a cheesecloth instead of coffee filters when draining, and you’ll have to let it drain longer, probably overnight, which turns this into a 2-day-ish process (hence why I don’t take that route very often!)
Related Recipes


Tried this recipe? Please leave a star ⭐️⭐️⭐️⭐️⭐️ rating in the recipe card below and/or a review in the comments section further down the page. You can also stay in touch with me through social media by following me on Instagram, Pinterest, and Facebook!

How to Make Yogurt in the Crockpot
Ingredients
- ½ gallon Milk whole
- ⅛ cup Sugar
- 1 8 oz Yogurt unflavored, single serve to use as a yogurt starter
- 1 tbs p Vanilla Extract
Instructions
- Turn crockpot on low and pour in milk. Cover with the lid and let it heat up for two hours.
- After the two hours is up , turn crock pot off and unplug it. Leave the lid on and let it cool for two hours.
- Pour the yogurt starter in small bowl. Stir in vanilla extract and sweetener of choice. Ladle ½ cup of warm milk into that bowl and stir gently until combined.
- Pour this mixture into the remaining milk in the crockpot and combine using a gentle back and forth motion with the spoon or spatula to incorporate it into the milk. Replace the lid. Leave crockpot off and wrap with a towel to insulate it. Let it sit overnight, for 12 to 18 hours.
- Line colander with coffee filters and place it over large bowl to catch the whey that will drain from the yogurt. Pour yogurt into the colander, and transfer colander and bowl to fridge for six hours. The yogurt with thicken as the whey drains.


Notes
Nutrition
Hi!
Ginny Collins is a passionate foodie and recipe creator of Savor and Savvy and Kitchenlaughter. Indoors she focuses on easy, quick recipes for busy families and kitchen basics. Outdoors, she focuses on backyard grilling and smoking to bring family and friends together. She is a lifelong learner who is always taking cooking classes on her travels overseas and stateside. Her work has been featured on MSN, Parade, Fox News, Yahoo, Cosmopolitan, Elle, and many local news outlets. She lives in Florida where you will find her outside on the water in her kayak, riding her bike on trails, and planning her next overseas adventure.

amazing how much yogurt you can make infinitely
First time I have been successful at making my own yogurt. I used skimmed milk and drained for longer for a greek style yogurt. I chose not to add sugar and vanilla as I wanted to be able to use it for savoury dishes too.
Thank you for making it so simple and clear.
This makes me soooo happy!! Cheers!!
Can you use this method with coconut milk. My grandson is allergic to the protein in milk, and almonds. Coconut milk seems to be our only alternative.
Linda, thanks for stopping by. I haven’t done it with coconut milk but when I do some digging into it, there are completely different ingredients and such. Try this one as it gets really strong reviews and I want you to have success! Cheers! Ginny https://www.stockpilingmoms.com/crockpot-coconut-yogurt/
The yogurt itself was really good. But using coffee filters to line the colander was a huge annoying mess when removing the set yogurt.
Carol, alternatively, you could use cheesecloth but most people don’t have that laying around in the kitchen like we do coffee filters. So happy you enjoyed the taste!!! Cheers! Ginny
This is now sitting under there blankets. Thank you for sharing!
Awesome!! Enjoy!