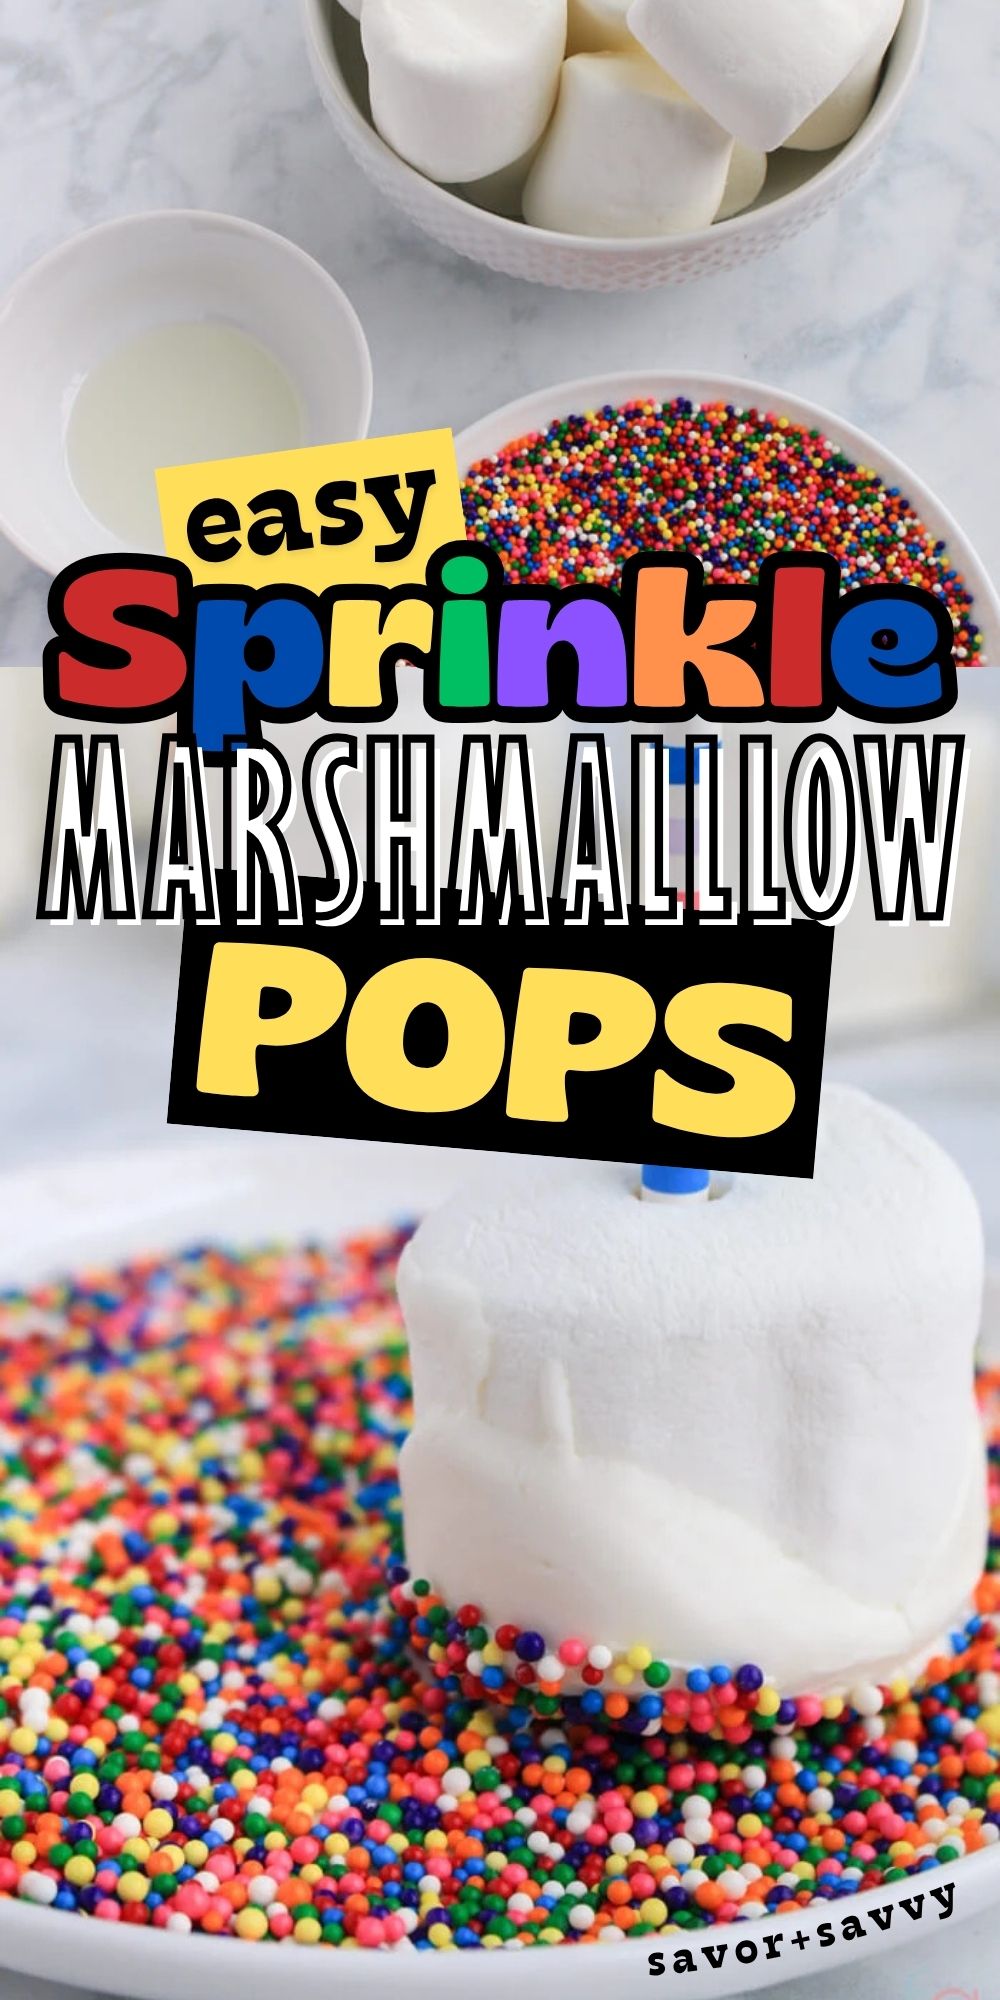
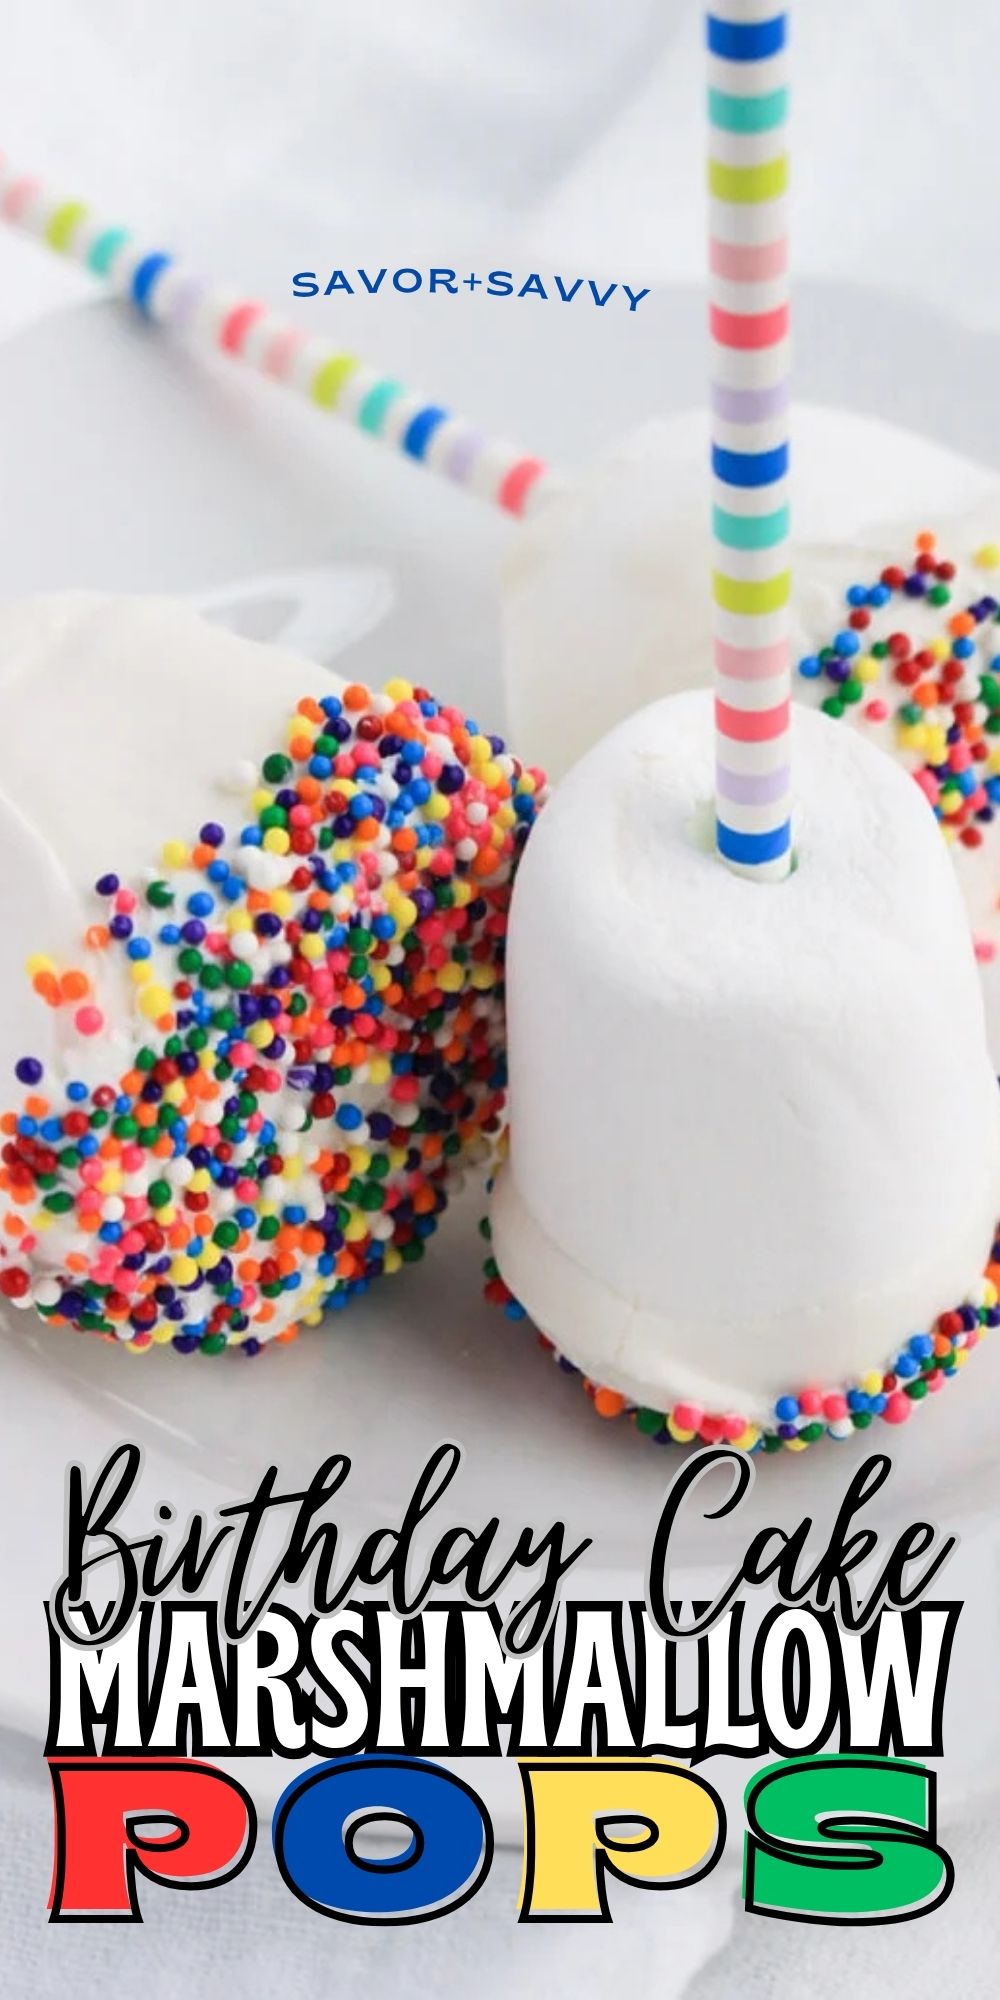
Whenever I’m planning a party, my goal is always to have a few treats that look amazing but take almost zero effort. These sprinkle marshmallow pops are my favorite “no-bake” treat that looks like you spent hours to make. They’re just so fun, colorful, and ridiculously simple to whip up!


You have two options when making these sprinkle pops – half dipping them or creating a hard chocolate shell around the entire marshmallow.
I prefer the full chocolate shells because the ratio of hard chocolate to mushy marshmallow is perfect. BUT, this requires double the candy melts, so you’ll need two bags of candy melts if dipping them this way.
The recipe below is for half-dipped marshmallow pops – they have that festive birthday cake look without all the hassle. You’ll need an extra bag of candy melts and maybe a tiny bit more vegetable oil if you prefer to dip the entire marshmallow.
🍭 Ingredients
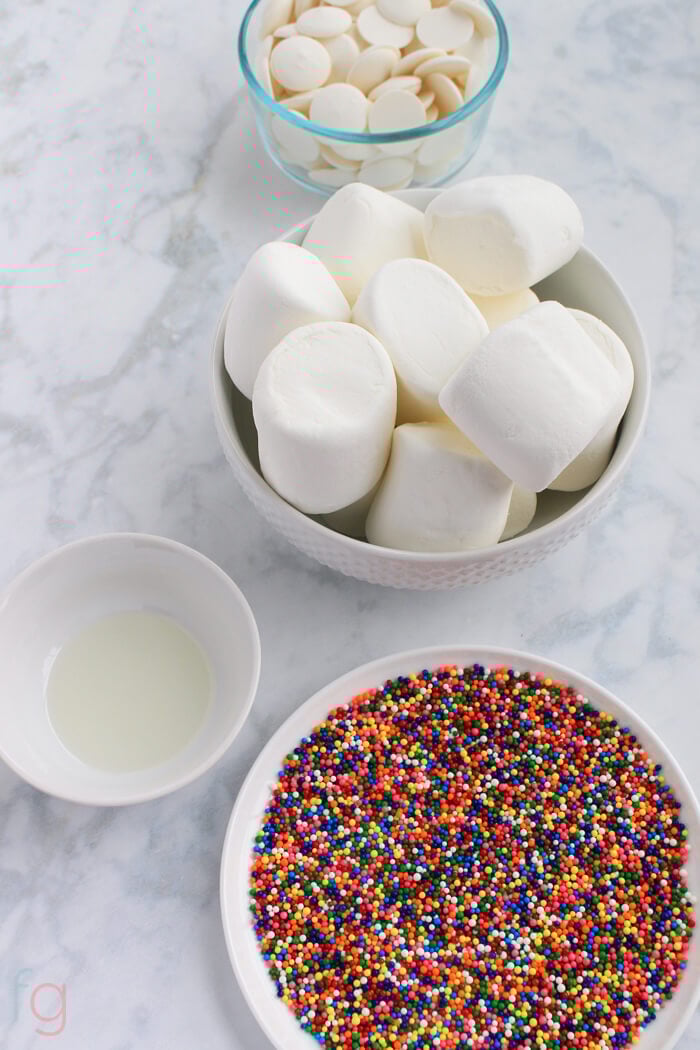
With just 4 ingredients you can’t go wrong. Let’s investigate what you need:
✅Marshmallows: The key here is using jumbo marshmallows. They are so good!
✅Candy melts: We used white chocolate, but you could really use any color want.
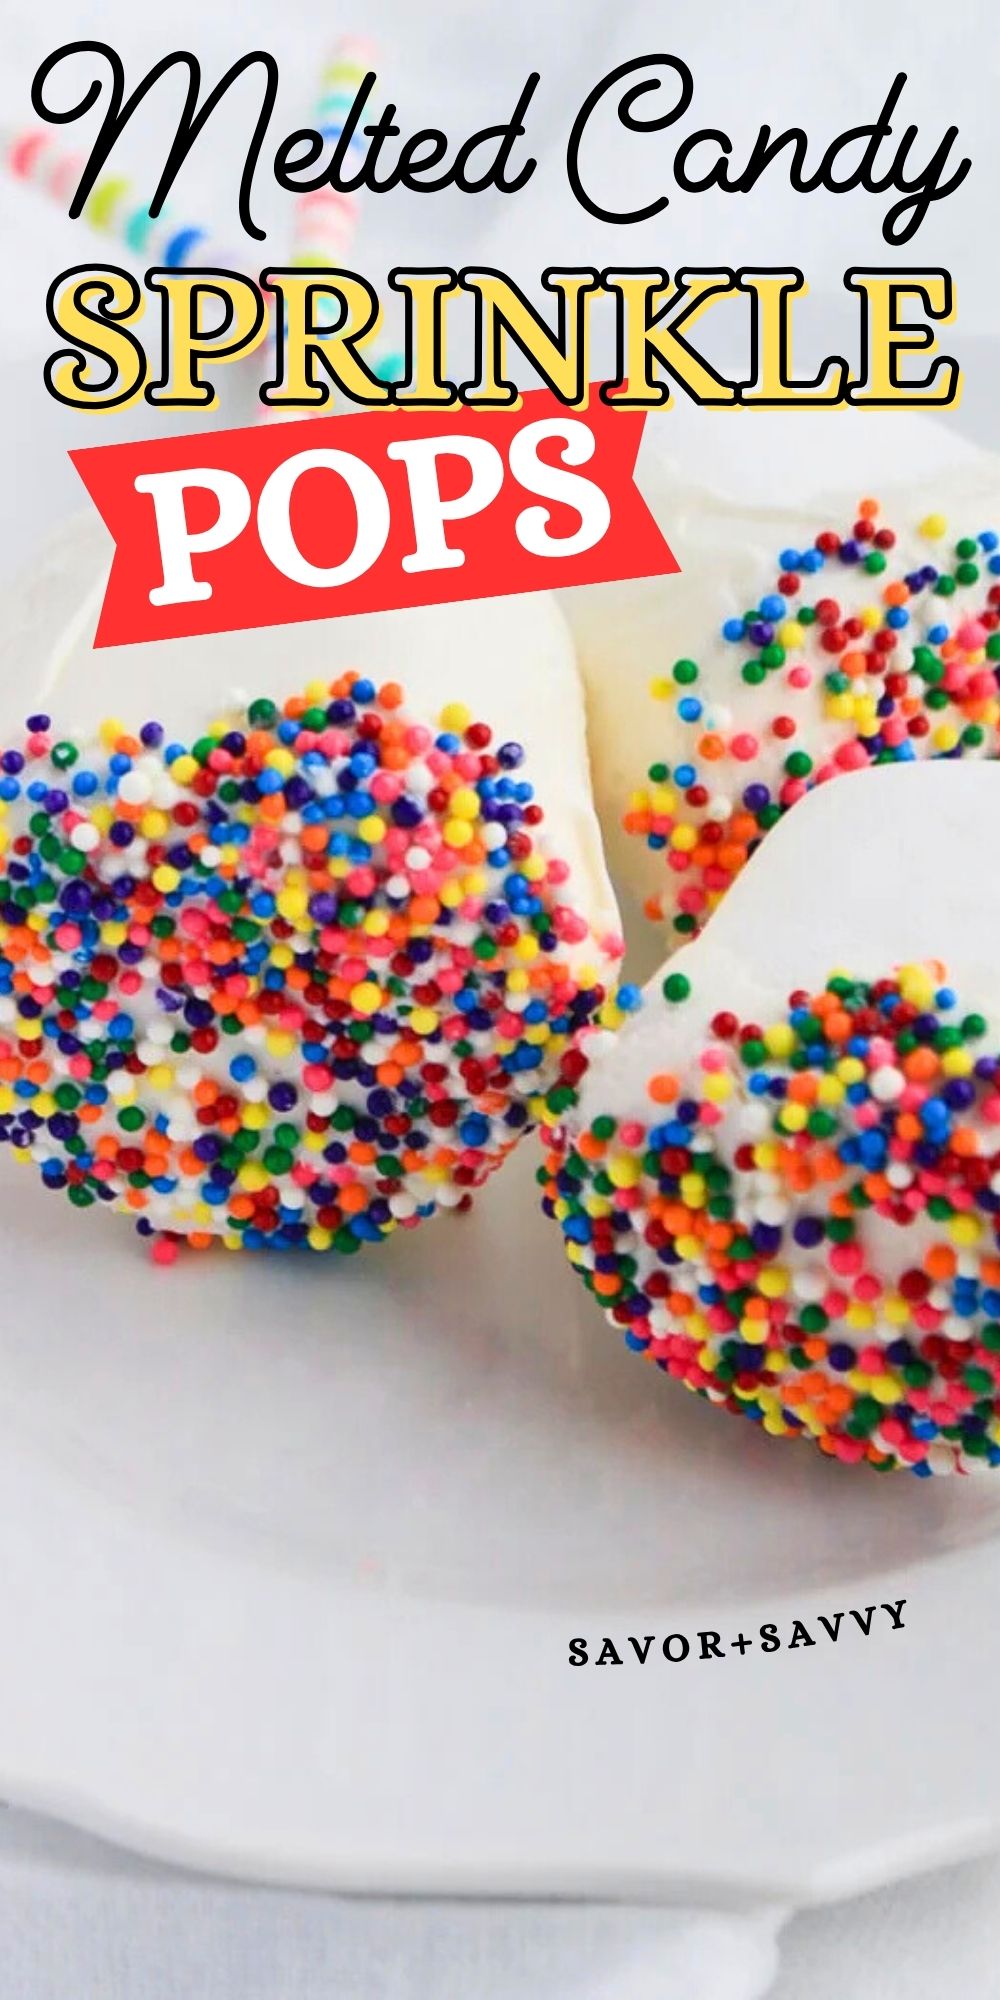
✅Sprinkles: These beauties are full of vibrant colors. Plus, eating food with sprinkles makes you feel like a kid again.
✅Vegetable oil
🍫 Instructions
👉Step 1: Place marshmallows on a flat surface and firmly twist in the straw about ¾ of the way. Pour the candy melts and vegetable oil into a microwave-safe cup (a cup is easier to dip in than a bowl) and microwave in 30-second increments mixing each time, until fully melted (about 90 seconds). Let it cool for about five minutes. You want it to be liquid, but not scalding hot.
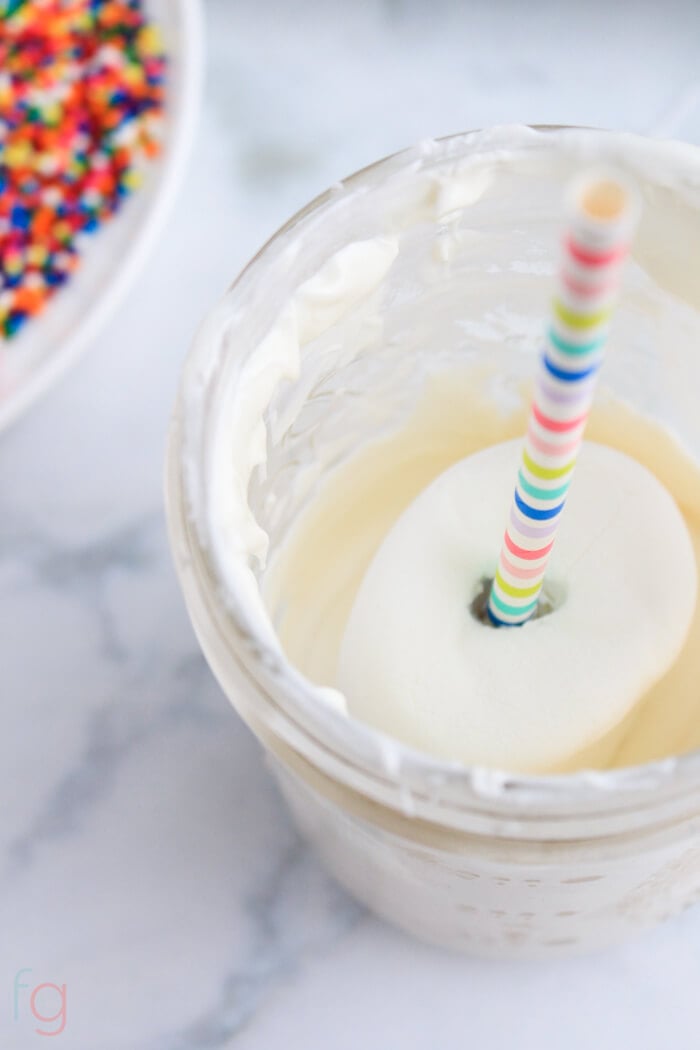
👉Step 2: Dip the marshmallow halfway into the chocolate and let the excess drip off by twisting the straw.
Alternate method: Dip the entire marshmallow in the melted chocolate until you reach the base of the straw. Hold the pop horizontally (so the weight of the chocolate doesn’t loosen the grip) and let the excess drip off.
Note: If you use this method to fully coat the marshmallow, you’ll need an additional bag of candy melts.
👉Step 3: Place the pop on a parchment-lined surface to dry (straw side up) until tacky but not completely dry. You’ll know it’s ready when it’s still wet but no longer drips when you lift it off the parchment. If you accidentally let them harden completely, I’ve included a tip for you after the recipe.

👉Step 4: Firmly press the tacky bottom of marshmallows into a plate of sprinkles, being sure to roll sprinkles onto the edges, so some sprinkles are visible when marshmallows are flat.
👉Step 5: Allow to dry completely before serving.
Tip: If marshmallows have dried too much before dipping them into sprinkles, microwave water in a bowl until boiling, pour off the water and dry off the bowl. Then, twist the marshmallow pop around the hot bowl to slightly melt the bottom of the marshmallow pop.

📌 Expert Tips
🔸Use fresh marshmallows for best results. Old marshmallows do not lend a good experience.
🔸Decorate them any way you like to add some fun variety!
🔸Attending a party? Take these marshmallow pops and impress all the guests.
🍪 Variations
As with many of my recipes, I love to try out new things. Using brightly colored sprinkles is always fun and playful, but sometimes I want to try some different flavors. Here are a few ideas for inspiration for you:
- Oreos – Crush up some Oreo cookies by putting them in a Ziploc bag and using a rolling pin over the top of the bag. Your kids will love smashing them! Once they are crushed, dip the chocolate covered marshmallows into the Oreos. Warning…These are highly addictive.
- Colored Candy Melt – Use any colored candy melts that you want. They make pretty much every color you can imagine. Just follow the directions and use melted candy for a fun surprise.
- Candy Corn – If you’re a candy corn fanatic, you’ll appreciate this idea a lot! Just chop up the candies and dip the marshmallows into them after put them into candy melts.
- Colored Sprinkles – Use any sprinkles that you want. Solid colors, holiday themes, or anything else that you like will work.
- Graham Crackers – We all love some s’ mores, right? Well, take your s’more on the go with this idea. Crush the graham crackers and use milk chocolate on the marshmallows. Then dip them into the crushed graham crackers, allow them to set up and devour…and trust me, you will want to devour them.
- Milk Chocolate – Use actual milk chocolate instead of candy melts. Stay away from chocolate chips because they won’t set up correctly, but you can use baking chocolate or melted candy bars instead of candy melts.
❓ FAQ
Make these candy pops for all occasions. Just change the color scheme, and you can make them as playful and fun as you want.
Halloween – Use green, orange, purple, and black sprinkles to make them Halloween themed. You could even find little bones or other Halloween sprinkles.
Christmas – These will look lovely on your Christmas dessert table. Use traditional reds and greens for fun!
Baby Showers – Use large gold sugar sprinkles or any other colors that would work for the shower. This is an easy way to serve elegant looking desserts that don’t take a lot of work.
Weddings – Use candy melts and sprinkles that match the wedding theme, and everyone will love them. Especially the kids.
Birthdays – If you have to make treats for school or just want a variety of desserts for a birthday party, these are an excellent idea.
Anniversaries – Are you hosting an anniversary party? Serve some decorated sprinkle marshmallow pops, and everyone will rave about them.
Dinner Parties – If you are inviting friends or family over for a dinner party, they will love eating these for dessert.
Place all of the marshmallow pops in a covered storage container for up to one week. They are best when kept at room temperature. Keep them away from the heat from the sun, stove, or dishwasher as well as any moisture. If they do heat up, the marshmallows and chocolate will begin melting.
The best part is that you can make this easy marshmallow dessert ahead of time and serve them later. That is wonderful if you are making a large amount of them for an event too.
The marshmallows will begin to dry out and become very hard when they have started to go bad. While they probably wouldn’t hurt you to eat them, they won’t be very appetizing. It’s better to toss them and make a new batch if there is any question.
While technically you can freeze these marshmallows on a stick, they do not age well in the freezer. Unfortunately, if you freeze them, whether they have been dipped in candy melts or are brand new, they become very hard. They won’t make you sick to eat, but they won’t be a delicious fluffy texture you want.
Surprisingly, most marshmallows are considered to be gluten-free. There are some, however, that do have some gluten in them. In those cases, it’s because they are made in a factory that made products with gluten, and there might be some cross-contamination. Make sure when you are buying marshmallows that they are certified gluten-free to be safe if you are on a gluten-free diet.
Related Recipes


Tried this recipe? Please leave a star ⭐️⭐️⭐️⭐️⭐️ rating in the recipe card below and/or a review in the comments section further down the page. You can also stay in touch with me through social media by following me on Instagram, Pinterest, and Facebook!

Sprinkle Marshmallow Pops
Ingredients
- 12 Jumbo Marshmallows
- 2 Cups Candy Melts white, about a 12 oz. Bag, you'll need two bags if coating whole marshmallow
- 1 ½ tbsp Vegetable Oil
- Sprinkles
- 12 Paper Straws
Instructions
- Place marshmallows on a flat surface and firmly twist in the straw about 3/4 of the way. Pour candy melts and vegetable oil into a microwave-safe cup and microwave in 30 second increments, mixing each time, until fully melted (about 90 seconds). Let cool for about five minutes.
- Dip half of the marshmallow into the chocolate and let the excess drip off by twisting the marshmallow pop.*Alternate method*: Dip the entire marshmallow in the melted chocolate until you reach the base of the straw. Hold the pop horizontally (so the weight of the chocolate doesn’t loosen the grip) and let the excess drip off. Note: If using this method for all pops, you’ll need an additional bag of candy melts.
- Place on a parchment-lined surface to dry (straw side up) until tacky, but not completely dry. You’ll know it’s ready when it’s still wet, but no longer drips when you lift it off the parchment.
- Firmly press bottom of marshmallows into a plate of sprinkles, being sure to roll sprinkles onto the bottom edges so some sprinkles are visible when marshmallows are flat.Allow to dry completely before serving.
Notes
The best part is that you can make this easy marshmallow dessert ahead of time and serve them later. That is wonderful if you are making a large amount of them for an event too.
Nutrition
Hi!
Ginny Collins is a passionate foodie and recipe creator of Savor and Savvy and Kitchenlaughter. Indoors she focuses on easy, quick recipes for busy families and kitchen basics. Outdoors, she focuses on backyard grilling and smoking to bring family and friends together. She is a lifelong learner who is always taking cooking classes on her travels overseas and stateside. Her work has been featured on MSN, Parade, Fox News, Yahoo, Cosmopolitan, Elle, and many local news outlets. She lives in Florida where you will find her outside on the water in her kayak, riding her bike on trails, and planning her next overseas adventure.
Amazing
I have read all the way to the end to check comments as to whether these can be made the day before….
The question remains….!?!?
Can i make these days before the party? How long? How to store?