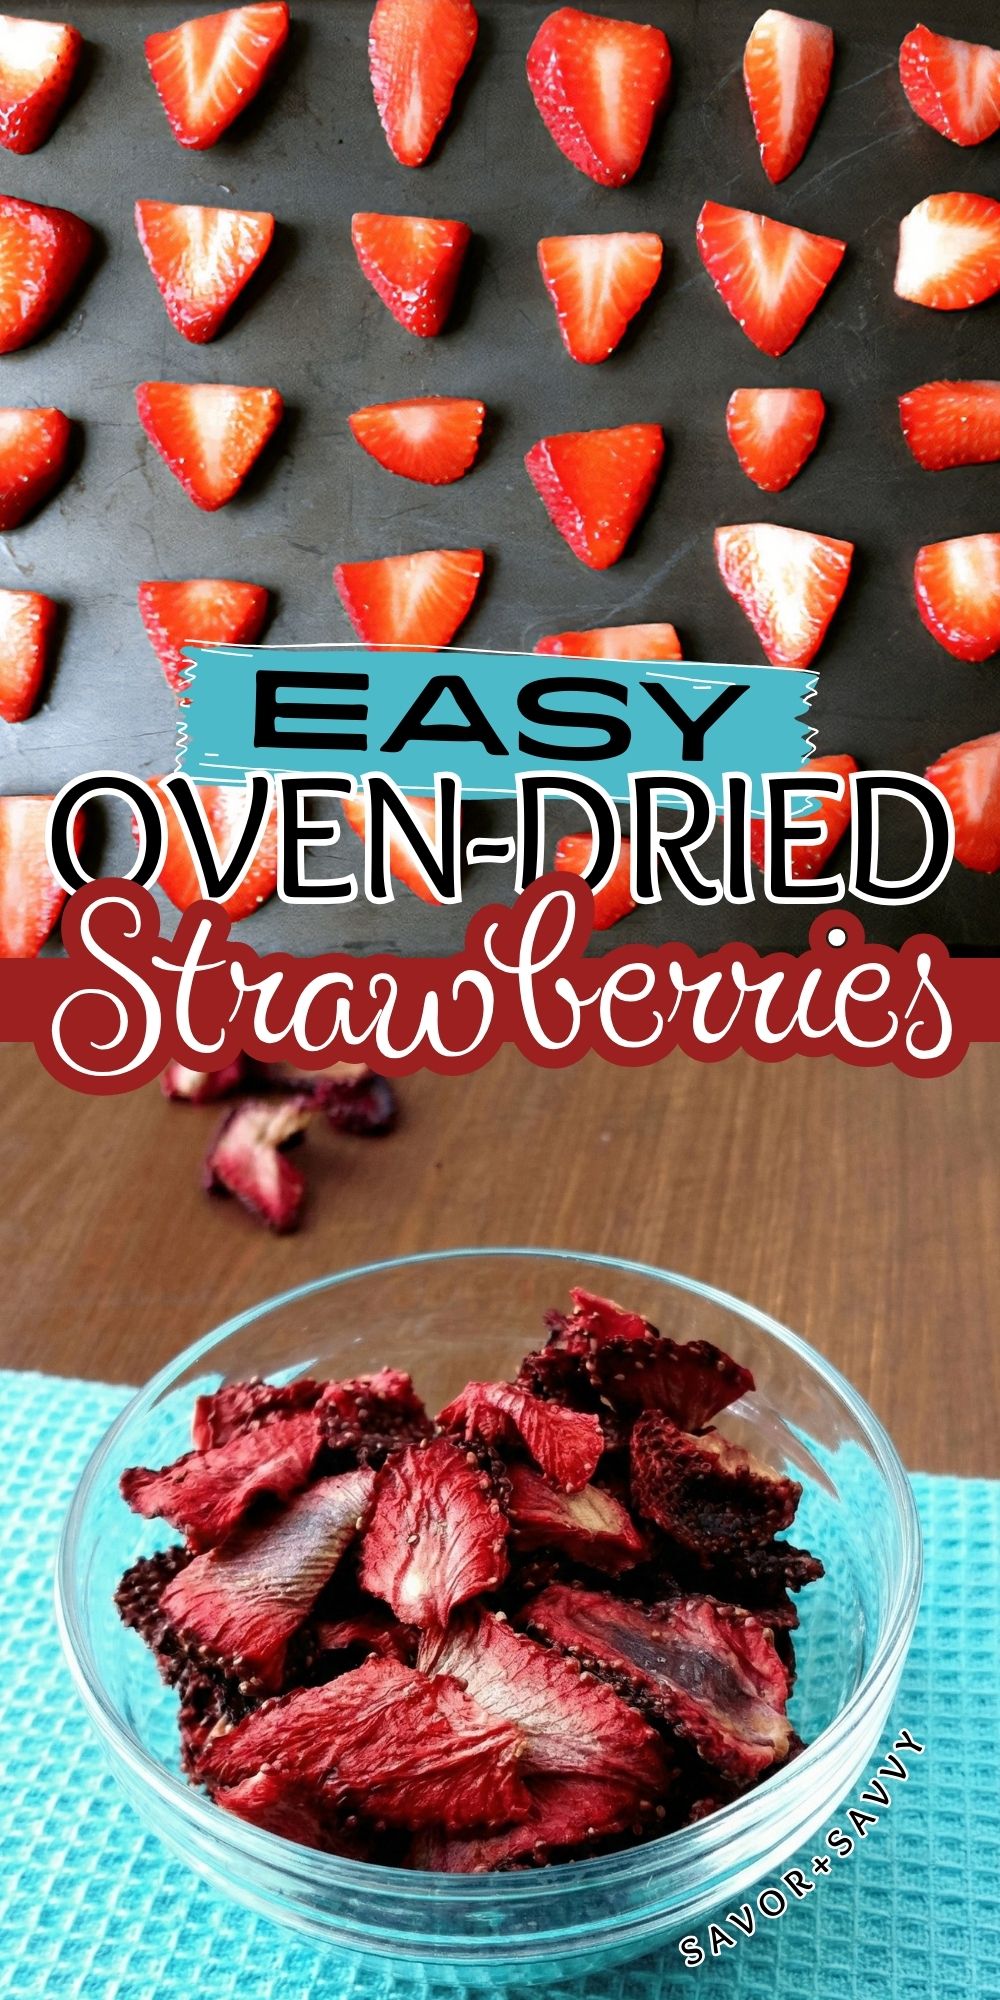
Over the years, I have learned how to fully take advantage of strawberries while they’re in season. Whether you’re growing them in your garden or buying them from the grocery or farmer’s market, making oven-dried strawberries is super easy and will save you a lot of $$$!

Let’s face it: strawberries are not the kind of fruit that tastes good off-season. If you want the best flavor and texture even when they’re not in season, you have to use some method of preservation.
My family is a big fan of dehydrated strawberries, so I just had to figure out how to make my own. Fun fact: it’s so easy and definitely a lot cheaper than buying them!
As I don’t have a dedicated dehydrator, I relied on the trusty oven to get the job done. And it worked beautifully!
🍓 Ingredients
I was a bit nervous to take this on since the closest I come to preserving food is freezer cooking. But when I was able to get a good deal on strawberries, it gave me the extra push I needed to get this going.
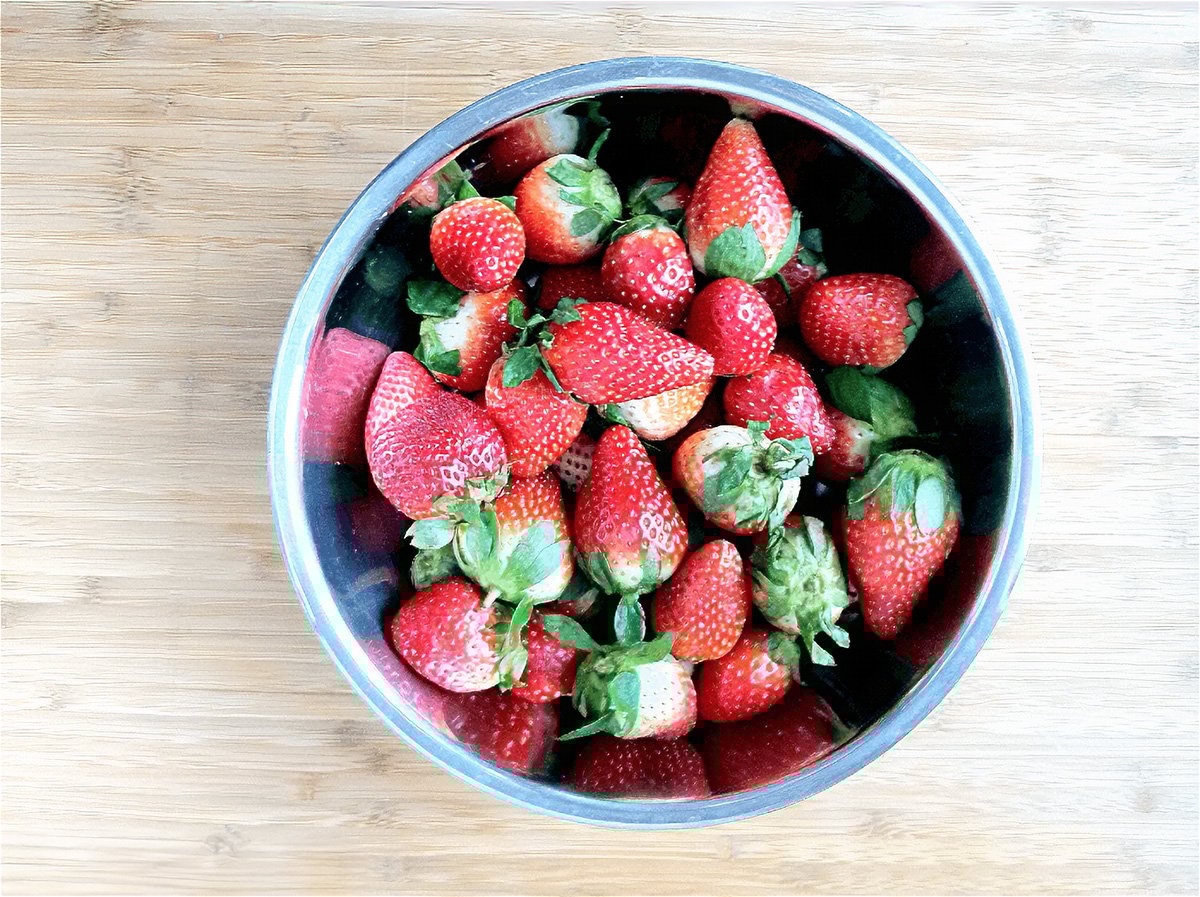
✅Strawberries – I usually like to go to the U-pick fields to get strawberries straight from the farm, but when I found this deal in the grocery store, I knew I couldn’t beat it. It wasn’t as fun as picking them, but my wallet thanked me!
✅Lemon Juice – You only need half of a tablespoon, but this will help the strawberries from discoloring as they dry
🍽️ Instructions
👉Step 1: Preheat the oven to 200°F. Wash and dry the strawberries thoroughly.
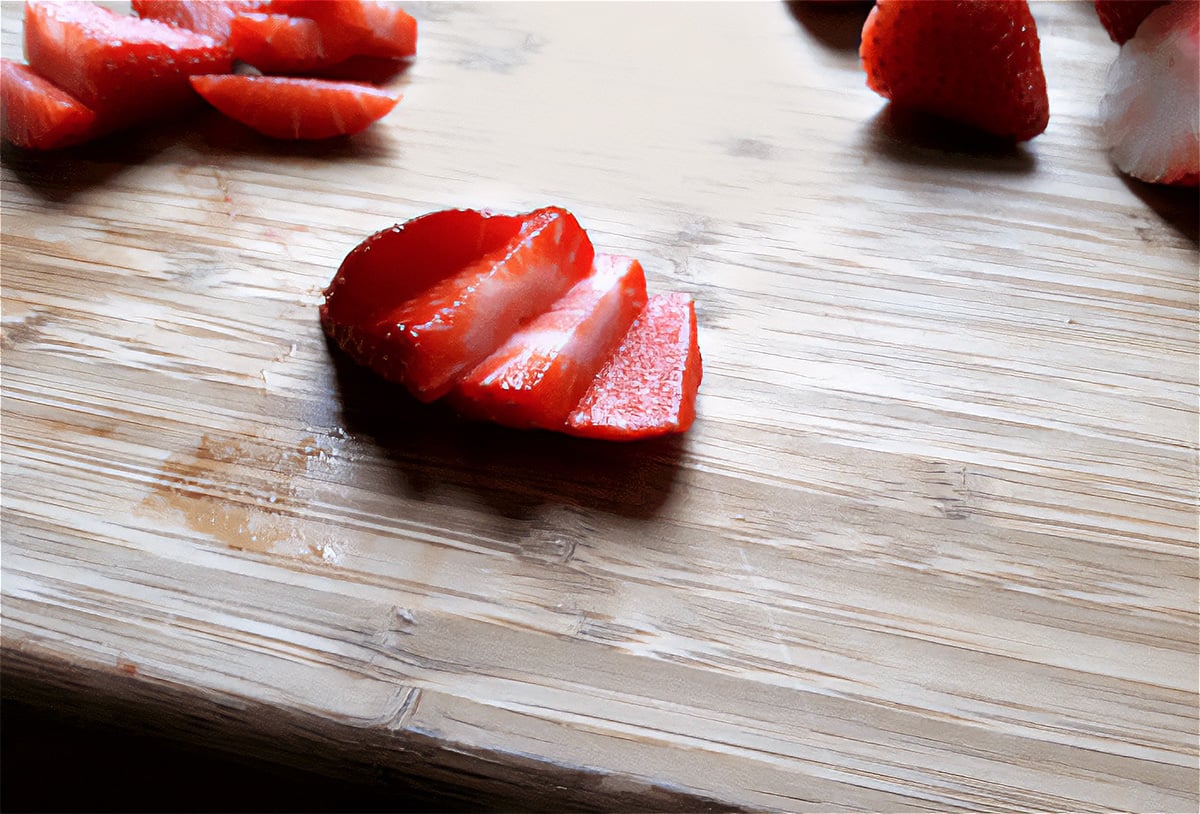
👉Step 2: Remove the leafy tops and slice them lengthwise. Try to slice as evenly as possible so everything dehydrates uniformly.
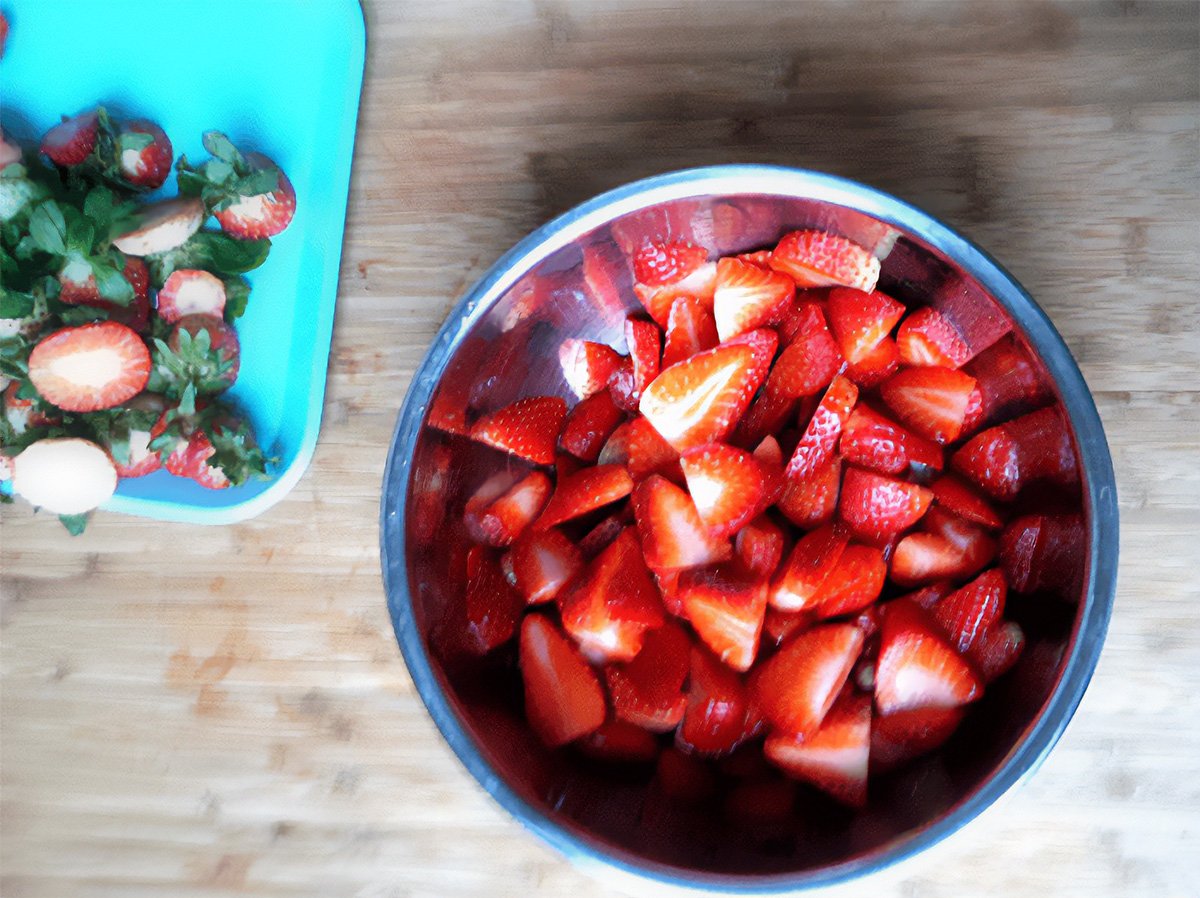
👉Step 3: Place the sliced strawberries in a bowl and lightly toss with lemon juice. This prevents too much browning from occurring.
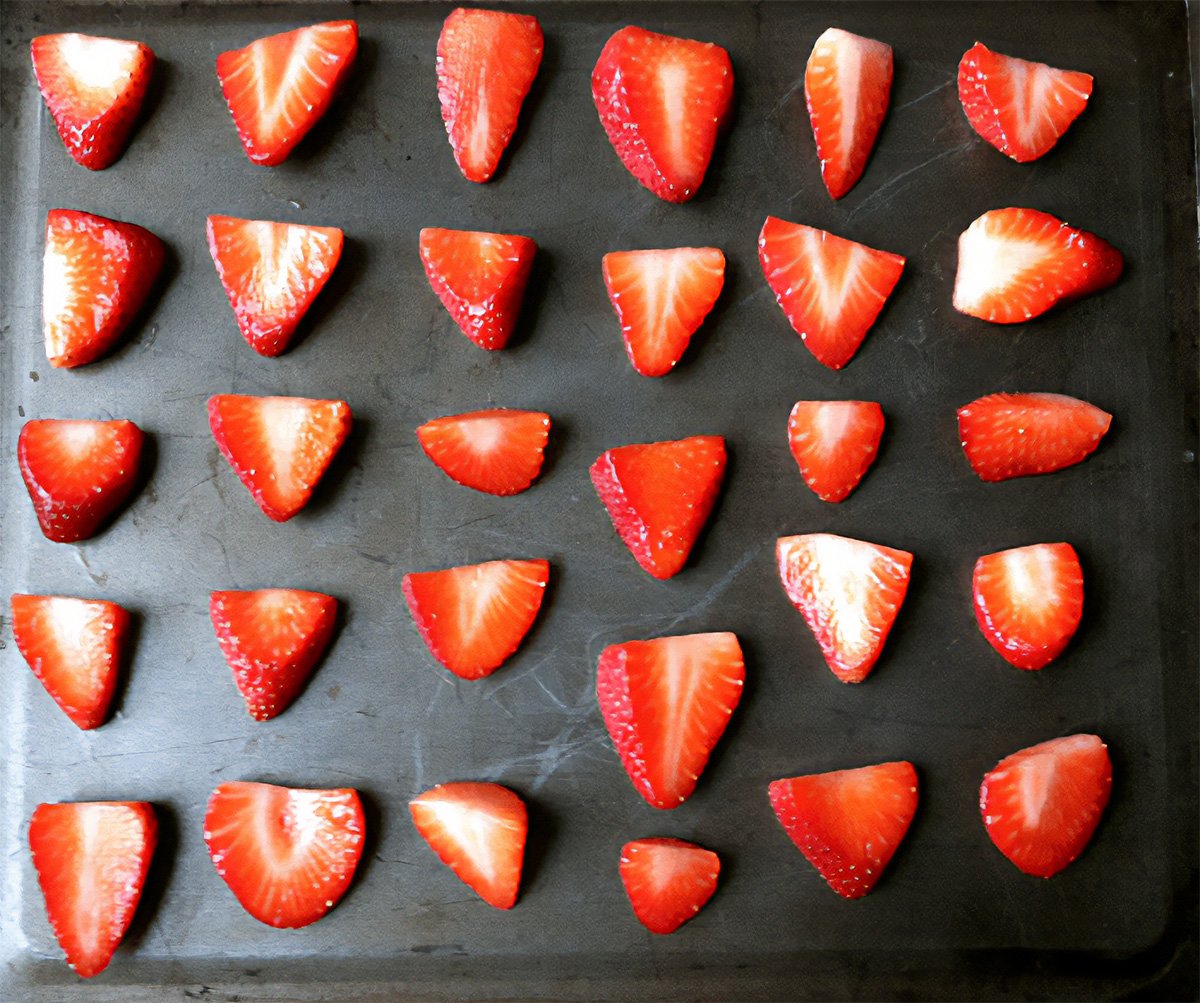
👉Step 4: Place them on a sheet pan and transfer into the oven. I needed two sheet pans for two pounds. If you’re doing this in bulk, I’d bank on one cookie sheet per pound of strawberries.
Lesson Learned: If you use a copper mat or Silpat when you dry, then you can slice the berries extremely thin. If you dry them straight on the sheet pan (like I did this time) then the super thin slices will be very hard to remove once they are dried.
👉Step 5: Dry them for approximately 4 hours. Set the kitchen timer in 1-hour increments and open the oven door for a minute to allow dry air to circulate in the oven, which is supposed to help with the drying process.
I also snapped a few pictures for you as a reference guide. I apologize for the photo quality – in my defense, it is impossible to take a good picture inside of an oven.
Here’s what the strawberries looked like at the 1-hour mark.
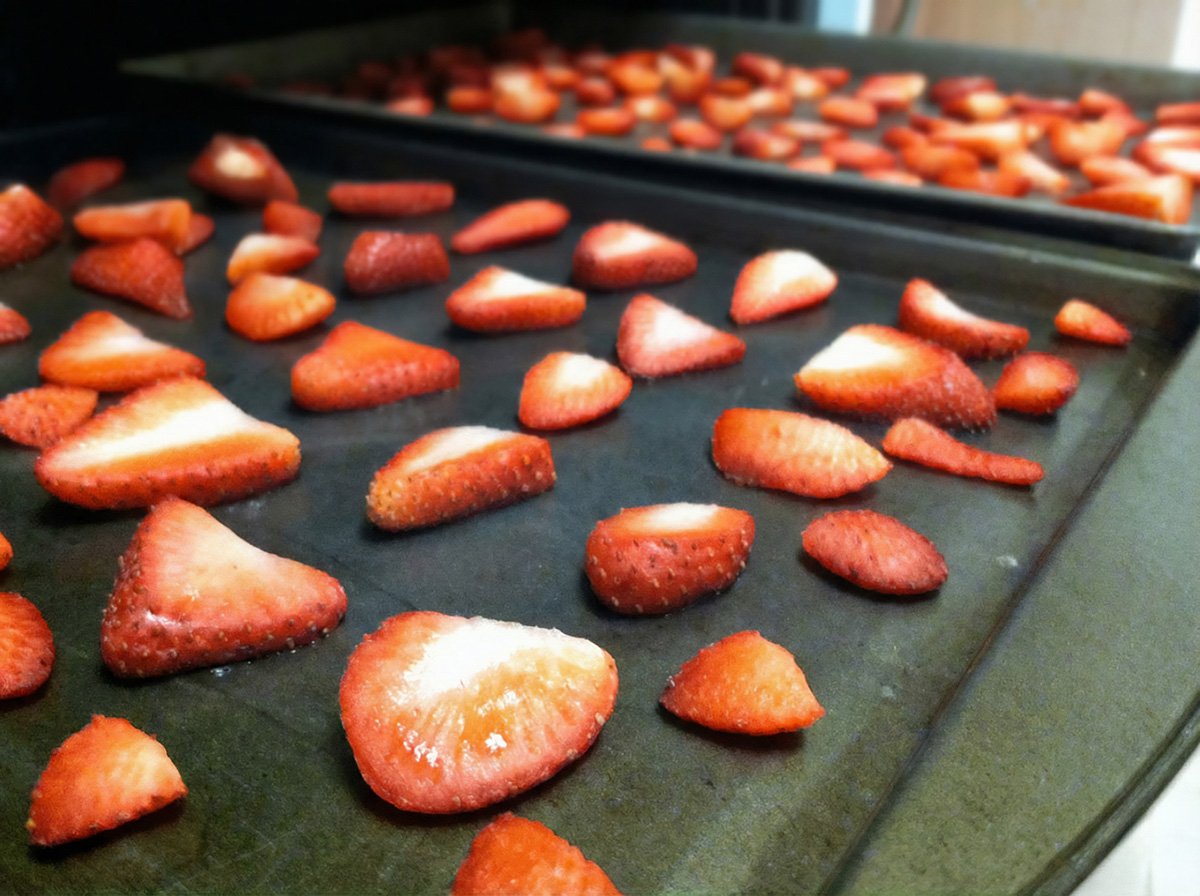
The 2-hour mark.
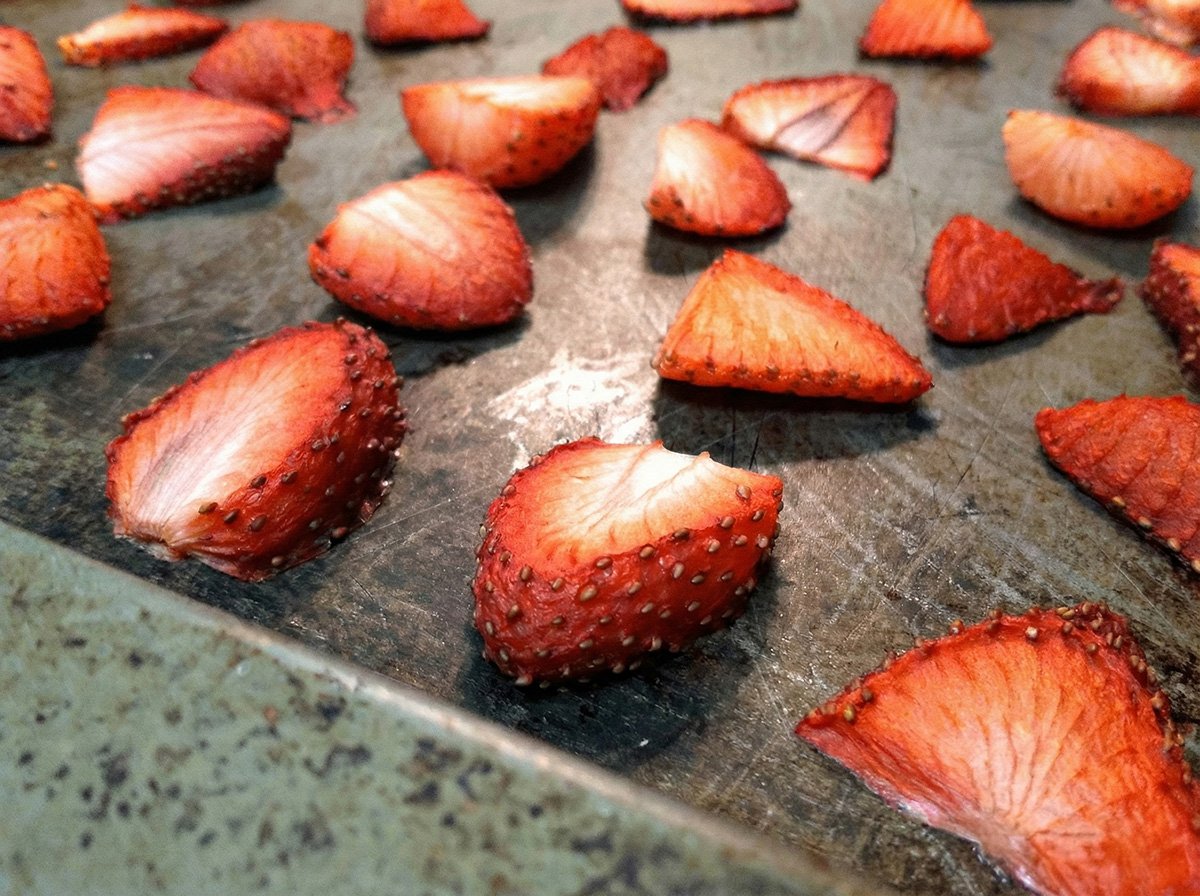
And the 3-hour mark.
I also flipped them at this point (and had a very hard time, thanks to neglecting to use a silpat or copper mat). There was a bit of scraping involved, and I wasn’t able to flip a few of the thinnest slices since they were now “one with the pan” – so those were goners.
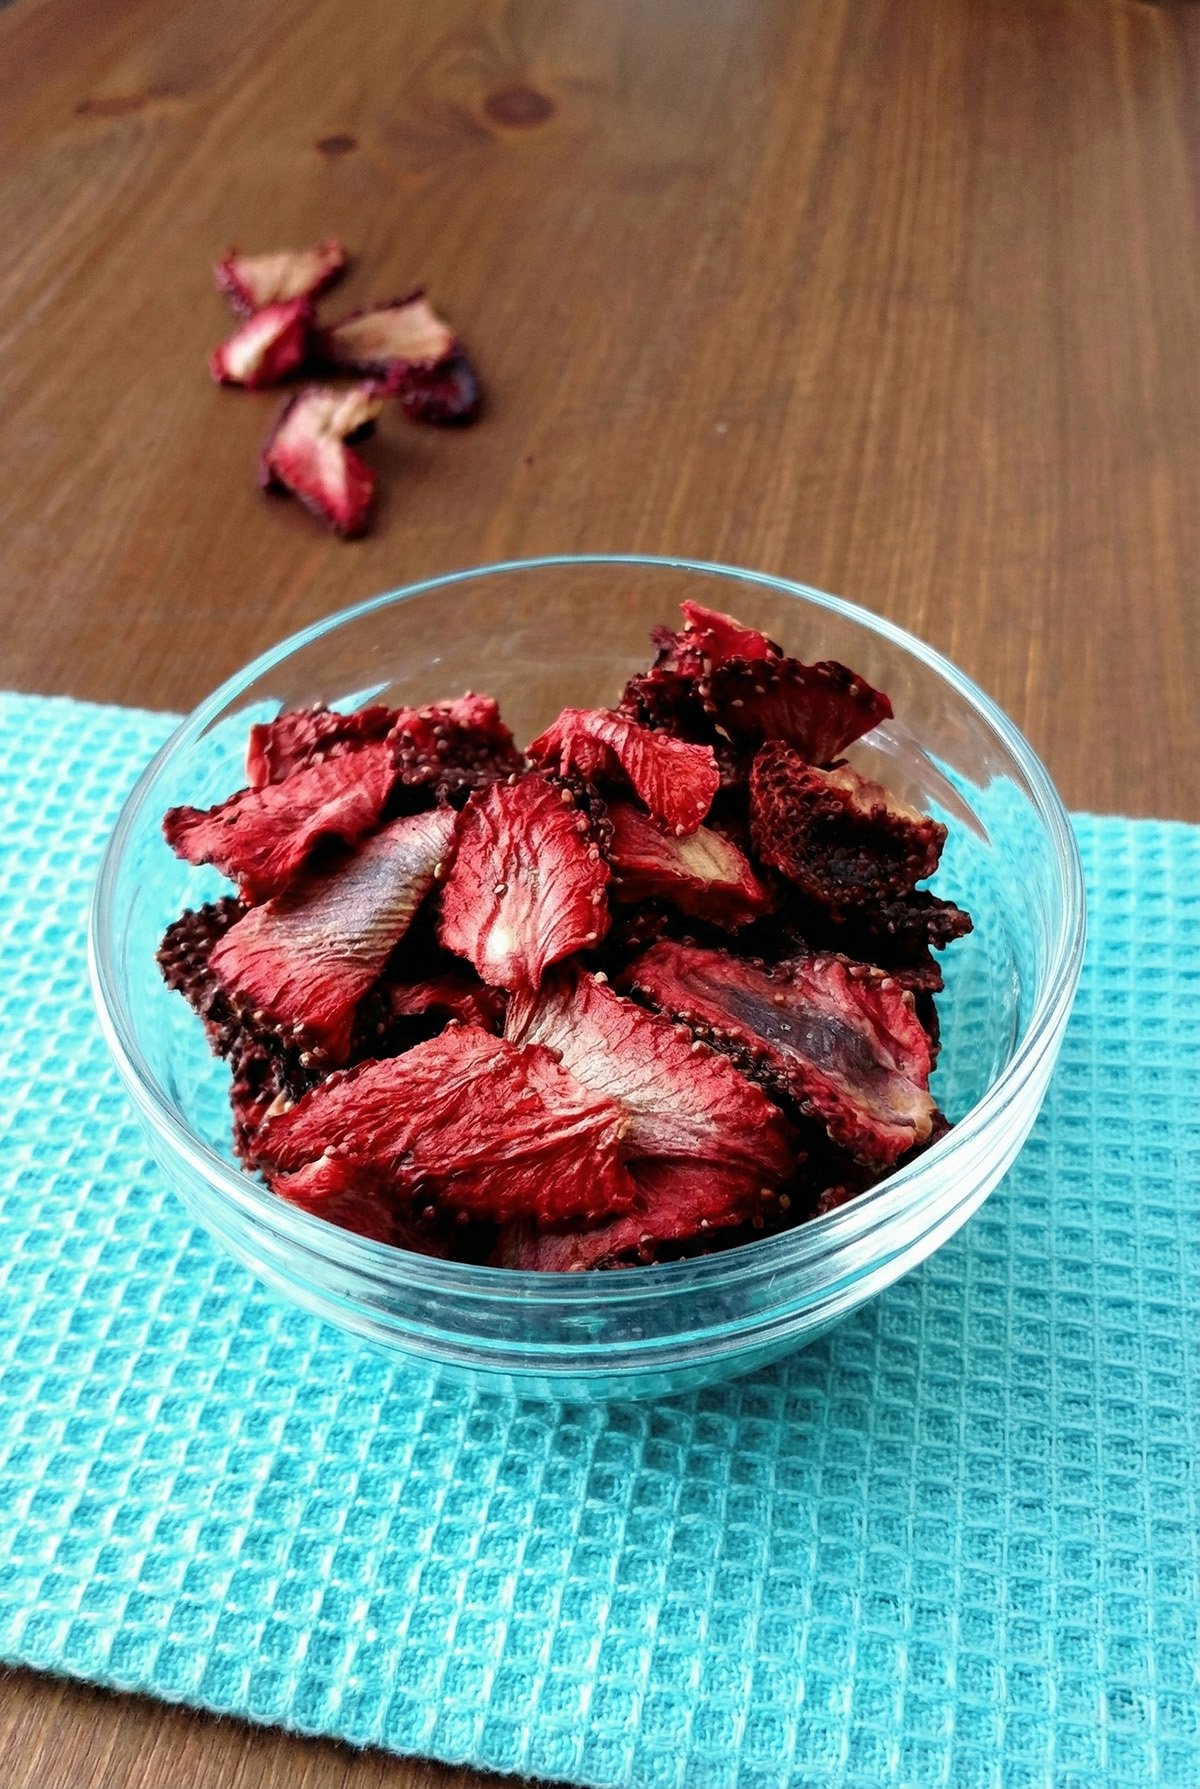
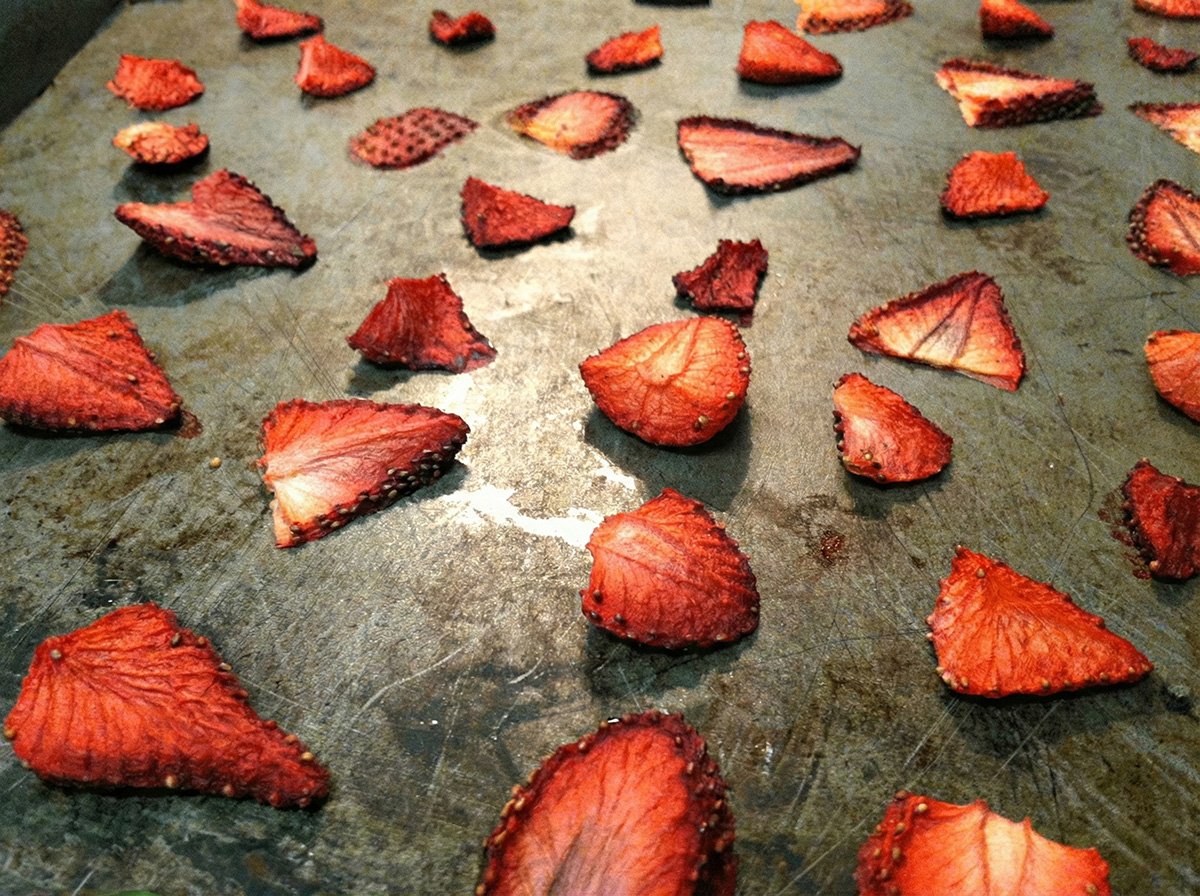
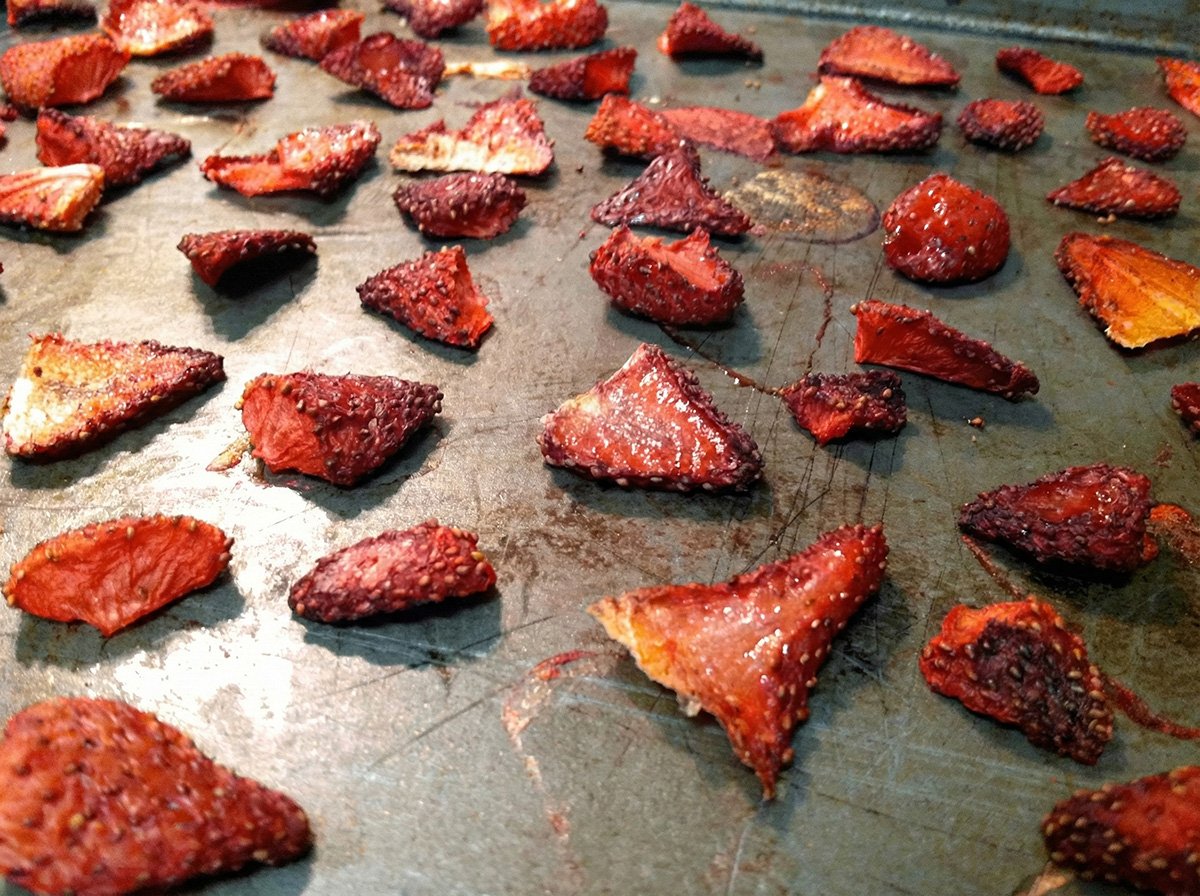
And here they are at the final stage – the 4-hour mark.
♨️ Air Fryer Instructions
👉The strawberries are prepared the same as above. Preheat the air fryer to 175-180°F and lay the sliced berries in a single layer with a little space in between. Air fry for 30 minutes.
👉Then, flip them using tongs and cook them for another 30 minutes and up to 1 hour until the berries are fully dried. Keep in mind the cook time depends on your air fryer model and the thickness of the strawberry slices so check them every 30 minutes.
📌 Expert Tips
🔸Once I took the trays out of the oven, I noticed some of them were still quite sticky. The “worrier” in me caused me to furiously Google for the better part of an hour to make sure they were safe to store and consume. Everything I read said that a slightly sticky/chewy texture is fine.
🔸If you don’t use a non-stick surface, then cut the strawberries into thicker slices. They will be easier to flip. But, the best tip is to use a non-stick surface.
🔸Every oven is different, so please monitor yours if it dries faster or slower.
❓ FAQ
You can do TONS of things with dried strawberries. Add them to your cereal, oatmeal, or in smoothies for a burst of flavor. Additionally, mix them with nuts and granola to make a trail mix, or add them to your own homemade granola bars and baked goods. The options are endless.
They will last 1-2 years. How impressive is that? You just need to keep them in an airtight container and eat them as you wish.
No, it’s not necessary to refrigerate the dried strawberries. Simply keep them at room temperature in a storage container, and they will last a long time.
Related Articles


Tried this recipe? Please leave a star ⭐️⭐️⭐️⭐️⭐️ rating in the recipe card below and/or a review in the comments section further down the page. You can also stay in touch with me through social media by following me on Instagram, Pinterest, and Facebook!

How to Dry Strawberries in the Oven
Equipment
- Bowl
- Sheet Pan
Ingredients
- 2 lbs Strawberries fresh
- ½ tbsp Lemon Juice
Instructions
- Preheat the oven to 200°F.
- Wash and dry the strawberries.
- Cut off the green, leafy tops of the strawberries and slice them lengthwise.
- Place the slices in a bowl and mix with the lemon juice. This will minimize discoloring throughout the drying process.
- Lay the strawberries on a sheet pan with a little bit of space in between.
- Dry them for approximately 4 hours. Open the oven for a minute every hour or so to allow the humid air to escape. They are done when they have shrunk in size and are thoroughly dry. Some may not be hard and crisp, but that is ok.
- Store the strawberries in a covered jar.
Notes
Air Fryer Directions
You will prep your strawberries the same way. The air fryer needs to be at 175-180°F. Then you will lay berries in a single layer, for 30 minutes. Use tongs and flip them over and cook for another 30 minutes to an hour until the berries are fully dried. The cook time will depend on your thickness of the berries.Nutrition
Hi!
Ginny Collins is a passionate foodie and recipe creator of Savor and Savvy and Kitchenlaughter. Indoors she focuses on easy, quick recipes for busy families and kitchen basics. Outdoors, she focuses on backyard grilling and smoking to bring family and friends together. She is a lifelong learner who is always taking cooking classes on her travels overseas and stateside. Her work has been featured on MSN, Parade, Fox News, Yahoo, Cosmopolitan, Elle, and many local news outlets. She lives in Florida where you will find her outside on the water in her kayak, riding her bike on trails, and planning her next overseas adventure.
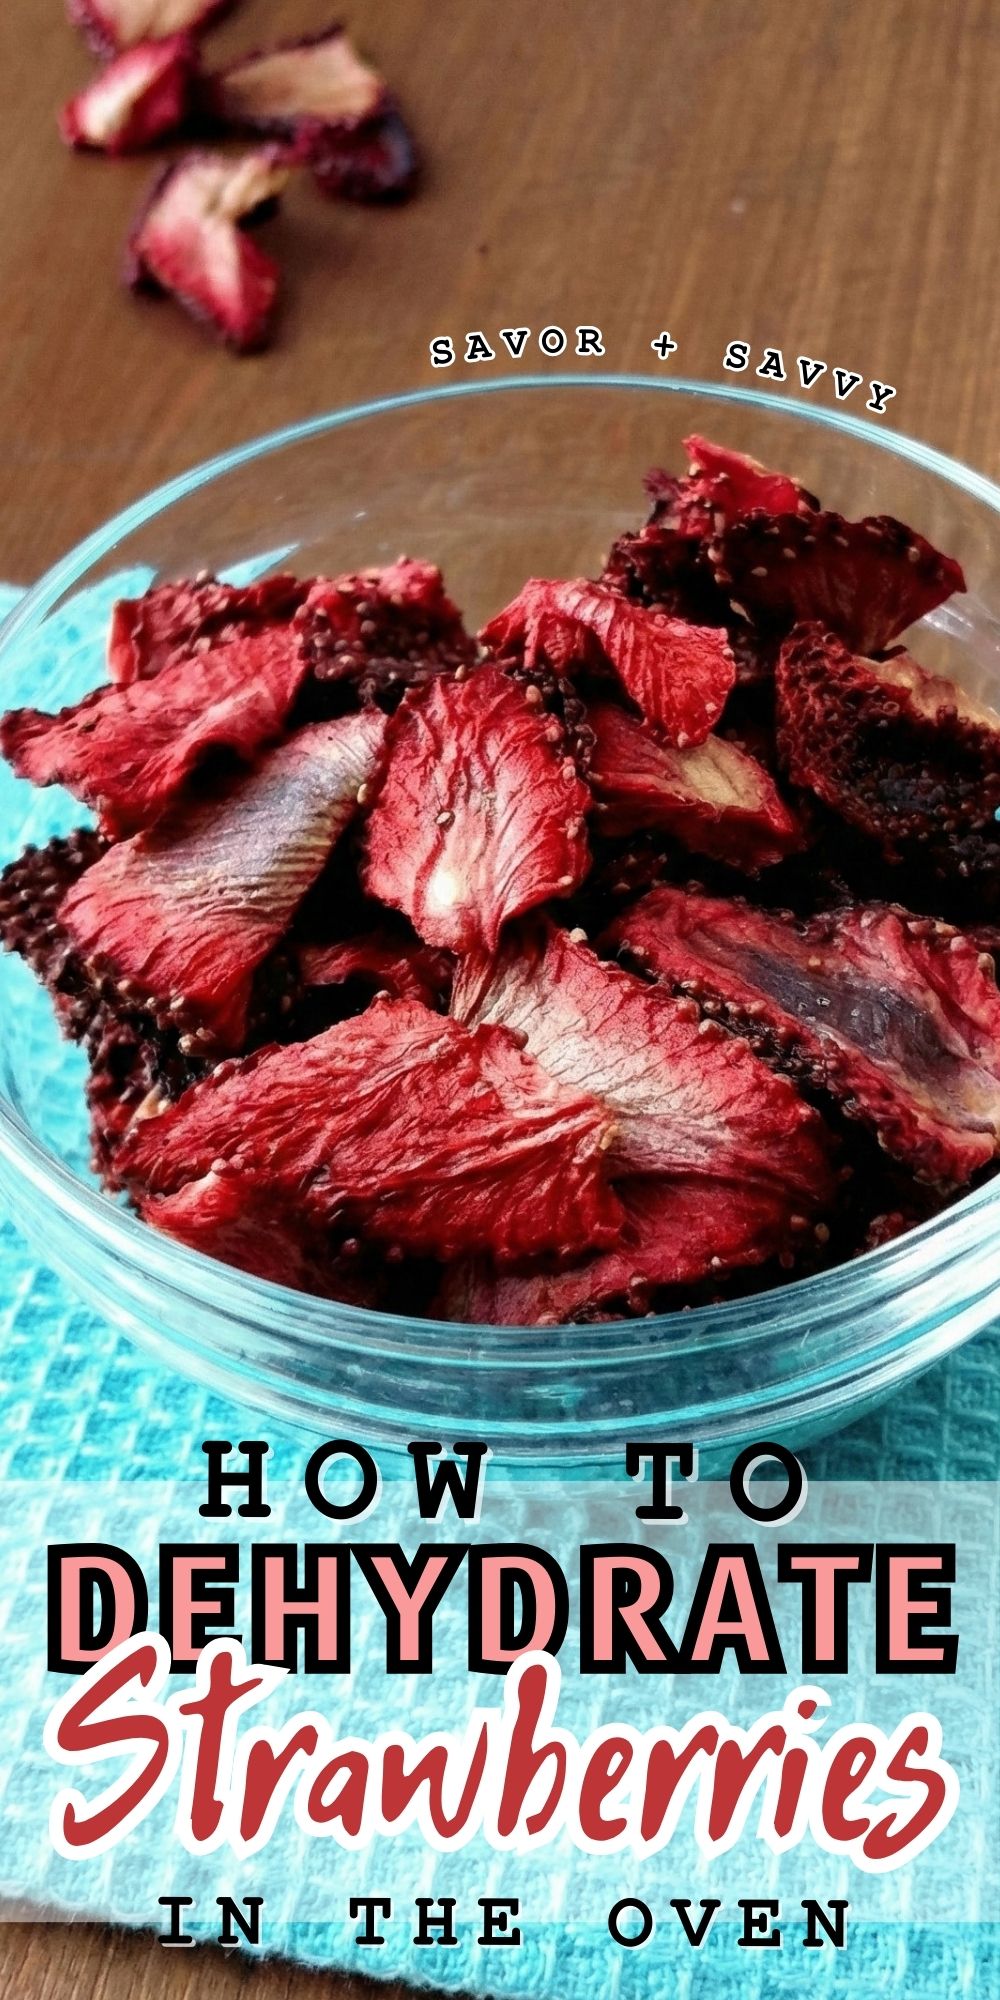
perfect dried strawberries!!