Over the years, I have learned how to fully take advantage of strawberries while they’re in season. Whether you’re growing them in your garden or buying them from the grocery or farmer’s market, making oven-dried strawberries is super easy and will save you a lot of $$$!

Let’s face it: strawberries are not the kind of fruit that tastes good off-season. If you want the best flavor and texture even when they’re not in season, you have to use some method of preservation.
My family is a big fan of dehydrated strawberries, so I just had to figure out how to make my own. Fun fact: it’s so easy and definitely a lot cheaper than buying them!
As I don’t have a dedicated dehydrator, I relied on the trusty oven to get the job done. And it worked beautifully!
🍓 Ingredients
I was a bit nervous to take this on since the closest I come to preserving food is freezer cooking. But when I was able to get a good deal on strawberries, it gave me the extra push I needed to get this going.
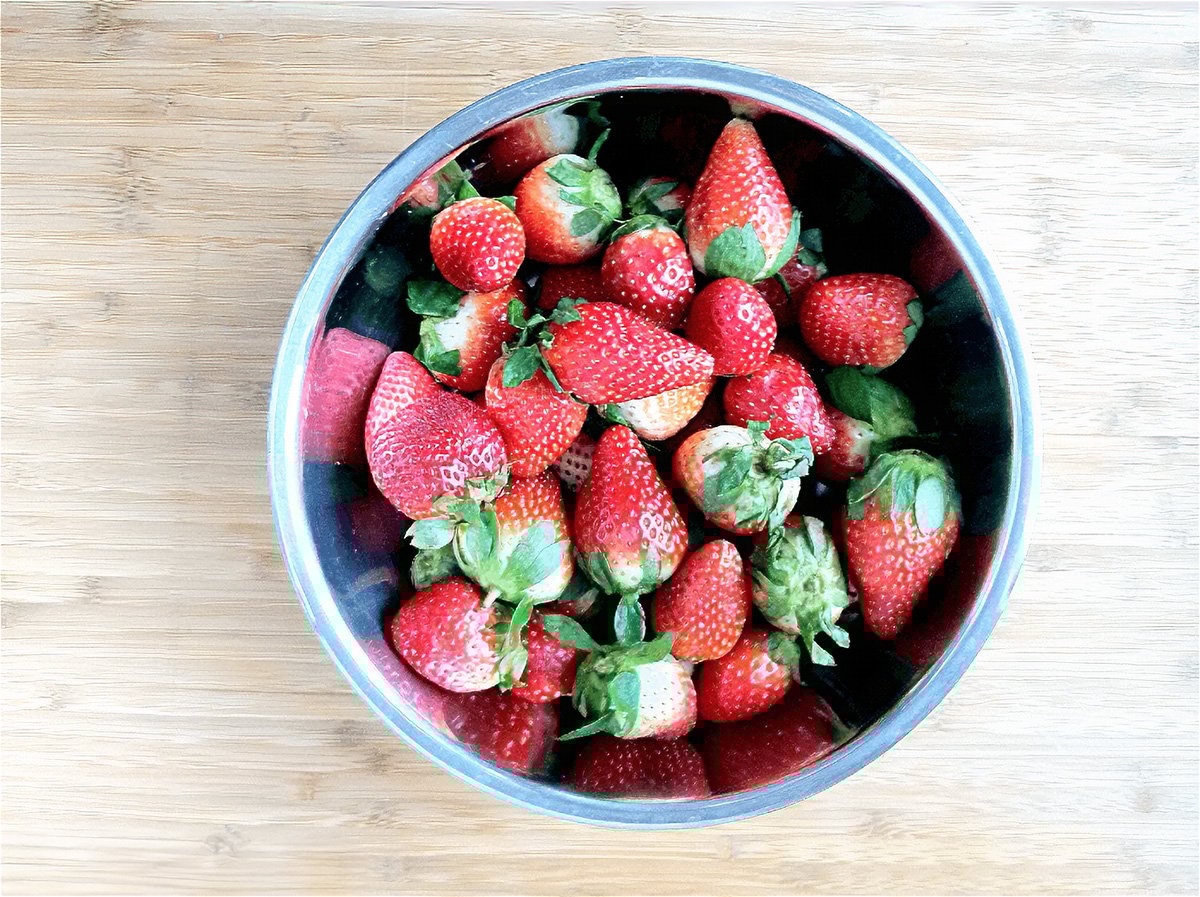
✅Strawberries – I usually like to go to the U-pick fields to get strawberries straight from the farm, but when I found this deal in the grocery store, I knew I couldn’t beat it. It wasn’t as fun as picking them, but my wallet thanked me!
✅Lemon Juice – You only need half of a tablespoon, but this will help the strawberries from discoloring as they dry
🍽️ Instructions
👉Step 1: Preheat the oven to 200°F. Wash and dry the strawberries thoroughly.
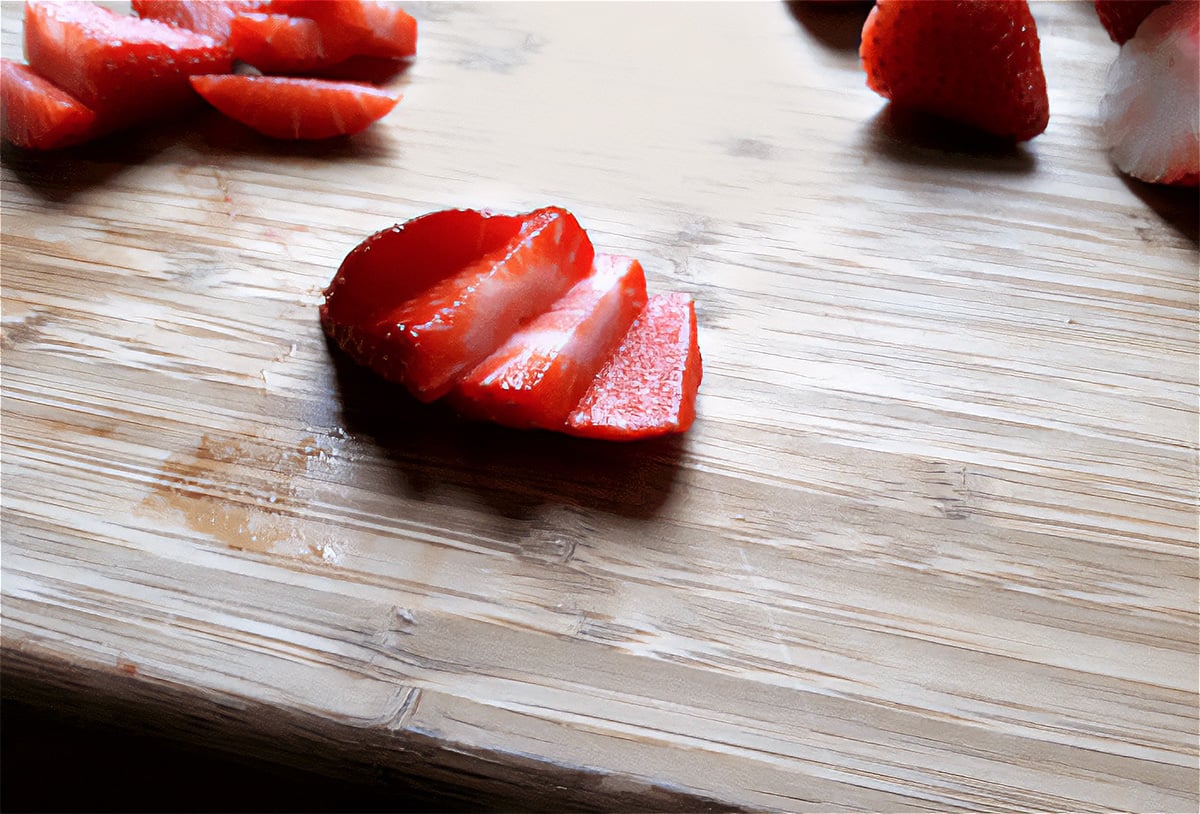
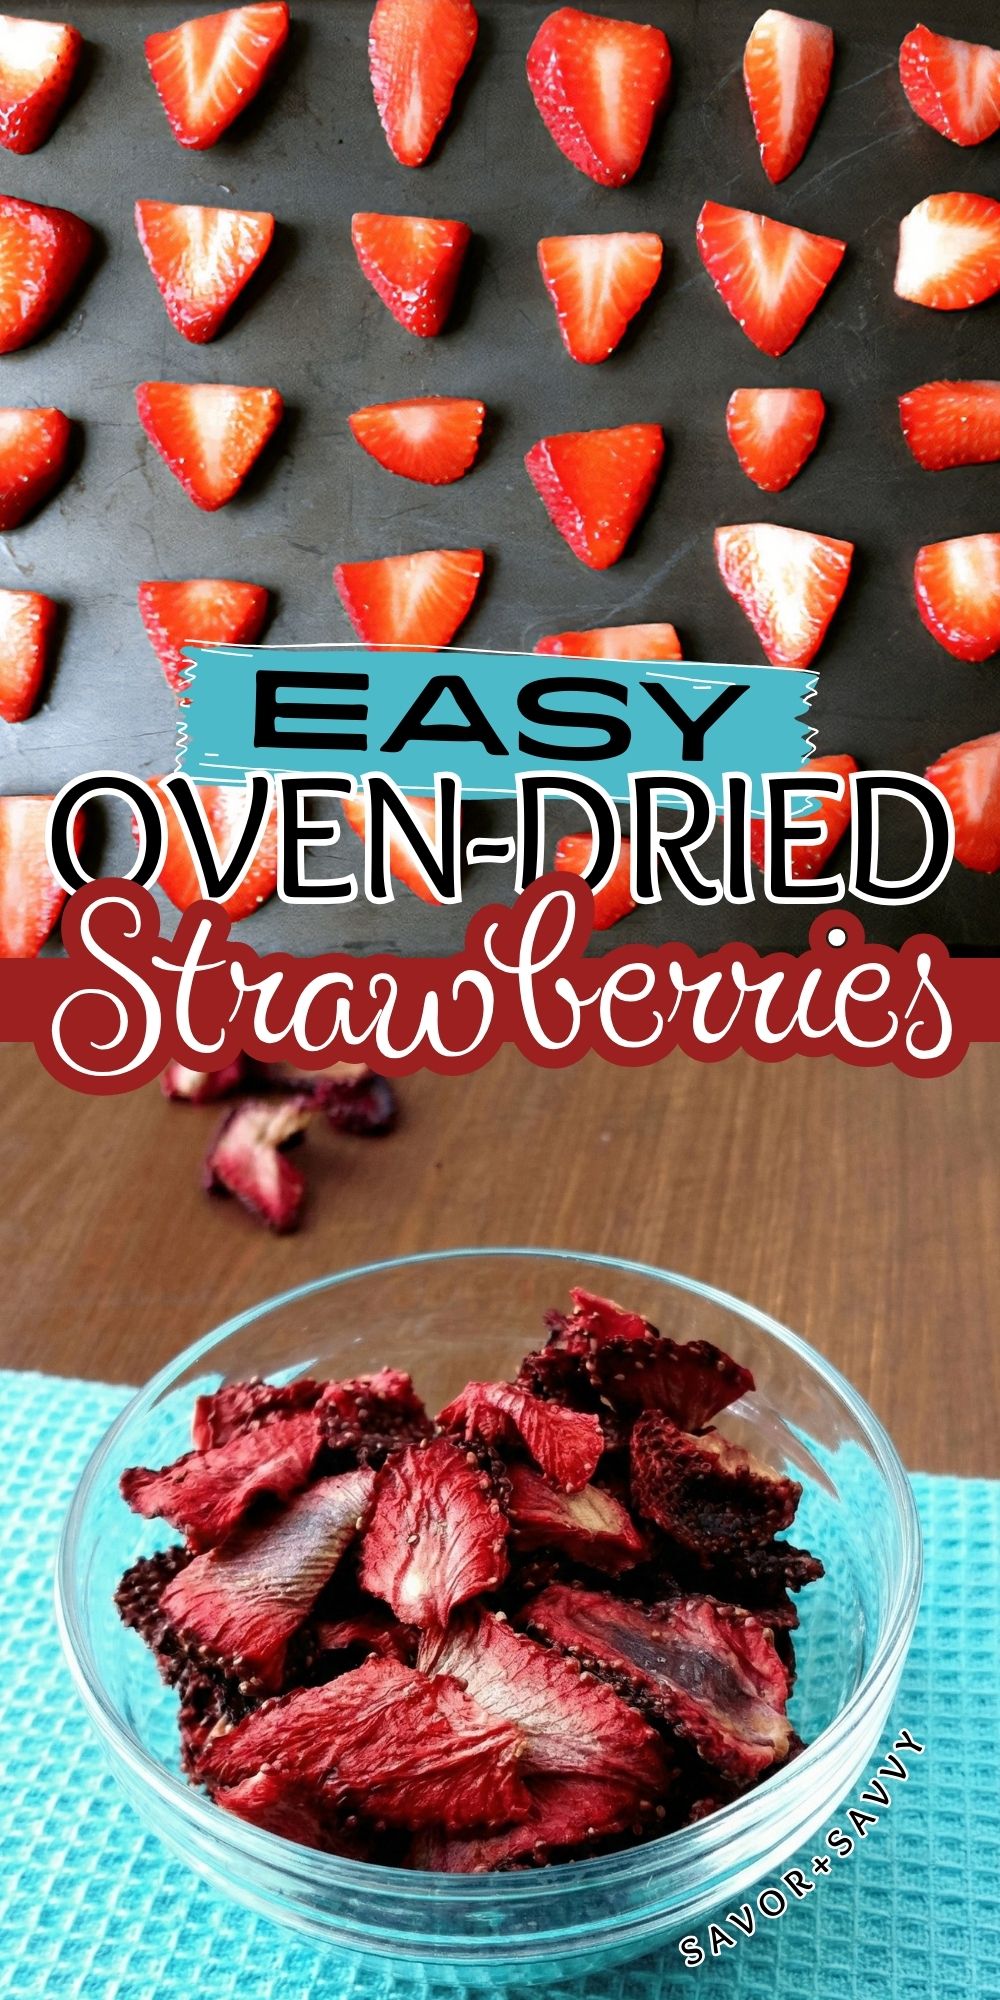
👉Step 2: Remove the leafy tops and slice them lengthwise. Try to slice as evenly as possible so everything dehydrates uniformly.
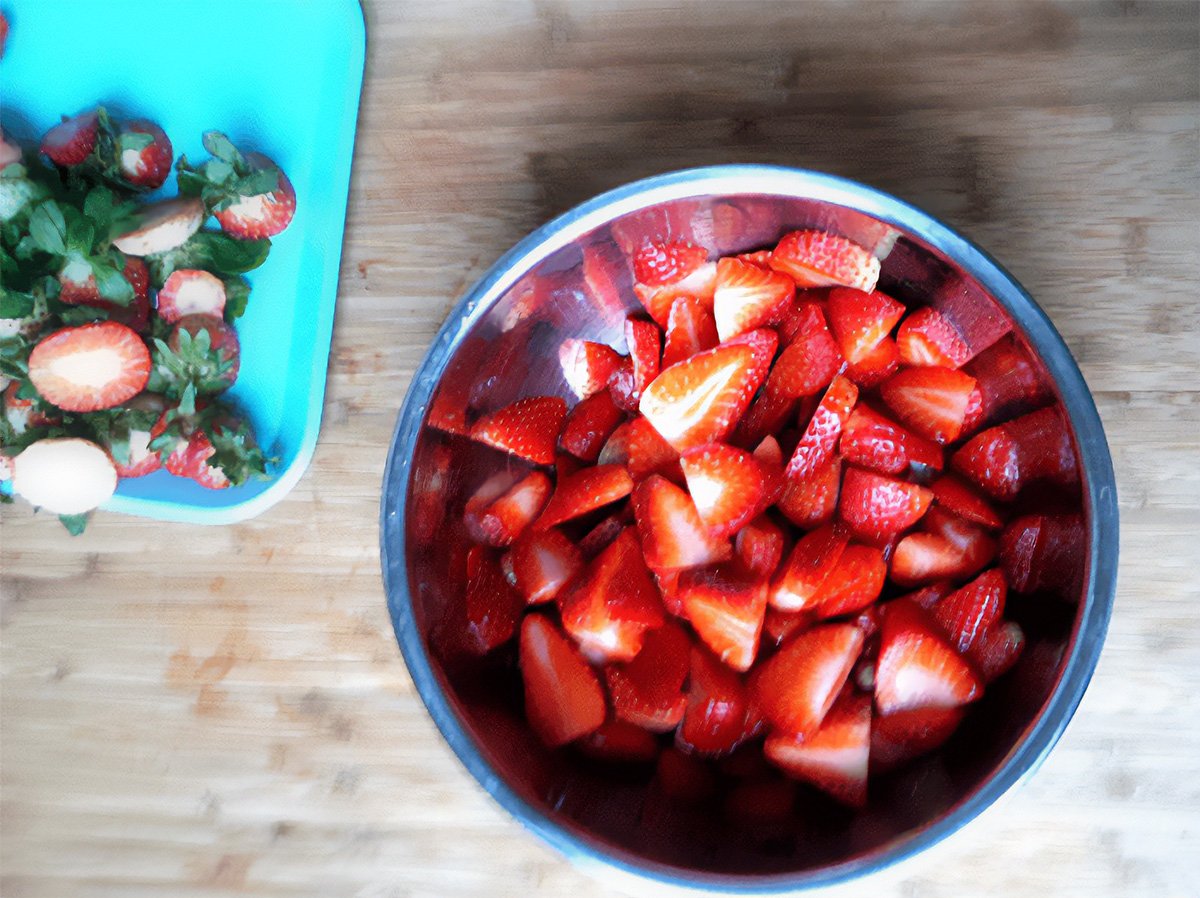
👉Step 3: Place the sliced strawberries in a bowl and lightly toss with lemon juice. This prevents too much browning from occurring.
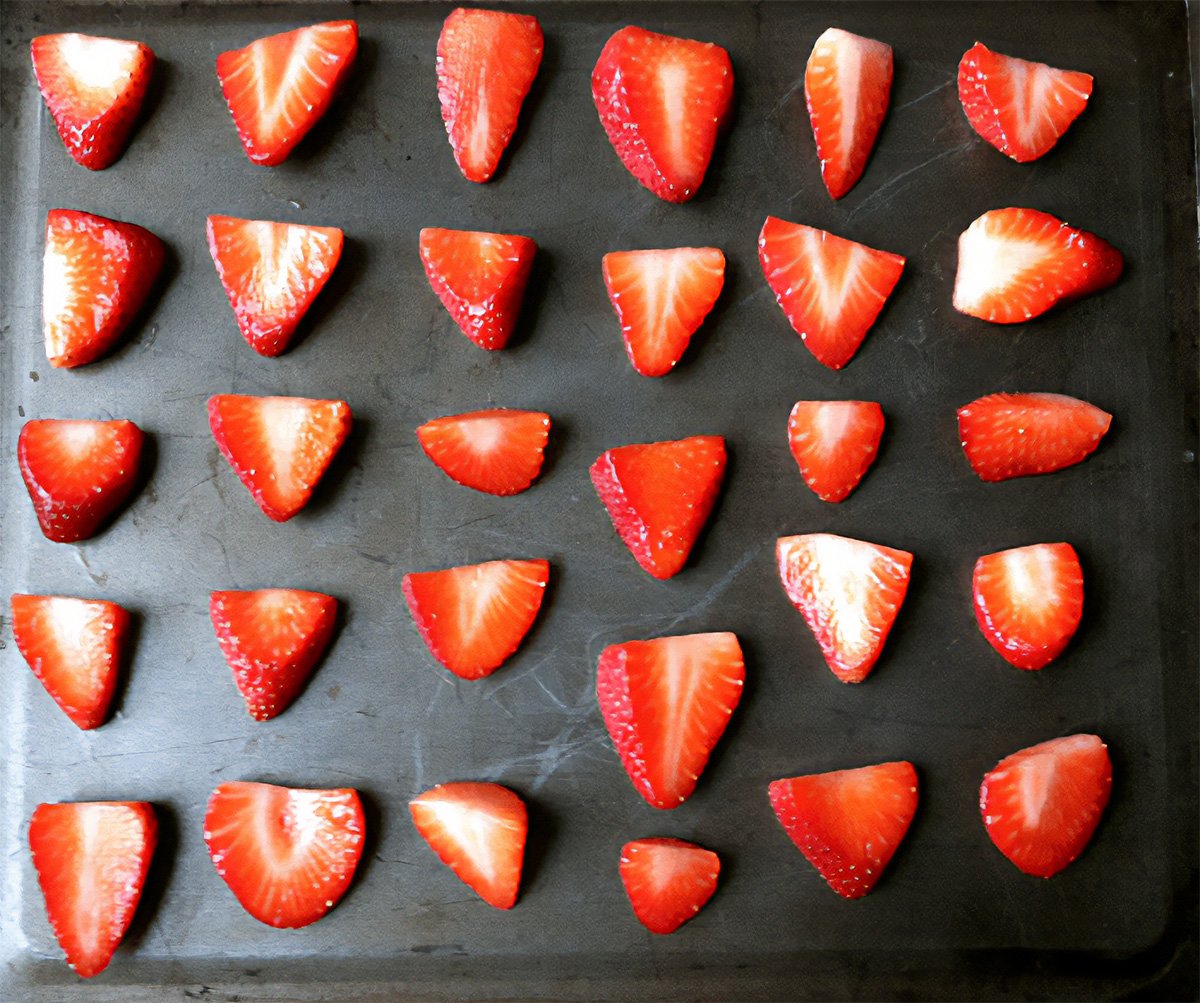
👉Step 4: Place them on a sheet pan and transfer into the oven. I needed two sheet pans for two pounds. If you’re doing this in bulk, I’d bank on one cookie sheet per pound of strawberries.
Lesson Learned: If you use a copper mat or Silpat when you dry, then you can slice the berries extremely thin. If you dry them straight on the sheet pan (like I did this time) then the super thin slices will be very hard to remove once they are dried.
👉Step 5: Dry them for approximately 4 hours. Set the kitchen timer in 1-hour increments and open the oven door for a minute to allow dry air to circulate in the oven, which is supposed to help with the drying process.
I also snapped a few pictures for you as a reference guide. I apologize for the photo quality – in my defense, it is impossible to take a good picture inside of an oven.
Here’s what the strawberries looked like at the 1-hour mark.
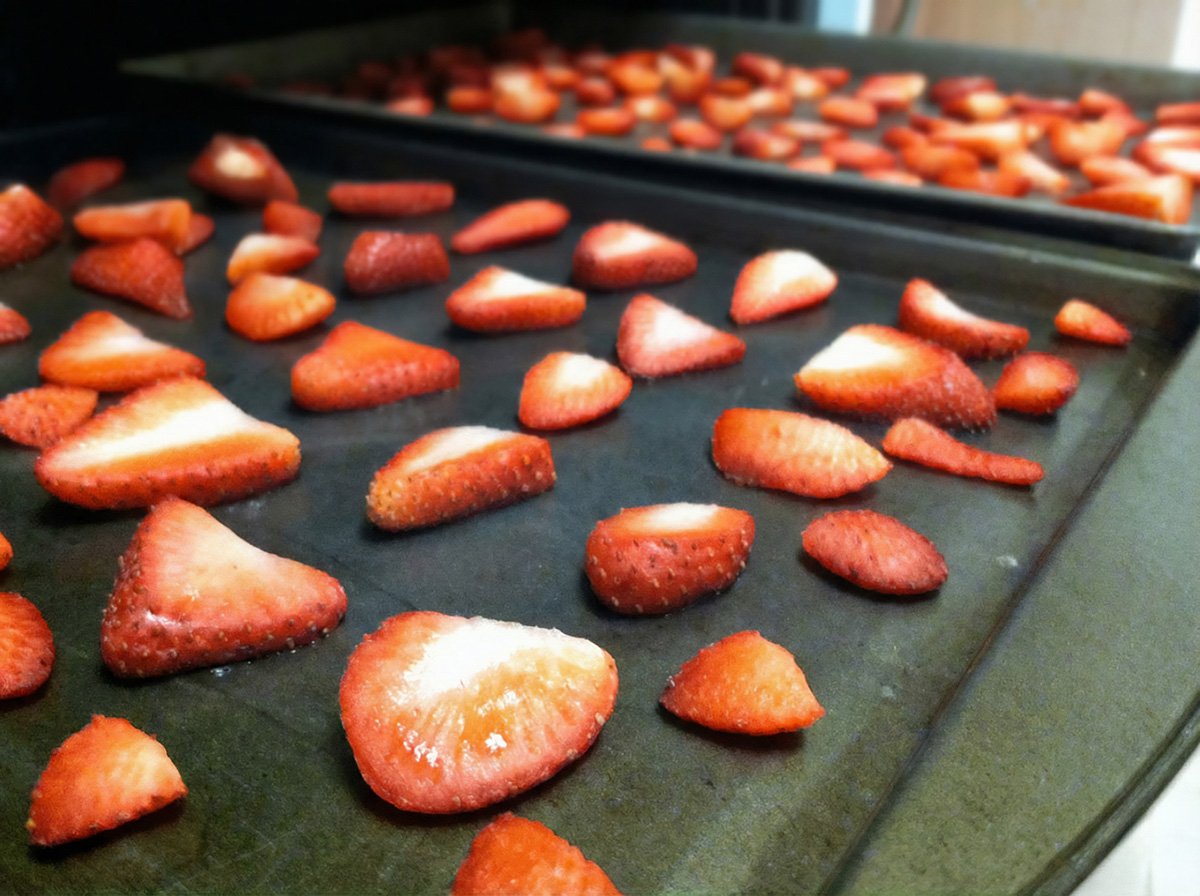
The 2-hour mark.
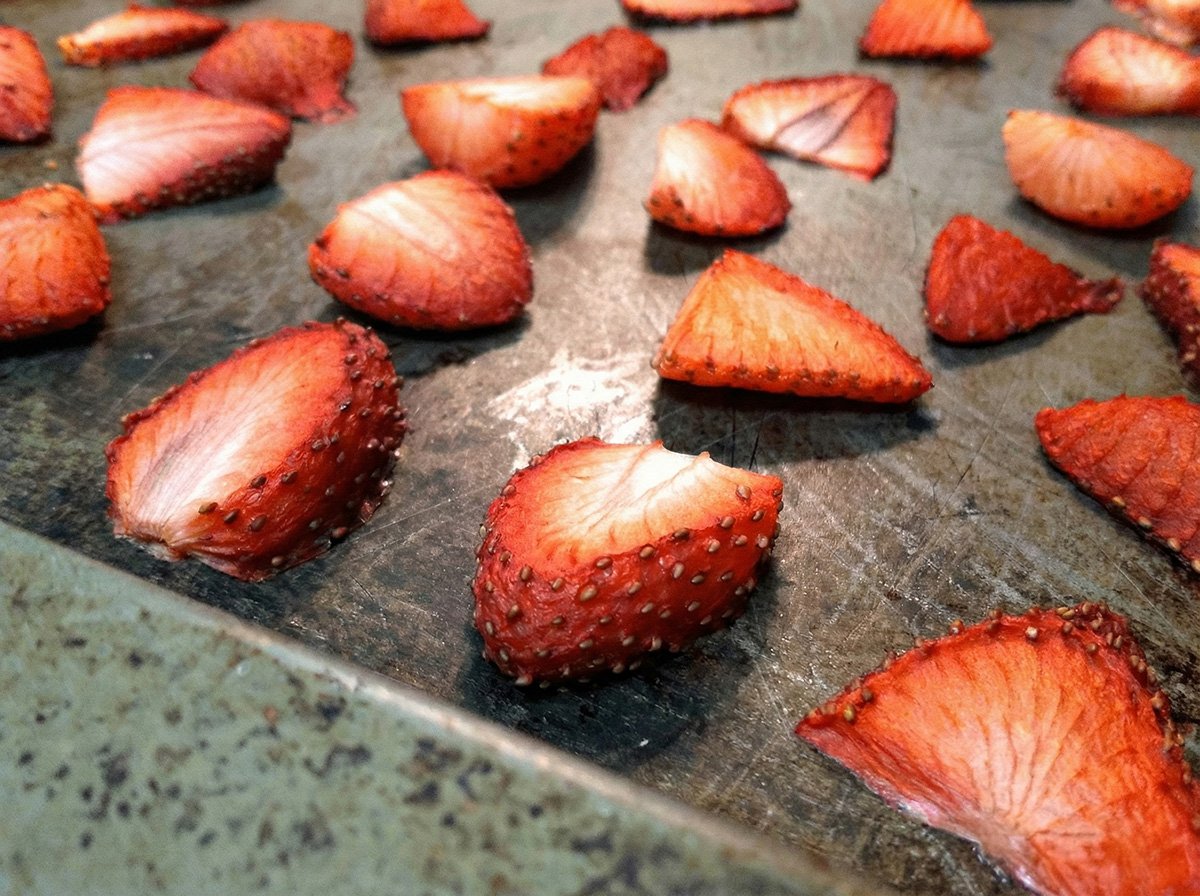
And the 3-hour mark.
I also flipped them at this point (and had a very hard time, thanks to neglecting to use a silpat or copper mat). There was a bit of scraping involved, and I wasn’t able to flip a few of the thinnest slices since they were now “one with the pan” – so those were goners.
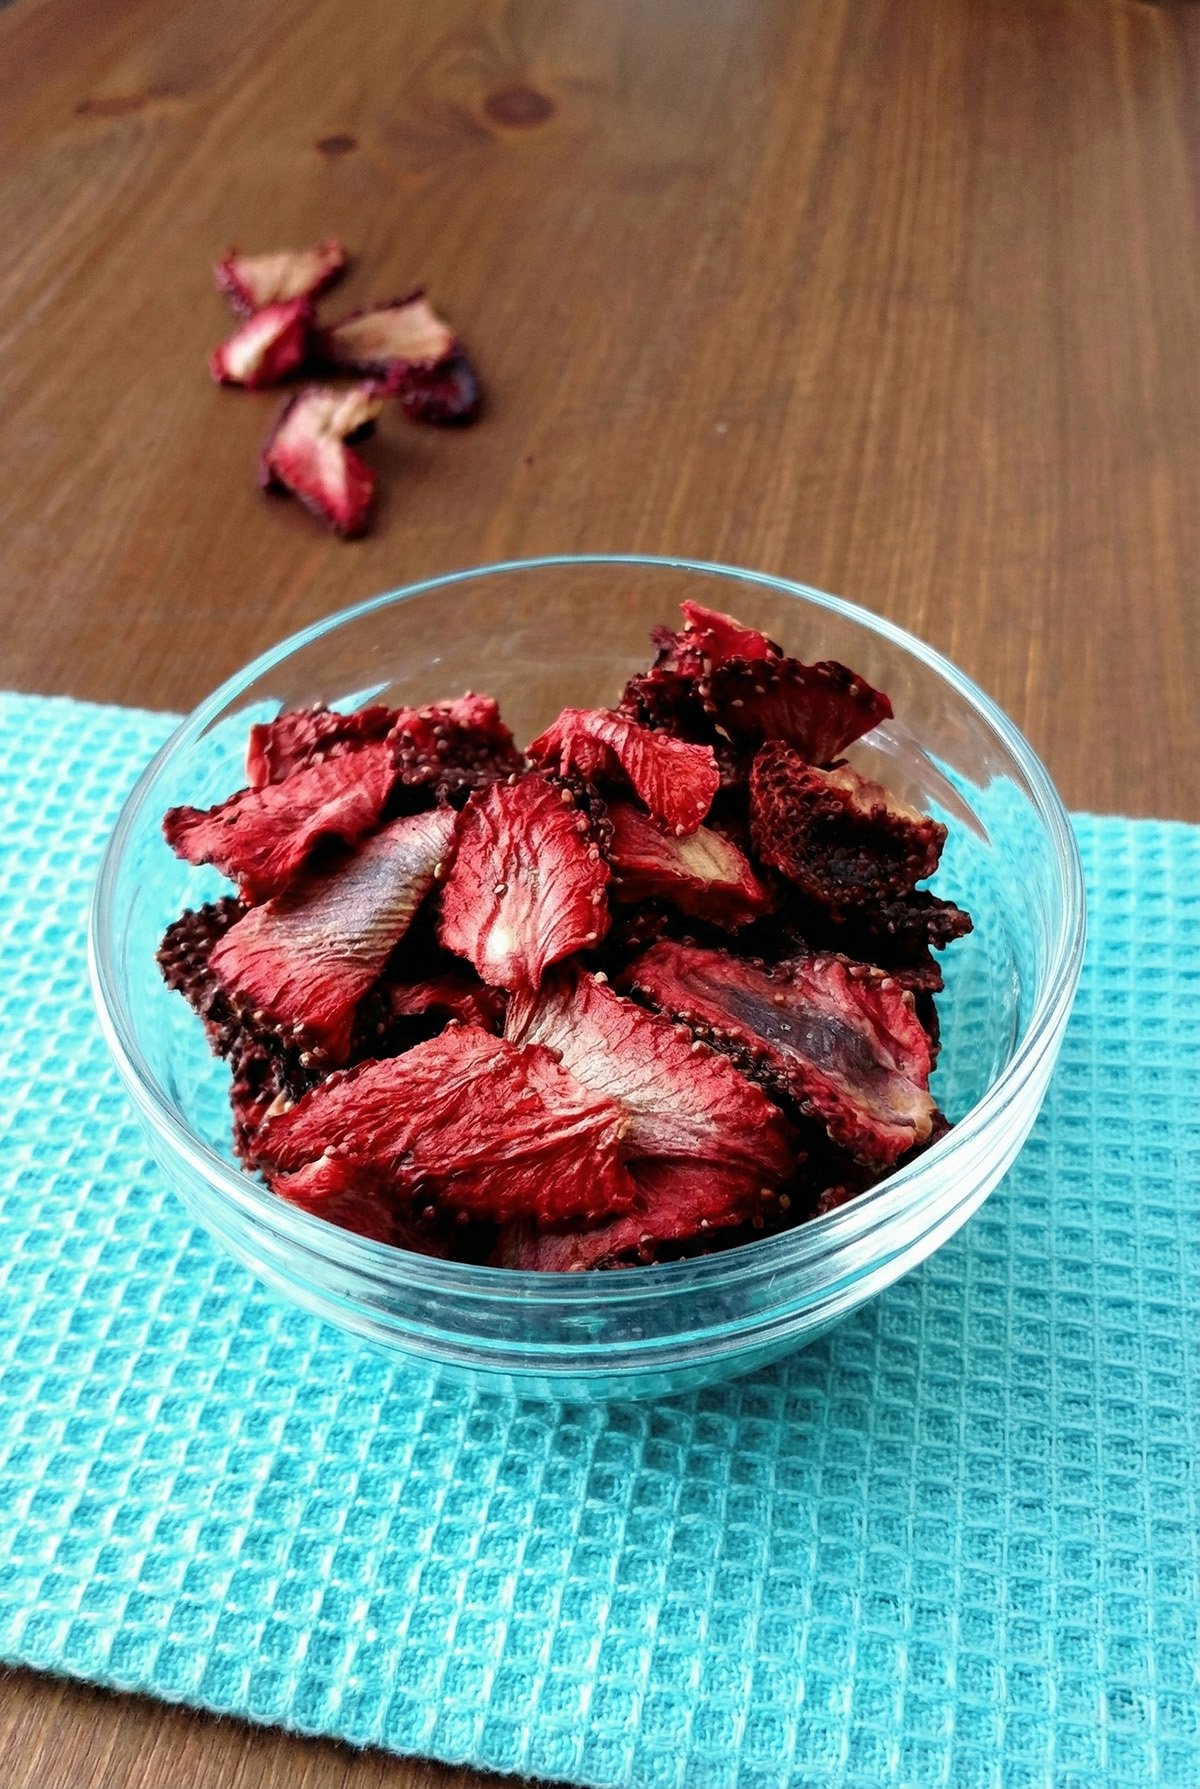
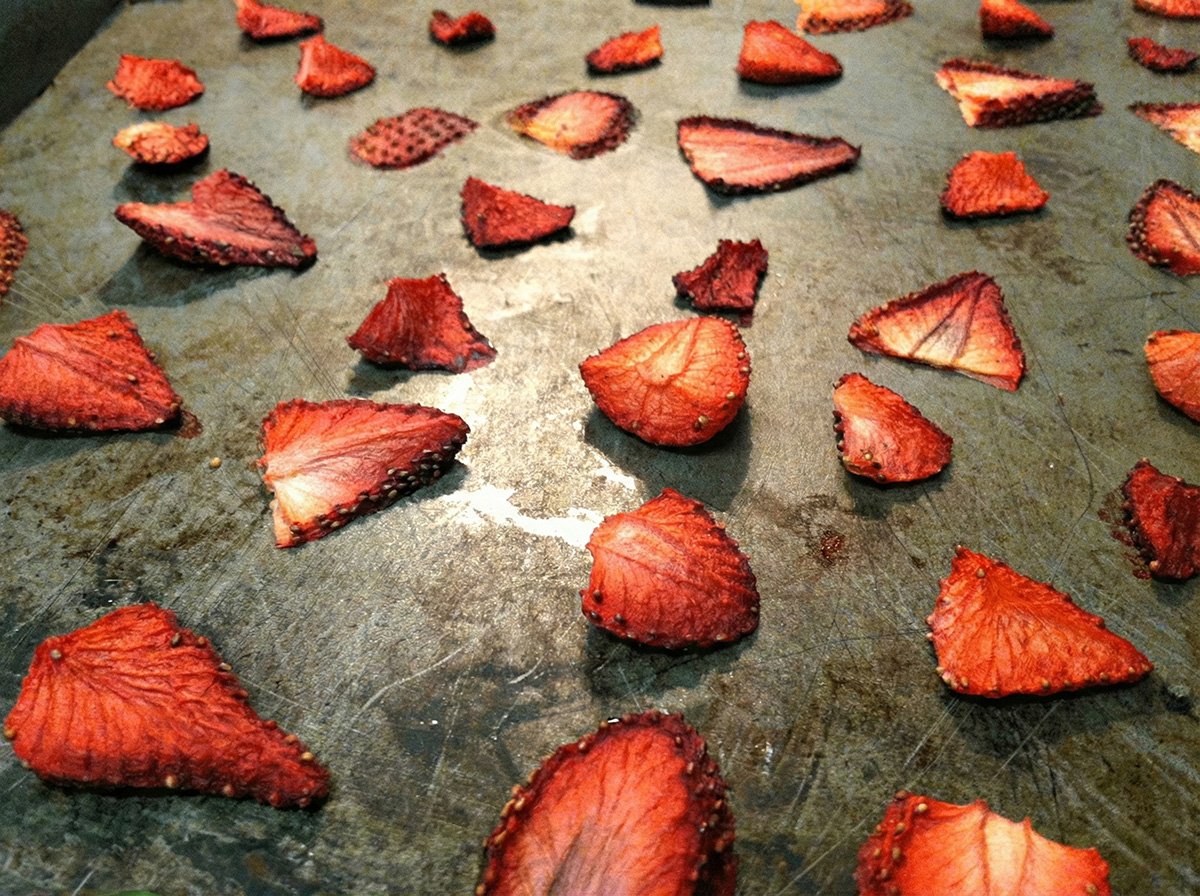
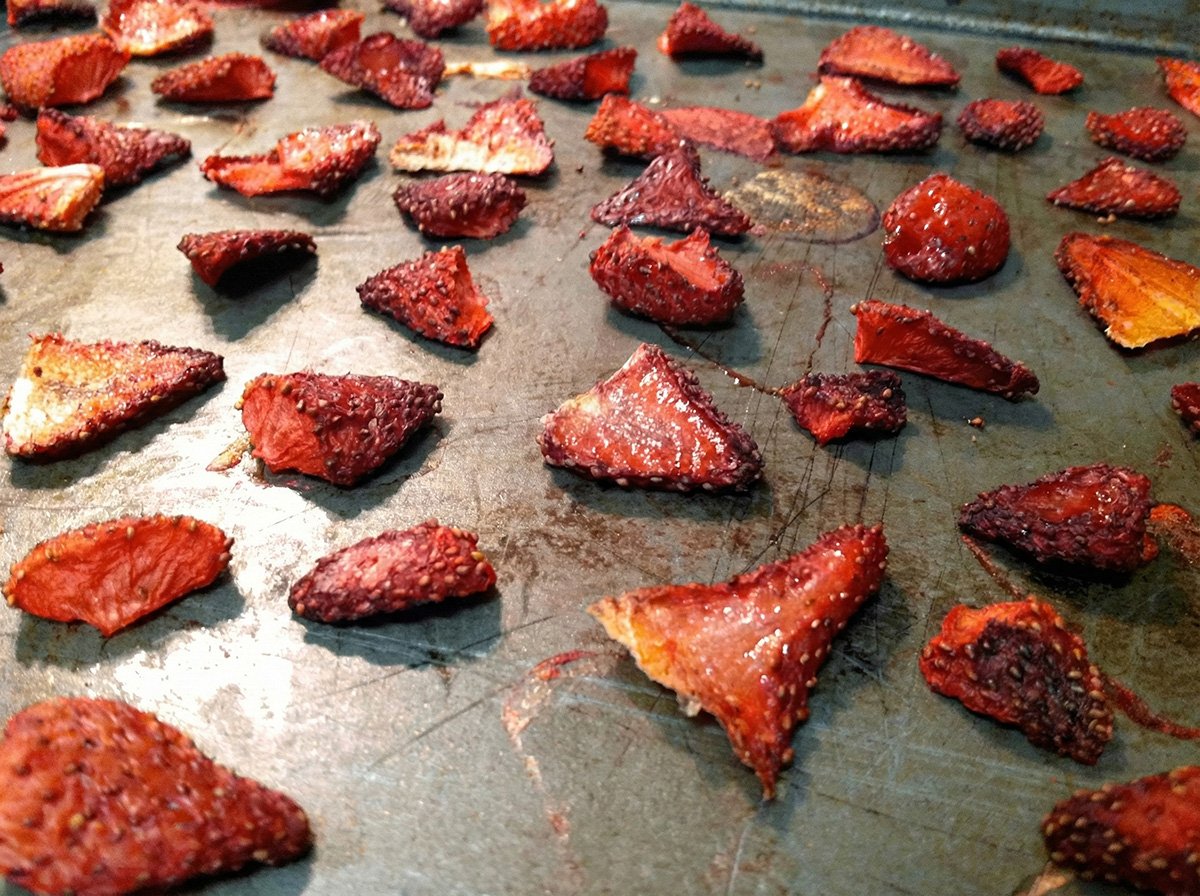
And here they are at the final stage – the 4-hour mark.
♨️ Air Fryer Instructions
👉The strawberries are prepared the same as above. Preheat the air fryer to 175-180°F and lay the sliced berries in a single layer with a little space in between. Air fry for 30 minutes.
👉Then, flip them using tongs and cook them for another 30 minutes and up to 1 hour until the berries are fully dried. Keep in mind the cook time depends on your air fryer model and the thickness of the strawberry slices so check them every 30 minutes.
📌 Expert Tips
🔸Once I took the trays out of the oven, I noticed some of them were still quite sticky. The “worrier” in me caused me to furiously Google for the better part of an hour to make sure they were safe to store and consume. Everything I read said that a slightly sticky/chewy texture is fine.
🔸If you don’t use a non-stick surface, then cut the strawberries into thicker slices. They will be easier to flip. But, the best tip is to use a non-stick surface.
🔸Every oven is different, so please monitor yours if it dries faster or slower.
❓ FAQ
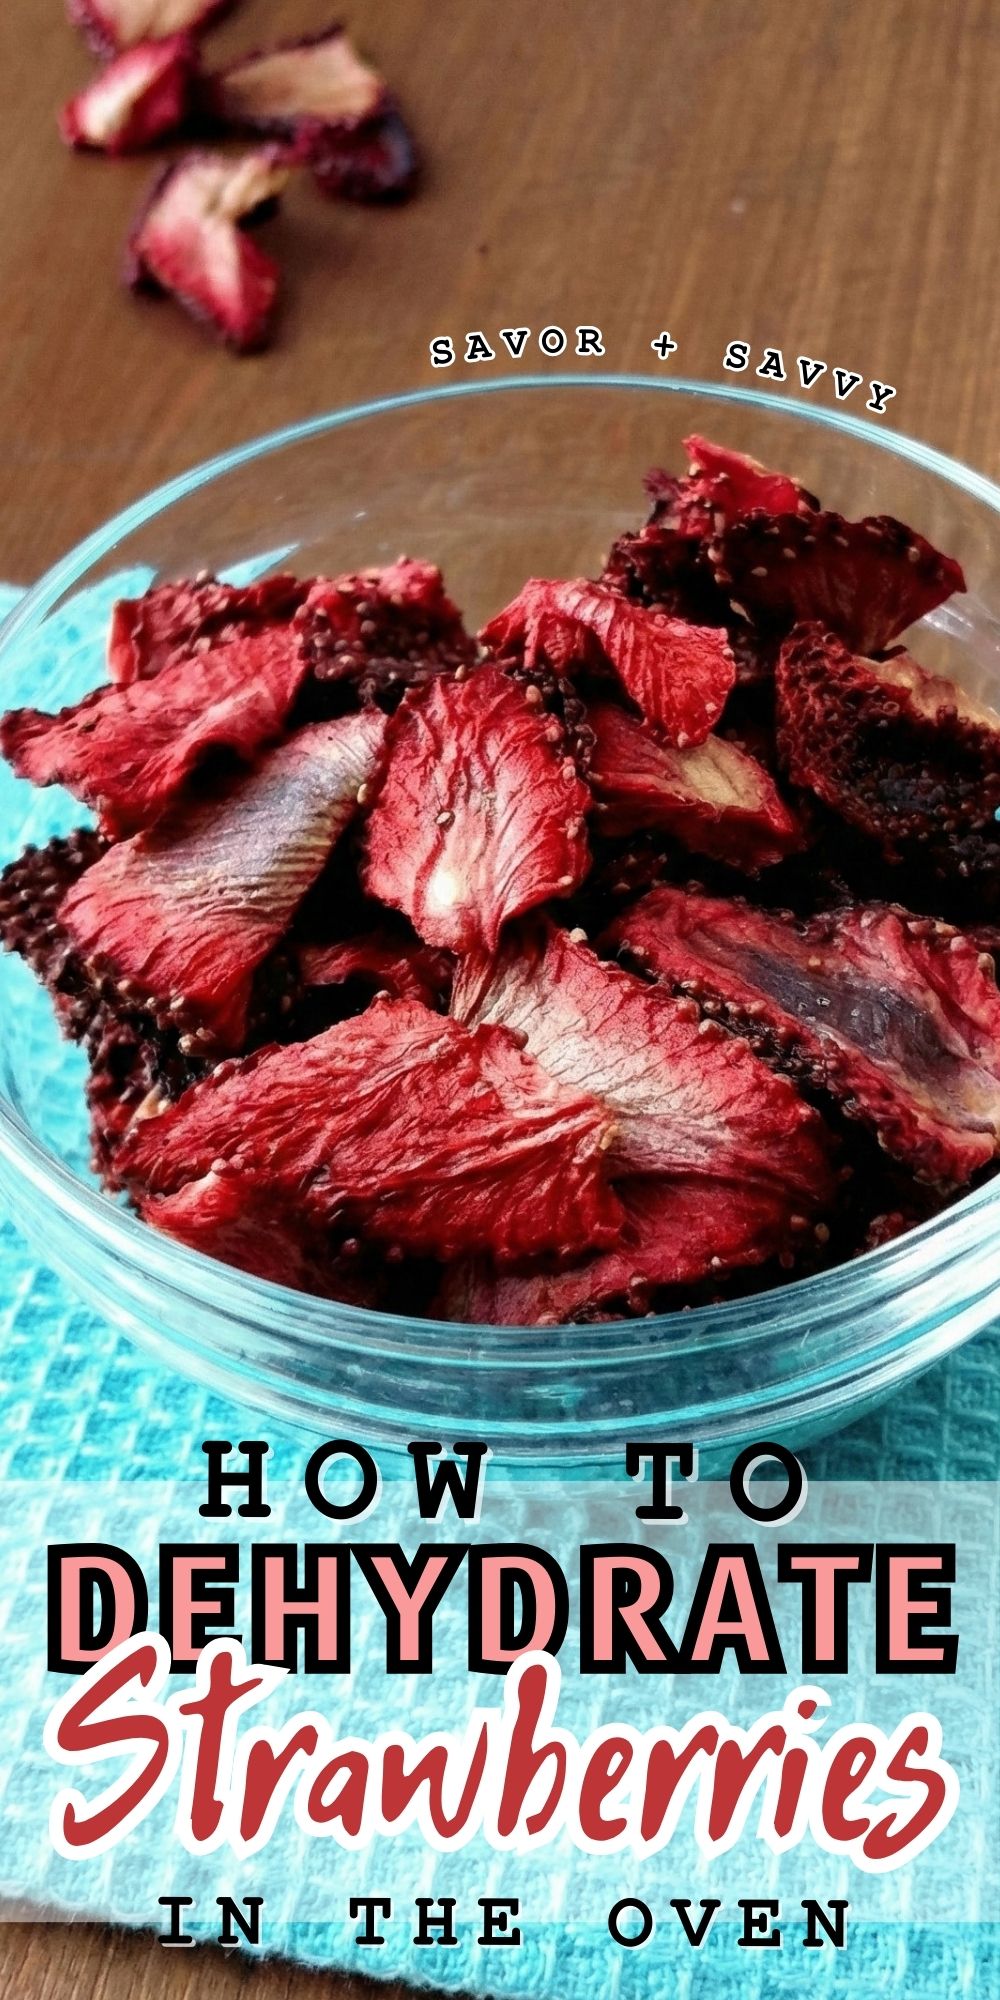
You can do TONS of things with dried strawberries. Add them to your cereal, oatmeal, or in smoothies for a burst of flavor. Additionally, mix them with nuts and granola to make a trail mix, or add them to your own homemade granola bars and baked goods. The options are endless.
They will last 1-2 years. How impressive is that? You just need to keep them in an airtight container and eat them as you wish.
No, it’s not necessary to refrigerate the dried strawberries. Simply keep them at room temperature in a storage container, and they will last a long time.
Related Articles


Tried this recipe? Please leave a star ⭐️⭐️⭐️⭐️⭐️ rating in the recipe card below and/or a review in the comments section further down the page. You can also stay in touch with me through social media by following me on Instagram, Pinterest, and Facebook!

How to Dry Strawberries in the Oven
Equipment
- Bowl
- Sheet Pan
Ingredients
- 2 lbs Strawberries fresh
- ½ tbsp Lemon Juice
Instructions
- Preheat the oven to 200°F.
- Wash and dry the strawberries.
- Cut off the green, leafy tops of the strawberries and slice them lengthwise.
- Place the slices in a bowl and mix with the lemon juice. This will minimize discoloring throughout the drying process.
- Lay the strawberries on a sheet pan with a little bit of space in between.
- Dry them for approximately 4 hours. Open the oven for a minute every hour or so to allow the humid air to escape. They are done when they have shrunk in size and are thoroughly dry. Some may not be hard and crisp, but that is ok.
- Store the strawberries in a covered jar.
Notes
Air Fryer Directions
You will prep your strawberries the same way. The air fryer needs to be at 175-180°F. Then you will lay berries in a single layer, for 30 minutes. Use tongs and flip them over and cook for another 30 minutes to an hour until the berries are fully dried. The cook time will depend on your thickness of the berries.Nutrition
Hi!
Ginny Collins is a passionate foodie and recipe creator of Savor and Savvy and Kitchenlaughter. Indoors she focuses on easy, quick recipes for busy families and kitchen basics. Outdoors, she focuses on backyard grilling and smoking to bring family and friends together. She is a lifelong learner who is always taking cooking classes on her travels overseas and stateside. Her work has been featured on MSN, Parade, Fox News, Yahoo, Cosmopolitan, Elle, and many local news outlets. She lives in Florida where you will find her outside on the water in her kayak, riding her bike on trails, and planning her next overseas adventure.
Thank-you Jazmin. I’m researching how to dry strawberries. Yours was the first post where you admitted your mistakes. Thank-you for doing that, it’s helped me know what not to do. I’m wondering why the posters who are worried about the cost of electricity haven’t tried home-made solar ovens. Your car is one but you can find all sorts of plans for solar ovens on the internet. You can even make solar ovens that will heat your home while you cook.
I just finished these using fresh picked, straight from the farm berries. Wonderful! I did one tray on parchment paper and one tray straight onto my well seasoned stoneware. I also used the convection setting on my oven. It gets very hot here in the summer and I try not to use the stove or the oven too much, aside from the cost of electricity, so I’m going to experiment with a solar oven and see what happens.
I am so glad it worked well for you! 🙂
Only just found this site 🙂 but thinking of doing these to add to a white chocolate fudge!
Strawberries were delicious. I did not add lemon juice and they did not turn brown. I did use parchment paper and some salt. The paper is and extra bonus as it is very pretty!
I tried this first on a dark cookie sheet. They came out delicious but I wanted to try some other ways of doing this. I put them on foil. Bad idea! They stuck and shriveled a lot! This time I put them one stoneware and sprinkled a bit of salt on them. We’ll see if this works better. Also put it on convection setting..
Like my neighbours in England & Ireland (I’m in Scotland), the cost of Electricity is high. So what about doing this whilst cooking other things, i.e. filling your oven.
I often buy 2 whole chickens. Then cook both and during that time roasting other veg in batches. My oven is on for 2 hours but I get about 3-4 nights of meals from that investment in electricity. It also saves time on buys work/school nights when we have to run back out the door for clubs/ sports.
Hi, I live in England, and paid over £2 for a small bag of dried strawberries, they were delicious, but expensive for a 3 oz pack. Will try drying them with shop bought until our plants crop next year, but, I too am concerned about the electricity cost of having the oven on for so long. Many thanks for your endeavours.
If you have good sunlight, why can’t you build a dehydrator using a crate wrapped in clear plastic?? Never done it myself but have seen it done.
Dar
I may try this if I get a good haul of strawberries. I wonder if it would have helped to use cooling racks (like what you put cookies on) instead of cookie sheets? Might help with air flow and also less surface for the strawberries to stick to.
You MUST try dried watermelon. It’s to die for. Slice it into tortilla-chip-sized pieces, about 1/4″ thick. I usually leave mine in the oven overnight on 170 – the lowest temp my oven has. I use cooling racks and also give them a quick spray of cooking oil before putting the watermelon on. This stuff comes out like candy!
Thank you, Jazmin. (LOVE your name!) This is most timely as, just yesterday I priced dehydrated strawberries in the store. Somewhere between ouch! and boinnnng! was the price. Also, the grocery has a great sale on strawberries today. I think I know what I’ll be doing later. I appreciate all that it took for you to make this tutorial. Thank you for sharing. God bless.
How do they taste?
We’re planting strawberries this year and if all goes right, we should have more than we could ever eat before they go bad. I’m wondering how they compare to say… Kellogg’s dried fruit cereals (which I am not a fan).
Thanks girl for doing all the leg work!
They taste great. They’re quite a bit more tart than just regular strawberries since I used lemon juice. The texture is totally different to the Kellogg’s dried cereal.
Okay, I’m going to follow your recipe because when I tried this a couple years ago..it was the biggest fail of my life.
An interesting experiment. My problem being the costs of Electricity (Ireland) the four hours it would take to dry the strawberries would make them expensive as we don’t grow our own and would have to purchase them.
Nice idea but I guess I’ll give this a pass. Thank you for your effort in doing this.
Hi Deirdre, did you know that you can dry things in your car on a hot day? It sounds crazy, but if you place whatever you’d like to dehydrate on a pan and place it on your dashboard, you can dehydrate without any electricity at all. It’s pretty cool!
What a neat idea and use of natural heat! As for storing, I prefer re-using (repurposing) glass jars that most people throw away.
I do that when I make Jam. I save all the jars from other things, and re-use them for jams and jellies. 🙂
Do you know if you can use frozen?
I’m honestly not sure. Sorry – wish I could help!
Yes, you can. Make sure you fully defrost the frozen whole strawberries before slicing and drying in the oven.
I actually grow strawberries in my yard and let me tell ya, there is a WORLD of difference beetween homegrown and storebought. Needless to say, we hate to waste what we can’t immedieately eat so I actually have frozen our extras in the past. It is AH-mazing the smell you get when you open that tupperware – they smell like you just picked them.
However, freezing extra produce takes up a ton of valuable freezer space that I’d rather devote to meat and pre-made meals. So I am definately going to try the drying method with much of our extra garden produce this summer.
You might actually want to try parchment paper instead of foil – It’s not as delicate as foil so you’d probably struggle less with it ripping as you flip. And you also don’t need to grease it – added bonus!
These look just like something that my kids would adore! Im totally pinning this to make for later!
Thanks, Steph! I think they’d definitely be great for kids!