Three ingredients are all you need to make homemade Instant Pot Yogurt! Grab your Instant Pot and learn how to make Greek vanilla yogurt. An affordable and easy recipe for thick and creamy yogurt to jumpstart your day.
Whip up a pressure cooker yogurt that is thick, creamy, and even better than your favorite store brand.
Whether you are looking to be making Greek or classic variety, you can use this recipe. You do need to have an Instant Pot that has the yogurt function.

🥣 Why This Works
- Cheaper to make your own
- You control the ingredients
- The taste is phenomenal
- Minimal effort to make, set and forget it
- Great to meal prep for the week – we love using this in the Yogurt Breakfast Parfait and don’t miss making your own homemade granola since it just takes a couple minutes to make this breakfast 100% homemade.
- Easy
- Simple ingredients
Check out my crock pot yogurt recipe as well to see how easy it is to make in the crock pot!
🥝 Ingredients

Whole Milk | I used Fair Life Milk. This is one of the most popular brands. It really does a fantastic job at making the yogurt ultra-creamy.
Yogurt | You need to use two tablespoons of full-fat yogurt. This is the starter. I wanted Greek yogurt for mine and reached for a Fage Greek Yogurt. But any active bacterial culture yogurt will work.
Vanilla | You don’t have to make this a vanilla flavor, but trust me it is delicious. I used vanilla extract to flavor my yogurt.
📝 Instructions

Step One: Add the milk to the Instant Pot. Hit the yogurt button two times for it to show the word boil. Place the lid on the pressure cooker and let it sit for about 30 minutes.
Step Two: Check to make sure the milk has reached 180 degrees. Once you reach 180, hit the cancel button.
Step Three: Remove the inner pot carefully and set on a cooling rack. Watch the temperature and allow it to drop down to 105 degrees. Place your pot in the sink with some ice water to help speed up the cooling process if you choose.
Step Four: Once the temperature is correct, use a spoon to remove any skin sitting on top of the milk mixture.
Step Five: Add your yogurt starter and vanilla to a small bowl and scoop it a little at a time to incorporate it with the milk. It will be thin at this point.
Step Six: When the milk is fully cooled, place it back into the Instant Pot. Close the lid and the valve.
Step Seven: Hit the yogurt button and let it sit for 8 hours. Once the time is up, remove inner pot and refrigerate for a minimum of four hours to overnight.
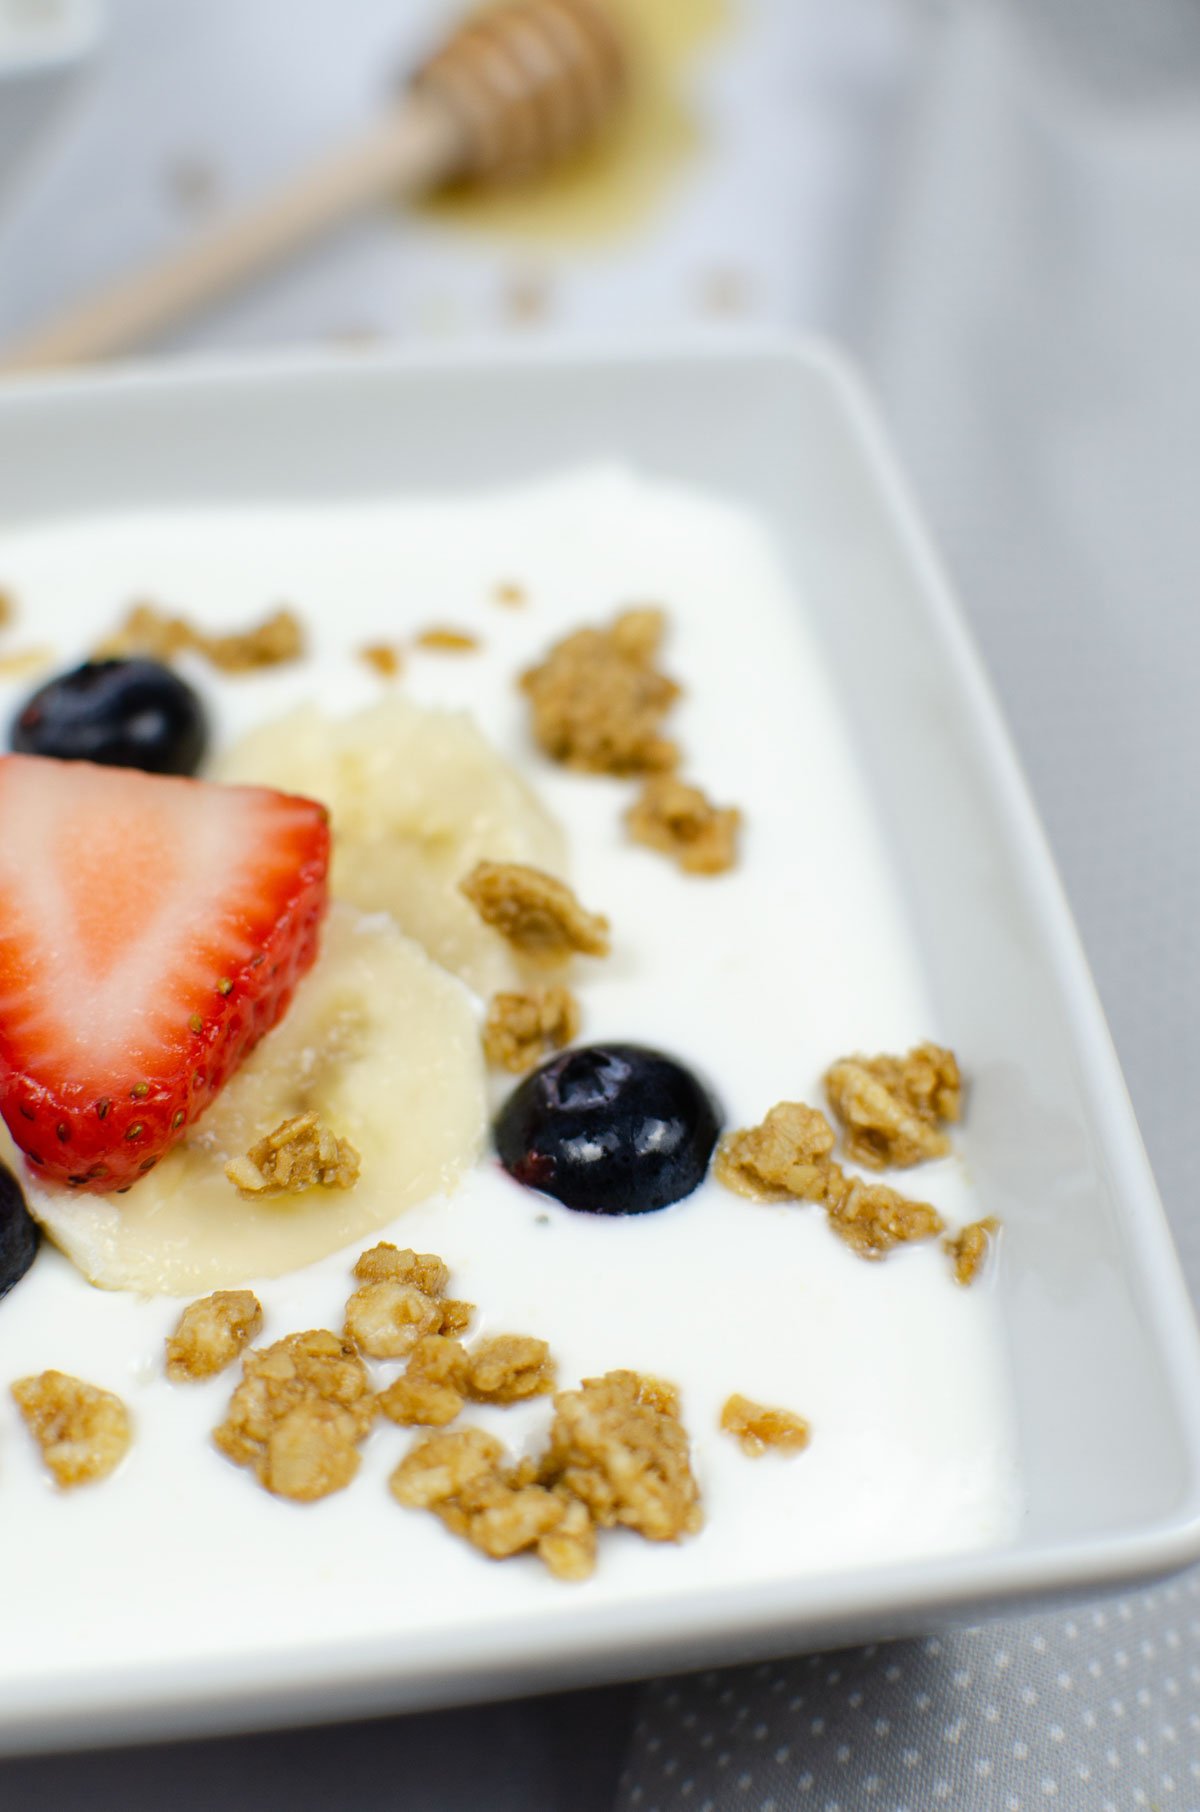
Once set up, serve up this homemade yogurt as you would like!
🥄 Meal Prep And Storage
Once your yogurt is done, you can store it in the refrigerator until you are ready to eat. Now, get creative and use single serve jars for a grab and go yogurt. Or place it in one large container that you scoop into bowls.
Either way, this is tasty. I find that storing in single serve containers makes it an easier snack I reach for. I use little glass jars with lids. It helps prevent odors from seeping into the yogurt.
🍮 Expert Tips
- You have to use active bacterial cultures or your yogurt will not work. This is one thing to check with your starter.
- Whole milk will provide you with the creamiest texture. Reaching for a lower fat yogurt will not always result in a desirable end product. Fair Life is one milk brand that has a ton of success.
- It is imperative to use a thermometer to track the temperature of the process. Without the right temperatures, your yogurt will not set up the way you want.
- Removing the skin from the top of the yogurt after you begin cooling is important.

📌 Recipe FAQs
This homemade yogurt can last anywhere from 7-14 days. It all depends on proper storage and if you add other ingredients in like fruit and such. I tend to store the yogurt plain, then assemble with fruit, granola, etc when I serve.
The yogurt button on an Instant Pot acts as an incubator. This is how you can safely let your mixture cook for 8 hours without it spoiling for being out for that long.
Yogurt can be healthy, it is something to remember if you add in sweeteners, and other ingredients that can alter how healthy it is. Yogurt makes a great snack or breakfast.
If you want a bit of a tangy flavor to your yogurt, do a 10 hour incubation instead of 8. That will help to add a lot more “tang” to the mix.
The Instant Pot Duo line has a handful of Instant Pots that all have the yogurt button. This little button transforms the way people make yogurt! It truly is such a hands-off recipe.
Tried this recipe? Please leave a star ⭐️⭐️⭐️⭐️⭐️ rating in the recipe card below and/or a review in the comments section further down the page. You can also stay in touch with me through social media by following me on Instagram, Pinterest, and Facebook!
More Breakfast Recipes


Instant Pot Yogurt
Equipment
- Pressure Cooker
- Thermometer
Ingredients
- 2 liters Whole Milk I used Fair Life
- 2 tbsp Full-Fat Greek Yogurt I used Fage yogurt with active bacterial cultures
- 2 tbsp Vanilla Extract
Instructions
- Add your milk to the Instant Pot. Press the yogurt button twice for the display to show the word “boil.” Close the lid. It will take about 30 minutes.
- Check your milk to make sure that it has reached a temperature of 180°. If it has not, press cancel on your instant pot, and turn it on sauté mode until it reaches that temperature.
- Remove the inner pot from the Instant Pot to cool to 105°. I placed my inner pot in the sink with water and ice, which quickly sped up the process. (You can allow it just to drop in temperature by sitting on the counter, or water in the sink without ice.)
- Once you have reached 105 degrees, remove the inner pot from the ice bath. Remove any skin that might have started forming on the top.
- In a small bowl, add the vanilla, two tablespoons of yogurt, and a little bit of the milk from your pot. Mix until you have a thin consistency.
- Once completely mixed, add it back to the pot. Mix well.
- Add your inner pot back to your instant pot. Close the lid and close the sealing valve.
- Press the “yogurt” button and set it to 8 hours
- Once the time has completed, turn off your Instant Pot, and transfer the inner lid to the refrigerator for at least four hours or overnight.
- Top with fresh fruit, frozen fruit, granola, and honey! Enjoy!
Notes
Nutrition
Hi!
Ginny Collins is a passionate foodie and recipe creator of Savor and Savvy and Kitchenlaughter. Indoors she focuses on easy, quick recipes for busy families and kitchen basics. Outdoors, she focuses on backyard grilling and smoking to bring family and friends together. She is a lifelong learner who is always taking cooking classes on her travels overseas and stateside. Her work has been featured on MSN, Parade, Fox News, Yahoo, Cosmopolitan, Elle, and many local news outlets. She lives in Florida where you will find her outside on the water in her kayak, riding her bike on trails, and planning her next overseas adventure.


Genius!!
I have a Duo thats newer and doesn’t have a Yogurt button like my original pot.
What button/time do use?
Thanks
No worries! When you don’t have the YOGURT BUTTON: Pour the milk into the IP and press button to KEEP WARM for 35-45 minutes. It’s time to check the temperature of the milk so open the lid and check to see if it is near 180 degrees. If it is not, turn it to saute to allow the temperature to rise a bit. Once it is 180 degrees, remove it and allow to rest until it reaches the 105-115 range. Take ONE CUP of the mixture and add a tablespoon of yogurt, stir gently. Then gradually add it back into the rest of the IP and gently stir. To catch the condensation, place a kitchen town over the top of the IP and then add on the lid. Allow to sit for 8 hours without touching it.
I hope that helps!! 🙂 Keep me posted! Ginny